What’s changing
Launching through our Google Workspace Developer Preview Program, developers can now use the Google Meet API. Using this API, developers can:
- Programmatically create and configure Meet calls.
- Retrieve information about past meetings, such as the meeting times and attendees.
- Access meeting artifacts, such as transcripts and video recordings.
- Subscribe to real time updates on meetings, such as when a participant joins or leaves.
The API will give partners and customers the ability to create and configure Meet video conferences, allow their end users to join a conference, and post real-time updates from within their own applications.
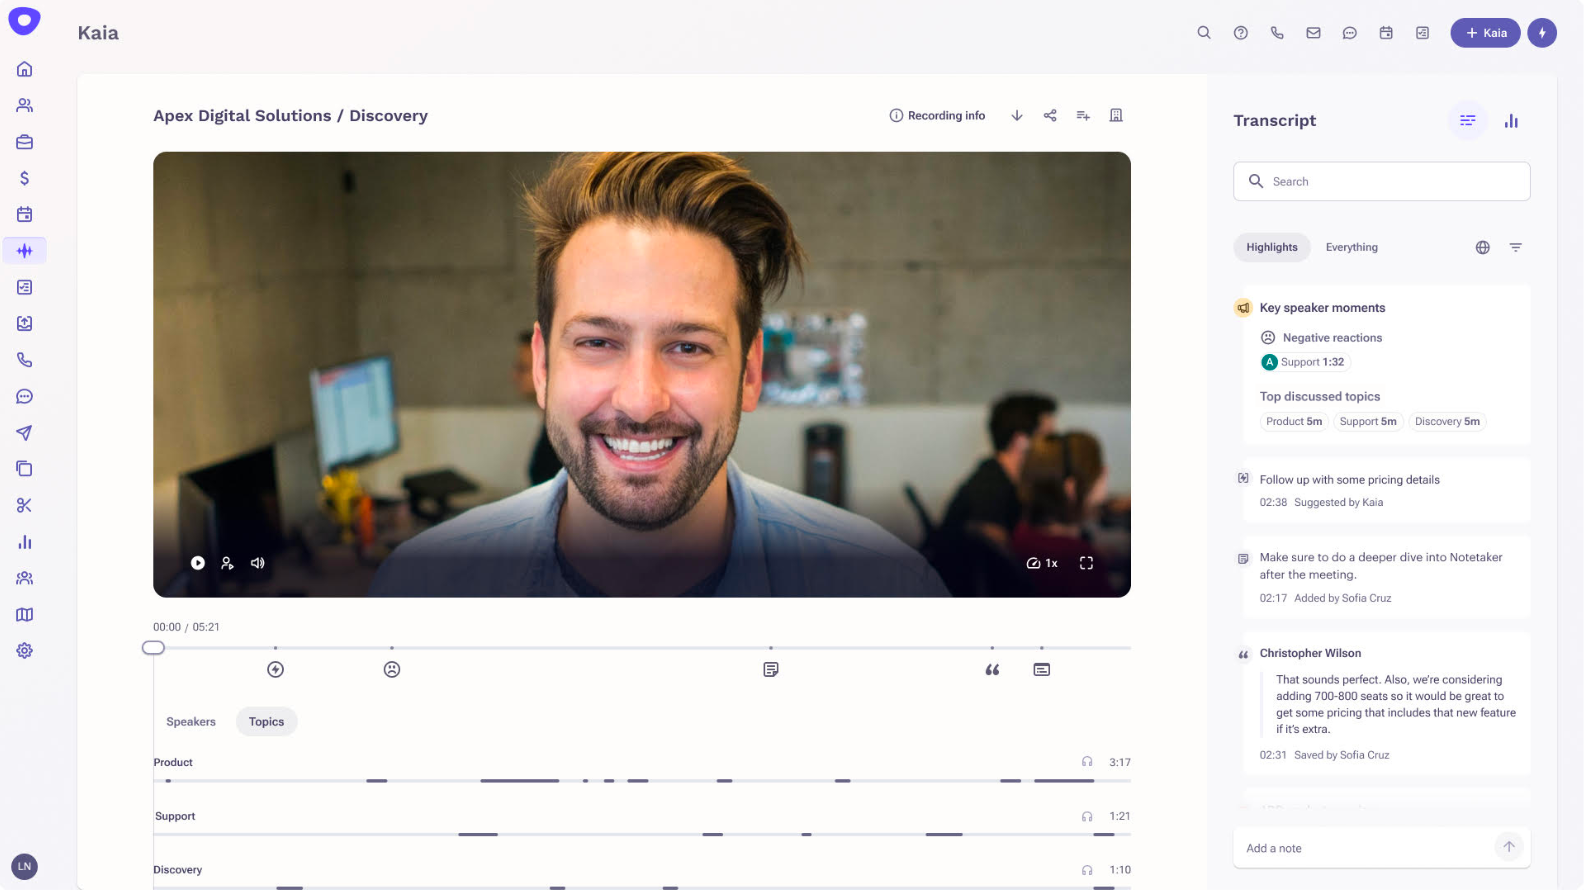
Using the Meet API, Outreach is ingesting meeting recordings and transcripts into their AI-powered conversation intelligence tool, Kaia, to deliver rich insights to their teams.
Who’s impacted
Developers
Why you’d use it
Incorporating your product with the Google Meet API streamlines workflows and provides your product with Meet information that easily enhances your product offering. For example, partners such as Hubspot, Outreach, Salesloft and Salesforce currently integrate the Meet API to pull meeting recordings and artifacts into their conversational intelligence tools for analysis and sales coaching.
Additionally, integrating with the Google Meet API enables you to link your app with Meet’s video conferencing capabilities, allowing users to access a secure video conferencing product from their own UI by the click of a button. Brandlive, a leading webinar and event platform, uses the Google Meet API as a way to create and configure video sessions for larger sessions and smaller breakout conversations.
Additional details
View the Google Meet API documentation for additional details.
Getting started
- Admins: There is no admin control for this feature. Visit the Help Center to learn more about what requirements you need to use Google Meet.
- Developers: To use the Google Meet API, developers can apply for access through our Google Workspace Developer Preview Program.
Rollout pace
- This feature is available now through the Google Workspace Developer Preview Program
Availability
- Available to all Google Workspace customers
.png)
.png)