Posted by Google Developer Studio
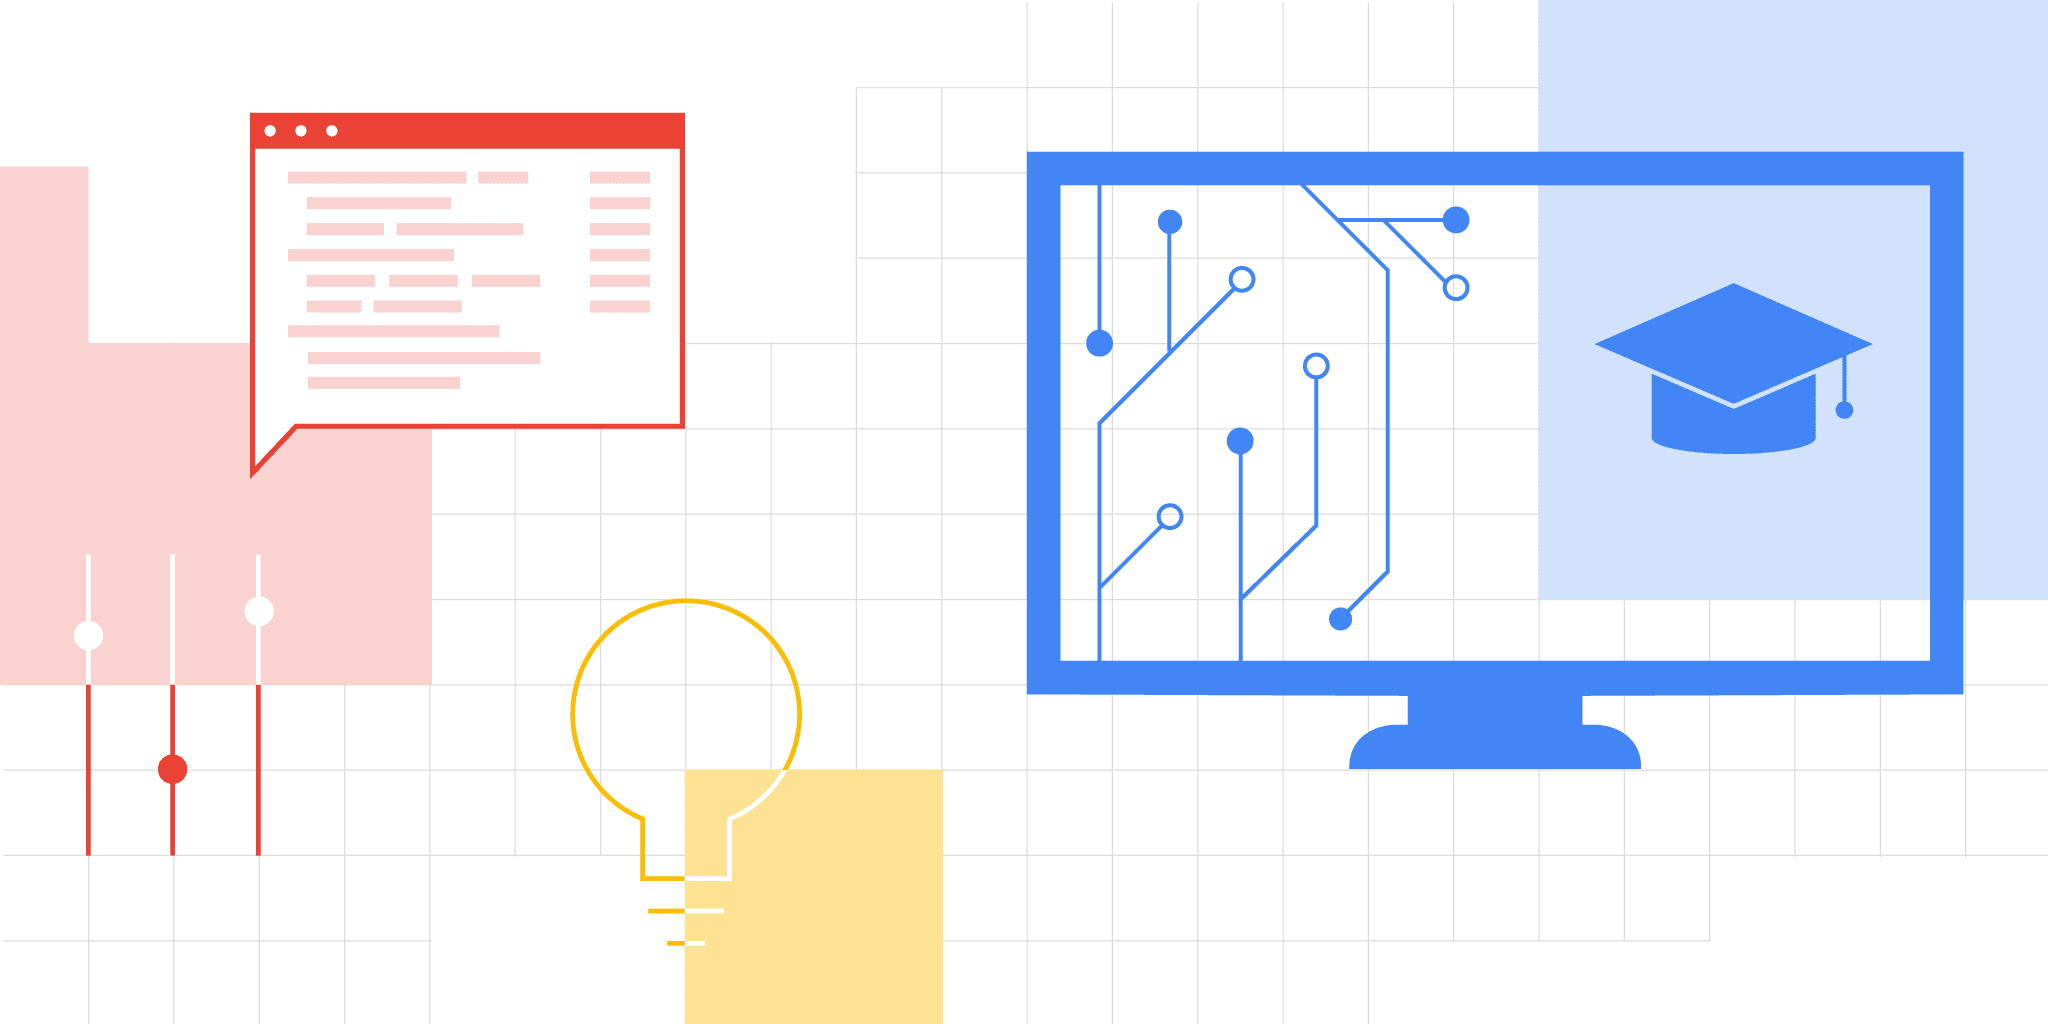
Computer Science Education Week kicks off on Monday, December 7th and runs through the 13th. This annual call-to-action was started in 2009 by the Computer Science Teachers Association (CSTA) to raise awareness about the need to encourage CS education at all levels and to highlight the importance of computing across industries.
Google Developers strives to make learning Google technology accessible to all and works to empower developers to build good things together.
Whether you’re a student or a teacher, check out our collection of introductory resources and demos below. Learn how you can get started in your developer journey or empower others to get started.
Note: Some resources may require additional background and extra knowledge
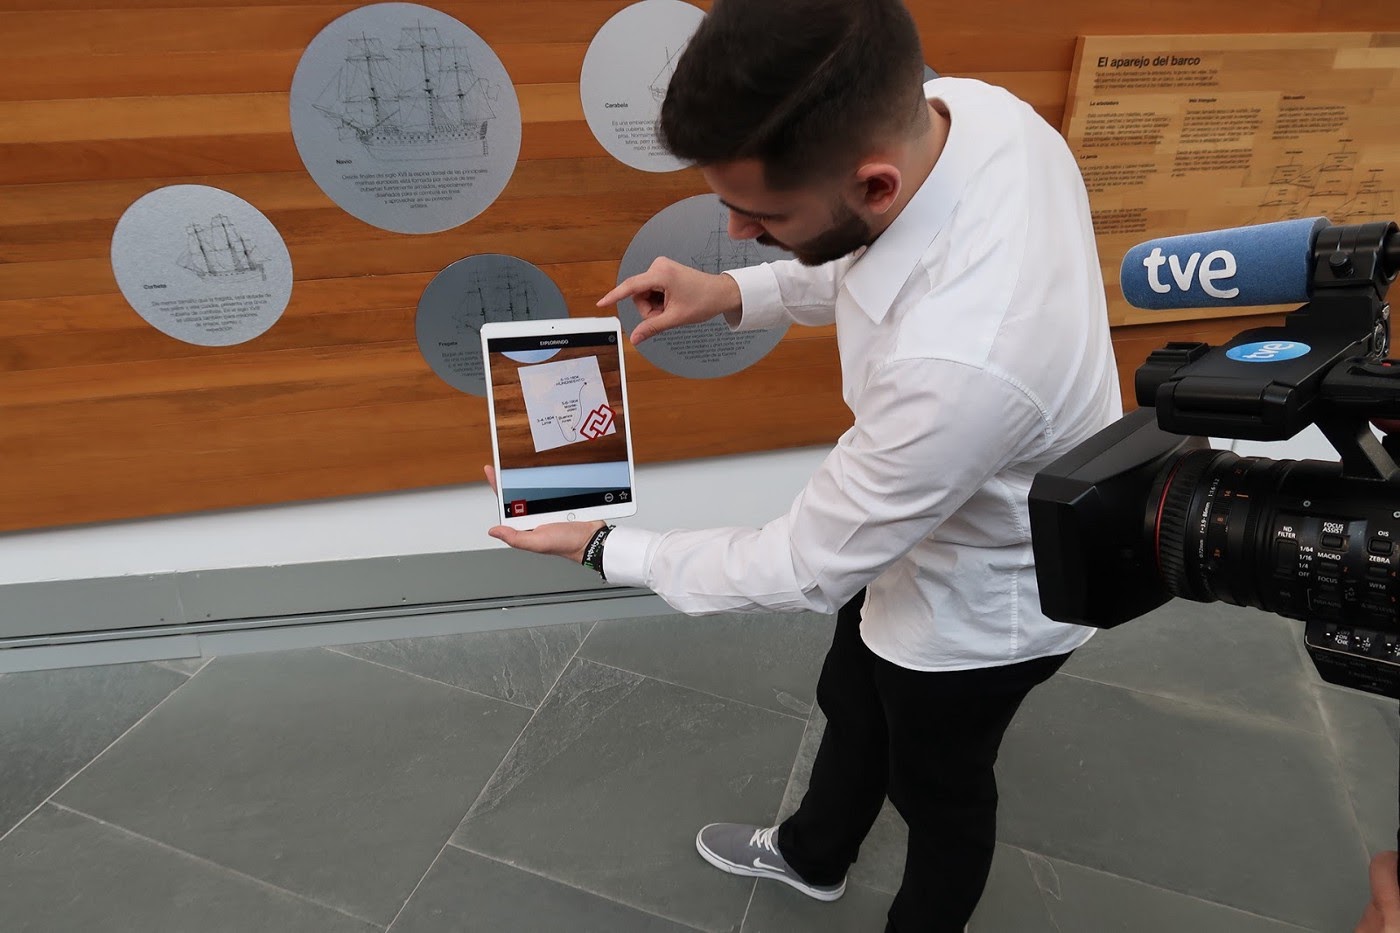
Actions on Google
The Google Assistant developer platform lets you create software to extend the functionality of the Google Assistant with “Actions”. Actions let users get things done through a conversational interface that can range from a simple command to turn on the lights or a longer conversation, such as playing a trivia game or exploring a recipe for dinner.
As a developer, you can use the platform to easily create and manage unique and effective conversational experiences for your users.
Actions auto-generated from web content.
Codelab: Build Actions for Google Assistant using Actions Builder (Level 1)
This codelab covers beginner-level concepts for developing with Google Assistant; you do not need any prior experience with the platform to complete it. You’ll learn how to build a simple Action for the Google Assistant that tells users their fortune as they begin their adventure in the mythical land of Gryffinberg. Continue on to level 2 if you’re ready!
Codelab: Build Actions for Google Assistant using Actions SDK (Level 1)
This codelab covers beginner-level concepts for developing with the Actions SDK for Google Assistant; you do not need any prior experience with the platform to complete it.
Tip: If you prefer to work with more visual tools, do the Level 1 Actions Builder codelab instead, which creates the same Action using an in-console Actions Builder instead. View additional codelabs here.
Android Developers
Android is the world's most powerful mobile platform, with more than 2.5 billion active devices.
Build your first Android app by taking the free online Android Basics in Kotlin course created by Google. No programming experience is needed. You'll learn important concepts on how to build an app as well as the fundamentals of programming in Kotlin, the recommended programing language for developers who are new to Android. Start with the first unit: Kotlin Basics for Android!
Once you’re ready to take your app development to the next level, check out Android Basics: Unit 2 where you’ll where you'll build a tip calculator app and an app with a scrollable list of images. You can customize these apps or start building your own Android apps!
You can find more resources such as courses and documentation on developer.android.com. Stay up-to-date on the latest educational resources from the Android engineering team by following our YouTube channel, Twitter account, and subscribing to our newsletter.
Developer Student Clubs (DSC)
Developer Student Clubs are university based community groups for students interested in Google developer technologies.
For two years, DSC has challenged students to solve problems in their local communities using technology. Learn the steps to get started on a real life project with tips from Arman Hezarkhani. Get inspired by the 2020 Solution Challenge winners and see what they built here.
If you’re a university student interested in joining or leading a DSC near you, click here to learn more.

Firebase
Firebase is a mobile and web applications development platform that allows you to manage and solve key challenges across the app lifecycle with its full suite of tools for building, quality, and business.
Codelab: Get to know Firebase for web
In this introductory codelab, you'll learn some of the basics of Firebase to create interactive web applications. Learn how to build and deploy an event RSVP and guestbook chat app using several Firebase products.
Codelab: Firebase web codelab
Following “Get to Know Firebase for web”, take this next codelab and you'll learn how to use Firebase to easily create web applications by implementing and deploying a chat client using Firebase products and services.
Get all the latest educational resources from the Firebase engineering team by following our YouTube channel, Twitter account, and visiting the website.
Flutter
Do you want to learn how to build natively compiled apps for mobile, web, and desktop from a single codebase? If the answer is yes, we have some great resources for you.
This is a guide to creating your first Flutter app. If you are familiar with object-oriented code and basic programming concepts such as variables, loops, and conditionals, you can complete this tutorial. You don’t need previous experience with Dart, mobile, or web programming.
Check out this free course from Google and Udacity, which is the perfect course if you’re brand new to Flutter.
Google Cloud Platform
Google Cloud Platform helps you build what's next with secure infrastructure, developer tools, APIs, data analytics and machine learning.
Cloud OnBoard: Core Infrastructure
In this training, learn the fundamentals of Google Cloud and how it can boost your flexibility and efficiency. During sessions and demos, you'll see the ins and outs of some of Google Cloud's most impactful tools, discover how to maximize your VM instances, and explore the best ways to approach your container strategy.
Google Cloud Codelabs and Challenges
Complete a codelab and coding challenge on Google Cloud topics such as Google Cloud Basics, Compute, Data, Mobile, Monitoring, Machine Learning and Networking.
For in-depth Google Cloud tutorials and the latest Google Cloud news, tune into our Google Cloud Platform YouTube channel!
Google Pay
Google Pay lets your customers pay with the press of a button — using payment methods saved to their Google Account. Learn how to integrate the Google Pay APIs for web and Android.
- Get started integrating Google Pay APIs for Android.
- Get started integrating Google Pay APIs for Web.
Google Workspace Developers
Google Workspace, formerly known as G Suite, includes all of the productivity apps you know and love—Gmail, Calendar, Drive, Docs, Sheets, Slides, Meet, and many more.
The Google Workspace Developer Platform is a collection of tools and resources that let you customize, extend, and integrate with Google Workspace. Low-code tools such as Apps Script enables you to build customizations that automate routine tasks, and professional resources such as Add-ons and APIs enable software vendors to build applications that extend and integrate with Google Workspace.
Learn Apps Script fundamentals with codelabs
If you're new to Apps Script, you can learn the basics using our Fundamentals of Apps Script with this Google Sheets codelab playlist.
- Fundamentals of Apps Script with Google Sheets #1: Macros & Custom Functions
- Fundamentals of Apps Script with Google Sheets #2: Spreadsheets, Sheets, and Ranges
- Fundamentals of Apps Script with Google Sheets #3: Working with Data
- Fundamentals of Apps Script with Google Sheets #4: Data Formatting
- Fundamentals of Apps Script with Google Sheets #5: Chart and Present Data in Slides
Stay updated on the newest Google Workspace developer tools and tutorials by following us on our YouTube channel and Twitter!
Material Design
Material Design is a design system, created by Google and backed by open-source code, that helps teams build high-quality digital experiences. Whether you’re building for Android, Flutter, or the web we have guidelines, code, and resources to help you build beautiful products, faster. We’ve compiled the best beginner resources here:
- Learn how to choose the right navigation for your app
- Building Beautiful Transitions with Material Motion for Android
- Get Started with Material Components for Android
If you’re interested in learning more about Material Design subscribe to the brand new YouTube channel for updates, and Q&A format videos.
TensorFlow
TensorFlow is an open source platform for machine learning to help you solve challenging, real-world problems with an entire ecosystem of tools, libraries and community resources.
Teachable Machine
Teachable Machine is a web tool that makes creating machine learning models fast, easy, and accessible to everyone. See how you can write a machine learning model without writing any code, save models, and use them in your own future projects. The models you make with are real TensorFlow.js models that work anywhere JavaScript runs.
Machine Learning Foundations:
Machine Learning Foundations is a free training course where you’ll learn the fundamentals of building machine learned models using TensorFlow. Heads up! You will need to know a little bit of Python.
Subscribe to our YouTube channel and Twitter account for all the latest in machine learning.
Celebrate more with Google
Here are other ways our friends within the ecosystem are supporting #CSEdWeek.
Google for Education
- CS First Unplugged: A free computer science curriculum designed by teachers that makes coding easy to teach and fun to learn in a wide range of classrooms. Check out the website to collect more teacher resources from CS First.
- Teach an Hour of Code: Flexible one-hour coding activities that can be completed online with a device, or offline and unplugged. Get started with a printable booklet with computational thinking activities for students to learn about how computer science helps us communicate and stay connected with people around the world.
Experiments with Google
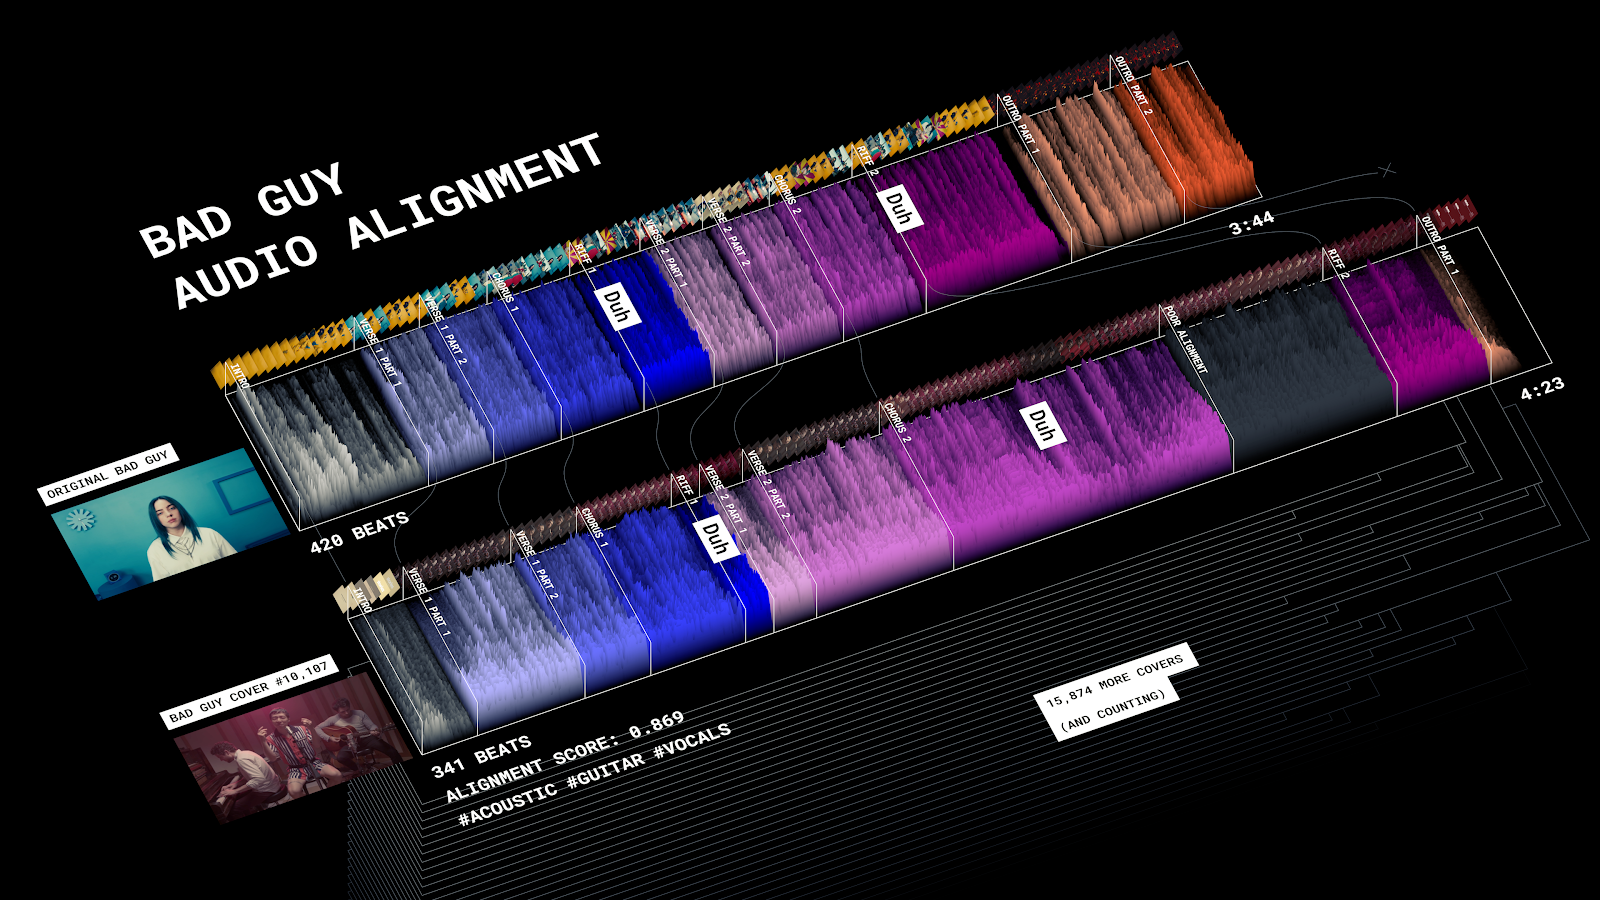
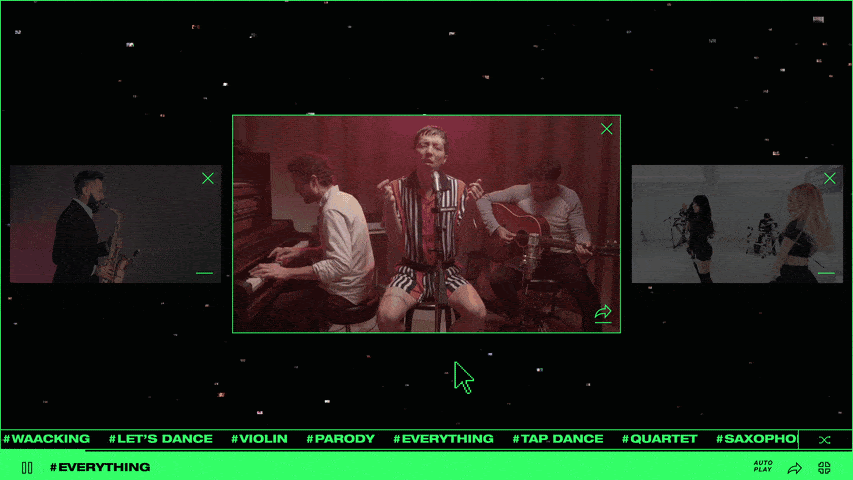
A collection of innovative projects using Chrome, Android, AI, AR, Web, and more, along with helpful tools and resources to inspire others to create new experiments. New projects are added weekly, like this machine learning collaboration between Billie Eilish, YouTube Music and Google Creative Lab.