Posted by Lyanne Alfaro, DevRel Program Manager, Google Developer Studio

Google Developer Student Club Alums Reflect On Their Journey To Google Developer Experts
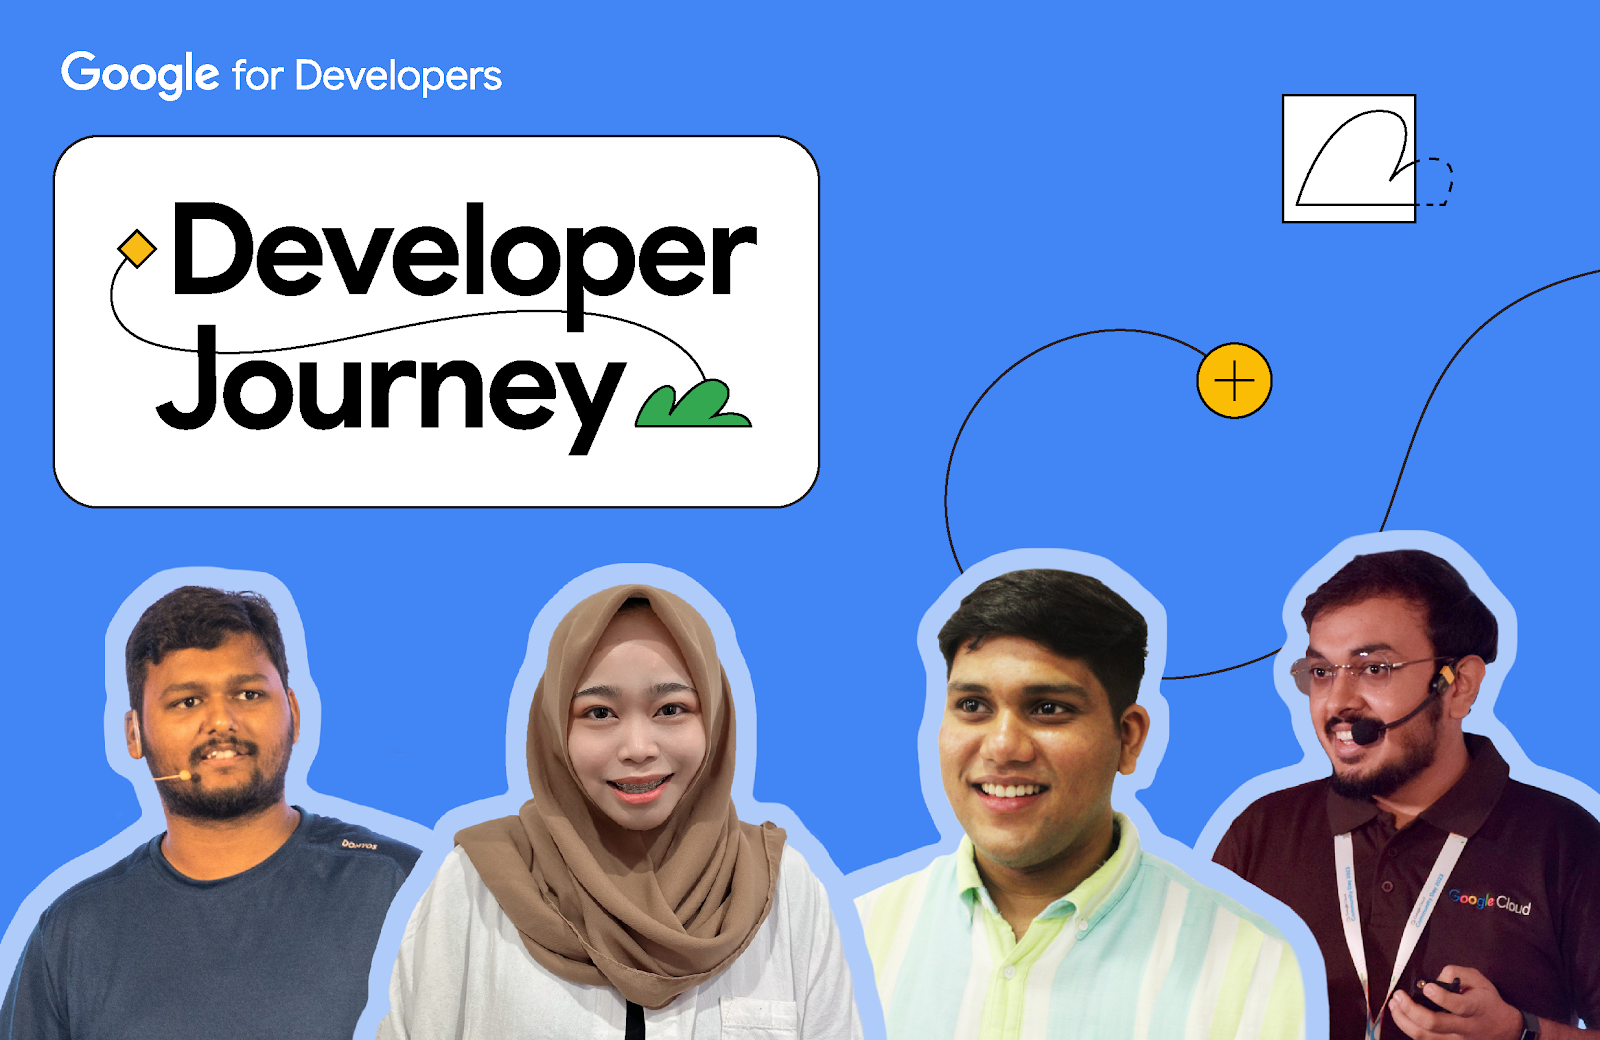
Developer Journey is a monthly series highlighting diverse and global developers sharing relatable challenges, opportunities, and wins in their journey. Every month, we will spotlight developers around the world, the Google tools they leverage, and the kind of products they are building.
This month, we spoke with several Google Developer Experts to learn more about their path from being Google Developer Student Clubs leads to connoisseurs of their craft.
Suvaditya Mukherjee
Mumbai, Maharashtra, India
Google Developer Expert, Machine Learning
Google Summer of Code Org Admin + ML Research Engineer Intern at Ivy
Research Intern at IIIT-Hyderabad
What are some key skills and knowledge you gained as a Google Developer Student Clubs Lead that helped you excel in your role as a Google Developer Expert?
Every day I spent as a lead was a learning experience, but what stood out to me was the holistic learning opportunities that the program brought. For example, as someone specializing in AI, I never found a need to learn Web Development until I had to help audit and create complex web apps for hosting competitions. Additionally, I learned how to absorb newer technical skills as quickly as possible, which proved to be incredibly valuable over time. I also learned the importance of soft skills, which helped me communicate better with my community. As an expert, it’s important to steward your community, and the leadership skills imparted by the program helped me build a deeper understanding of communication, logistics, and team-building.
What has been the impact of being part of the Google Developer Student Clubs community on your personal and professional growth?
As a Google Developer Student Clubs (GDSC) Lead, I benefited from participating in networking opportunities with like-minded folks and potential mentors who helped immensely in my journey. They helped shape my technical skills, and improve my soft skills. I also had the opportunity to speak in front of large crowds, develop content, manage teams, and closely understand what makes a community tick. As a GDE, it becomes important to have a pulse on the community's needs and requirements. The GDSC Program taught me how to measure these metrics at a grassroots level. I have had the privilege of working with the most skilled, dedicated, professional – and most importantly – humble folks as part of the GDSC Community. The program allowed me the privilege of communicating and building friendships with awesome people over time.
What Google tools have you used to build?
I have used quite a few Google tools in different projects and endeavors, including but not limited to Firebase, Flutter, and Android for hackathons. I have also made use of the Google Cloud Platform to develop and host scalable backend infrastructures during projects and internships in different places. But my most used tool is TensorFlow.
Which tool has been your favorite? Why?
As an ML Practitioner, TensorFlow and Keras have been a boon to simplify days of work into potentially hours or even minutes. The power it delivers to end-users in the most open and democratic way possible while constantly innovating for newer advances is something I have always appreciated. One of the biggest reasons I love Keras has to be the awesome community around it that welcomes everyone with open arms.
Tell us about something you've built in the past using Google tools.
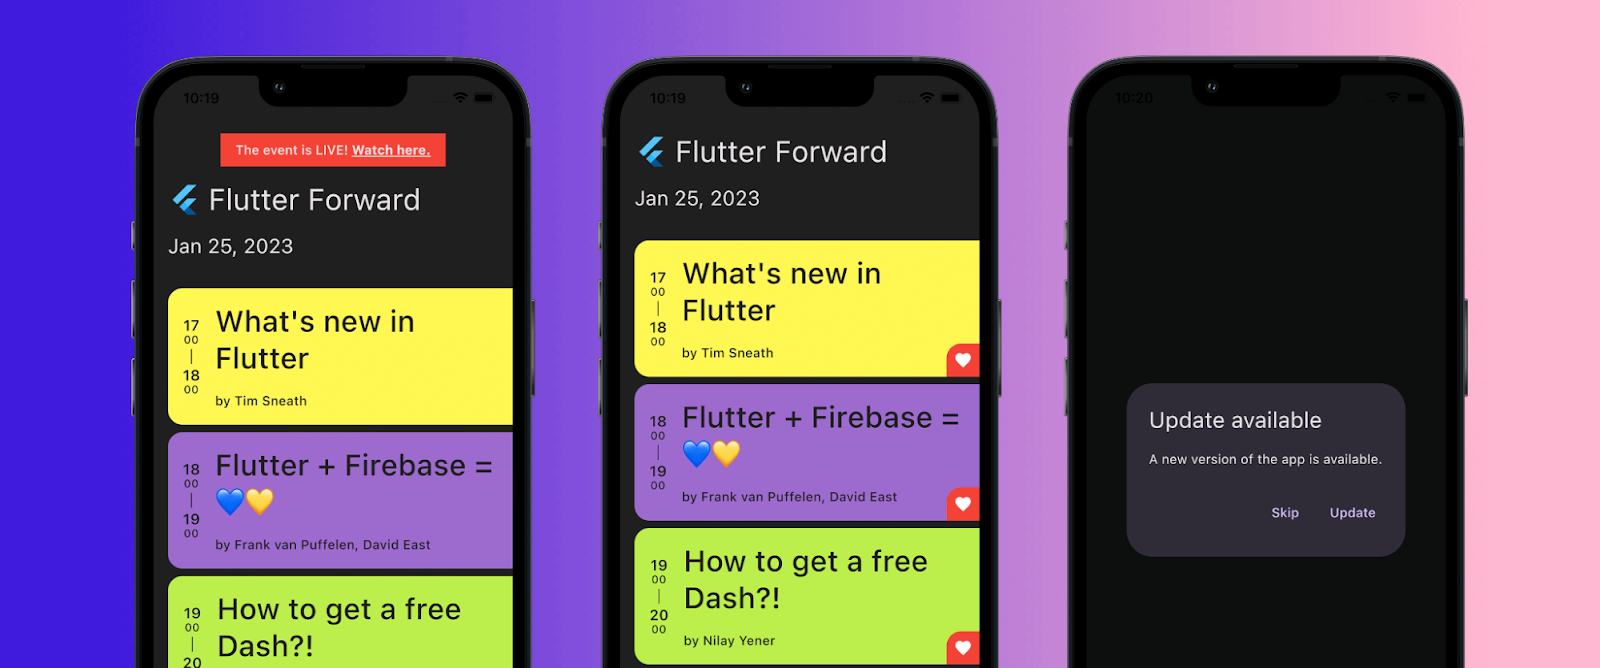
I have hacked around a few projects over time. The most notable among them was an application I personally call TranscribeMate. Imagine you’re in an ongoing lecture and the professor is going quicker than usual, hindering your ability to take notes. TranscribeMate (built with Flutter, Firebase, and MLKit) allows you to use OCR technology to transcribe notes from simple photos of the classroom blackboard, allow newer annotations as a note-taking application, and save them for later use. This was an application I developed for a college course- but I ended up tweaking it a bit more and making use of it on my personal device as well for more general tasks too.
What will you create with Google Bard?
I have been using Bard for a while now; it has a permanent home on my browser. Bard helps me with random questions I have, and Python-related problems. Bard has helped me find solutions in seconds, compared to hours of work when done through traditional search methods. I have been using Bard's help on several projects I have been working on within my research, in projects at Ivy, and the Keras Team. Stay tuned for what comes next!
What advice would you give someone starting in their developer journey?
Seek new experiences to learn. No one can learn by working within a narrow niche. Having a working knowledge of different technologies at once allows you to have a diverse and multi-faceted approach to problem-solving. Optimizations in your systems become far more apparent, and you slowly end up learning how to write better code and design scalable systems with ease. Lastly, find a community. Find like-minded folks, talk to them, share notes on what you're building, and if you find yourself too shy to do so, then try anyway. Start by just showing up for one event near you. Then make it two. Then ask a question. The power of collaborative learning is immeasurable.
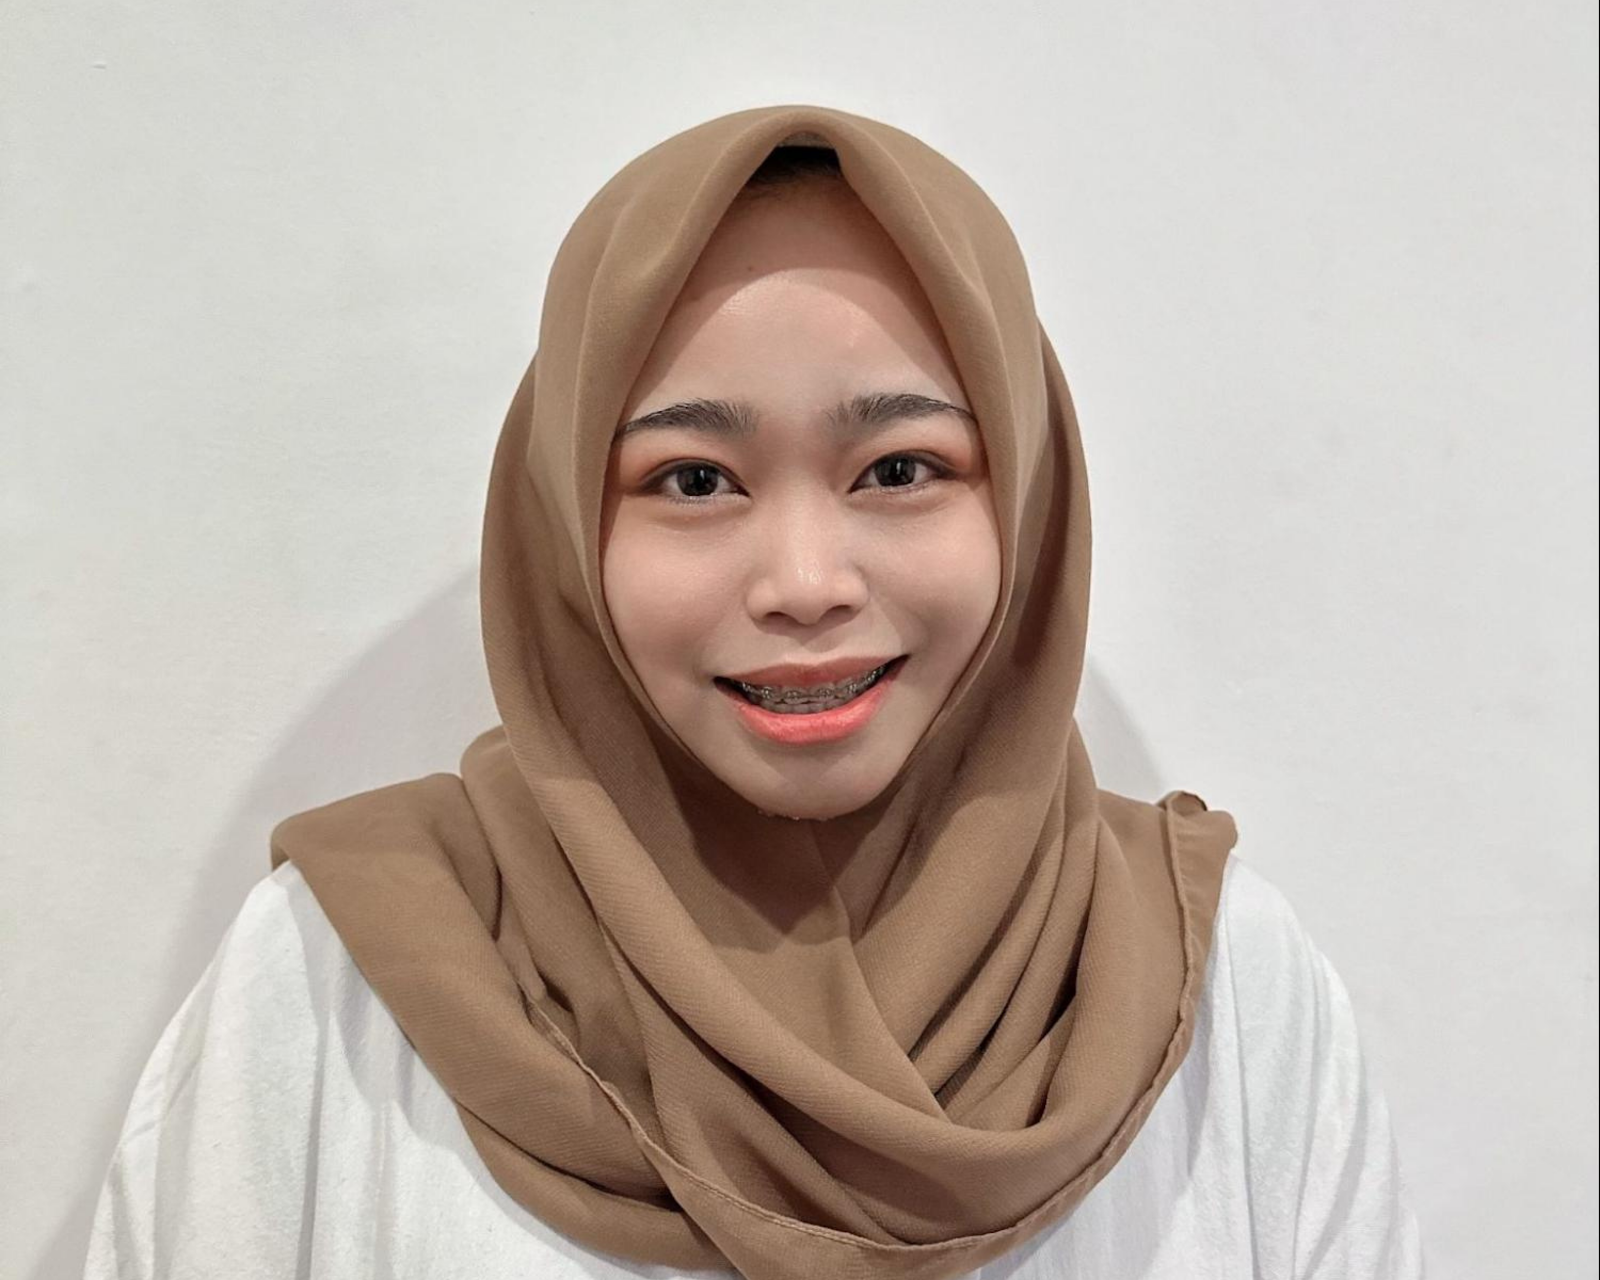
Veronica Putri Anggraini
Jakarta, Indonesia
Google Developer Expert, Android
GDSC Semarang State Polytechnic Lead Alumni (2017)
Google Developer Group
Women Techmakers Ambassador
Software Engineer Android, @ eWIDEPLUS
What are some key skills and knowledge you gained as a Google Developer Student Clubs Lead that helped you excel in your role as a Google Developer Expert?
Through GDSC, I learn a lot about Android technology, practice building Android projects, and do workshops for our members every week. This process improves my technical, writing, problem solving and public speaking skills at the same time. I started presenting as a student with a small group workshop of 5-10 people and grew to speaking in front of 1,000 people. This was also one of the necessary criteria to become a GDE.
Can you share some insights on the impact of being part of the Google Developer Student Clubs community on your personal and professional growth?
Exploring different resources while I was a student helped me develop sample app portfolios. I feel like I actually started my professional career as a curriculum developer and trainer for mobile development. I got an offer when I was a speaker at a tech event that discussed Android technology through the GDSC program. In fact, the CEO immediately offered the position after the event ended.
What Google tools have you used to build?
I have a lot of exploration with Jetpack Compose. I currently work closely with the CameraX, AndroidX Library, Google Analytics and Maps API.
Which tool has been your favorite? Why?
CameraX is one of my favorites, because it automatically manages camera resources and avoids unnecessary background work, so I got better performance.
Tell us about something you've built in the past using Google tools.
At my current company, we build a digital bank app product natively. This allows users to use Liveness as a verified onboarding process, QRPay, personalize promo campaigns, and other financial services that we build using Google tools.
What advice would you give someone starting in their developer journey?
Gain experience in dealing with issues in the stack that serve as a focus. Be consistent in learning, and don't give up easily when stuck. In other words, be the person that says: "Challenge Accepted".
You should know that learning together is more fun than learning alone, so join the community and learn everything you need and extend your network.
Anubhav Singh
Prayagraj, India
Google Developer Expert, Firebase
GDSC NSEC Kolkata Lead Alumni (2019-20)
GDG Cloud Kolkata Organizer & TFUG Kolkata Co-Organizer
What are some key skills and knowledge you gained as a Google Developer Student Clubs Lead that helped you excel in your role as a Google Developer Expert?
A major part of being a Google Developer Student Clubs Lead was to enable growth for those around me by learning together. I would often find myself guiding club members on various fronts – sometimes by taking knowledge-sharing sessions on technical topics, sometimes by diving deep into their projects’ code to help them overcome challenges they were facing and sometimes creating videos or written content for them to be able to follow along later.
Through partaking in these activities, I learned public speaking skills, mentoring, and how to be helpful to others experiencing roadblocks. These skills have proved important in my role as a Google Developer Expert.
What has been the impact of being part of the Google Developer Student Clubs community on your personal and professional growth?
Being a GDSC Lead helped me further steer teams with the same passion I have for building communities. As a GDSC Lead, you get to connect with a lot of amazing people. The community itself is highly diverse and vibrant. When I was organizing a workshop for the club during my time as a GDSC Lead, I was fortunate to meet two individuals who later became the co-founders of my startup. In that same club, three of our members became Google Developer Experts in the fields of their interest. Thus, being a GDSC Lead has had a very positive impact on both my professional and personal growth.
What Google tools have you used to build?
I’ve been working in the software development field for almost 12 years now and have used several Google tools over the years, including some that no longer exist. Some of the currently available tools that I most often work with are:
- Google Cloud Platform: Cloud Run, Cloud Functions, Cloud Firestore, Cloud Workflows, GKE, GCE, App Engine, Vertex AI and other AI based products, etc.
- Google Postmaster Tools, Search Console Tools, Analytics, Pagespeed Insights
- TensorFlow, Keras
- Google Maps API
- Firebase
- reCaptcha
Which tool has been your favorite? Why?
Firebase, hands down. As someone who loves building solutions that are useful to people, Firebase has been my go-to tool for prototyping solutions and MVPs rapidly. I’ve used it to build some simple tools which have been used by thousands of people over the years - all hosted for free and delivered with blazing speed! Even today, during my sessions as a GDE, I always use Firebase to build the UI part of the demo applications I present during the talk.
Tell us about something you've built in the past using Google tools.
I built Fireshort - a URL shortener solution running purely on Firebase. This project is completely open source and has been used by several companies as a base for their in-house URL shortening needs. I’ve been working on the next version of this project at Linkborg.
I’ve also built several real-time updating monitoring products using Firebase and Pub/Sub, mostly for enterprise clients.
As a proof of concept, I also built KolPay, which is a completely event-driven clone of EasyCard - RFID based payment wallet using Firebase, Pub/Sub, Cloud Firestore and Cloud Functions, along with hardware components like Raspberry Pi, RFID Reader/Card.
What will you create with Google Bard?
Building with Google Bard is an exciting prospect. It will be fun to no longer have to write the repetitive parts of code which I need whenever I am setting up a new project or a module within an existing project. Since I spend a lot of my day coding, I will be very happy to automate parts of it and having an AI do that would be amazing!
What advice would you give someone starting in their developer journey?
Starting a developer journey can be a daunting prospect - everyone’s talking about AI and everyone wants to build the next viral thing. If you are new to this field, step back, relax and start building a solution to any problem that has irked you for a long time. While you’re at it - read a lot of tech blogs about solving that problem, become a part of developer communities, either virtual or in person, and meet people who will share their insights about building similar products.
Kartik Derasari
Ahmedabad, Gujarat, India
Google Developer Expert, Google Cloud
GDSC Silver Oak University Lead Alumni (2020-2021)
Google Developers Group Cloud Organizer
Full-Stack Engineer at Persistent
What are some key skills and knowledge you gained as a Google Developer Student Clubs Lead that helped you excel in your role as a Google Developer Expert?
As a GDSC Lead, I’ve had the opportunity to collaborate with Googlers, Google Developer Experts, and Google Developer Groups Community Leads on various projects which helped me explore different technologies and choose what’s best for me. Knowledge sharing and public speaking is what I learned from the Google Developer Experts. Since then, I started my journey as a Technical Speaker where I share my learnings on Machine Learning & TensorFlow, Web, Firebase, and Google Cloud. I also had the opportunity to share my learnings across conferences like DevFest, Google Cloud Community Days, and GDSC WOW. These are some of the learnings that really helped me shape as a Google Developer Expert and excel in my journey.
Can you share some insights on the impact of being part of the Google Developer Student Clubs community on your personal and professional growth?
Being a GDSC Lead created a positive impact in my personal and professional journey. I came in touch with the tech community and I learned about Google Developer Groups & Google Developer Experts programs. I started volunteering for the GDG Cloud Ahmedabad chapter during my GDSC tenure and later I became one of the Community Organizers. I also started collaborating with Google Developer Experts on Web, Firebase, and Machine Learning projects and made some open-source contributions.
Everyone from the community was so welcoming and helpful. I’d highly recommend everyone join these developer programs by Google and get the best out of it. I also received mentorship from GDG Community Leads and Google Developer Experts for my professional career. They helped me connect with the right set of people and guided me to kick-start my professional career with MediaAgility, which is part of the Google Cloud Partner ecosystem. Since then, I have been working on Web & Google Cloud in my professional capacity and in my personal capacity as well.
I was motivated by the Google Cloud ecosystem in India and I cleared six Google Cloud Certifications, which created a huge impact in my personal and professional growth.
What Google tools have you used to build?
I started using Firebase as a Web Engineer. It has been very helpful when it comes to adding Authentication, storing application data in Firestore, and hosting web-app front-end static files over a CDN using Firebase Hosting. While building a set of web apps, I started exploring Machine Learning and used TensorFlow for building ML models for different use cases. Since then, I started using Google Cloud ML APIs and Cloud Functions for adding more functionalities to my web apps.
While working on these projects, I came across the Google Cloud Partner ecosystem and joined MediaAgility (now part of Persistent Systems) as a Full-Stack Engineer. Since then, I have been working on Google Cloud with Google Cloud PSO and enterprise customers.
Which tool has been your favorite? Why?
Cloud Run is something that I really like as an Application Developer. Since it’s a serverless compute platform, I can spend more time on building my application rather than worrying about my infrastructure. Firebase Authentication, Cloud Firestore, and Cloud Storage are also tools that I really love. They help me create full-stack apps and ship faster to production.
Tell us about something you've built in the past using Google tools. What will you create with Google Bard?
Since we’re in the wave of Generative AI right now, I have been working on building a number of apps using Google Cloud Run, BigQuery, Cloud Storage, Generative AI studio, Model Garden on Vertex AI and PaLM models. Recently, I built a chat application interface which provides insights from structured enterprise data warehouse and unstructured files, along with enterprise-grade data governance and security.
What advice would you give someone starting in their developer journey?
Be a consistent learner and a persistent explorer. It’s great to cultivate a learning habit, which will help you all the way in your personal and professional journey. This will not only help you explore new things, but it will also help you master something that you really love to do. As a beginner, it would be good to start with something that you find interesting, and then you can add a flavor of other things. For example, if you find building web apps interesting, try it. When you think you’re good at it, you can add a flavor of Machine Learning to it. That’s how you explore new things and experiment with what you know.
 Posted by

 Posted by


 Posted by Swathi Dharshna Subbaraj, Google Dev Library


 Posted by Brian Hall, Vice President, Product and Industry Marketing, Google Cloud & Max Saltonstall, Developer Relations Engineer

 Posted by Jeanine Banks, VP & General Manager of Developer X & Head of Developer Relations