Posted by Sarat Tummala, Product Manager, Google Play services
The Android KitKat (KK) platform was first released ~10 years ago and since then, we’ve introduced many innovative improvements and features for Android, which are unavailable on KK. As of July 2023, the active device count on KK is below 1% as more and more users update to the latest Android versions. Therefore, we are no longer supporting KK in future releases of Google Play services. KK devices will not receive versions of the Play Services APK beyond 23.30.99.
Posted by Joseph Mills, Group Product Manager, Google Play
As a platform, we always want to help developers bring innovative ideas to life. Google Play hosts a variety of blockchain related apps, and we know that our partners are excited to expand on these offerings to create more engaging and immersive digital experiences with tokenized digital assets such as NFTs. Like with any emerging technology, we must balance innovation with our responsibility to protect users. So, we’ve spoken with developers about responsibly supporting those opportunities while continuing to provide a safe, transparent, and trusted experience for everyone.
Today, we’re pleased to share that we’re updating our policy to open new ways to transact blockchain-based digital content within apps and games on Google Play. From reimagining traditional games with user-owned content to boosting user loyalty through unique NFT rewards, we’re excited to see creative in-app experiences flourish and help developers expand their businesses.
Keeping Users Protected While Fostering Innovation
As blockchain technology continues to evolve, maintaining user trust is paramount. As part of the policy update, we’re requiring that apps be transparent with users about tokenized digital assets. For example, if an app or game sells or enables users to earn tokenized digital assets, developers must declare this clearly. And while tokenized assets are meant to build more enriched, immersive experiences, as an added user protection, developers may not promote or glamorize any potential earning from playing or trading activities.
In line with Google Play’s Real-Money Gambling, Games, and Contests policy, apps that have not met gambling eligibility requirements cannot accept money for a chance to win assets of unknown real-world monetary value, including NFTs. For example, developers should not offer purchases where the value of the NFT users receive is not clear at the time of purchase. This includes, but is not limited to, offering mechanisms to receive randomized blockchain-based items from a purchase such as “loot boxes”.
Unlocking Innovation Across the Industry
Google Play succeeds when our partners succeed. These new guidelines were developed in close consultation with app and game developers and incorporates their feedback on how we can continue to support their businesses.
"We really appreciate Google's partnership in this collaborative effort to bring about innovation in this space and move these new economies forward. We think these new policies are steps forward for both players and developers alike and will positively impact the adoption of new technology while also protecting consumers."
– John Linden, CEO, Mythical Games
"At Reddit we believe in empowering our users by providing transparency and a responsible approach to blockchain-based digital content – like our Collectible Avatars. We partnered with Google to help update their policy, aimed at creating a level playing field that promotes user trust, and responsible usage of blockchain technology.By setting clear guidelines, we can ensure that our users make informed decisions while enjoying immersive experiences."
– Matt Williamson, Senior Engineering Manager, Reddit
Looking Ahead to Future Opportunities
We will continue to engage with developers to understand their challenges and opportunities — and how we can best support them in building sustainable businesses using blockchain technology. As a next step, we’re talking to industry partners about further improving our support of blockchain-based app experiences, including in areas such as secondary markets.
We’ll keep you posted on our progress. In the meantime, we’re excited to see how today’s blockchain policy announcement brings more fun and delight to apps and games across Google Play.
For more on the blockchain policy and other changes announced today:
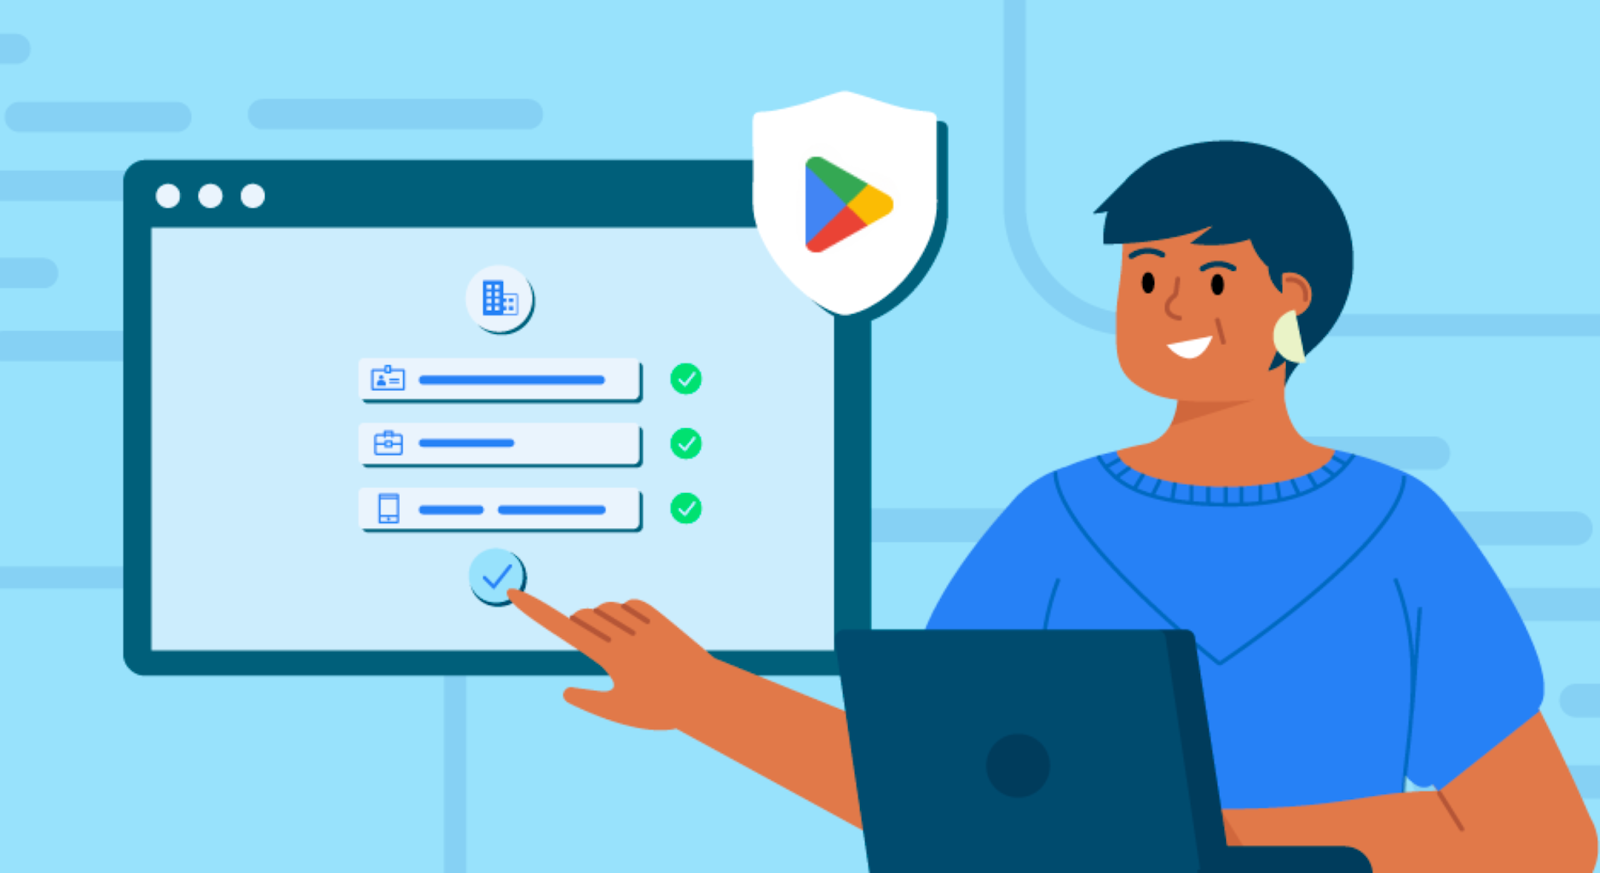
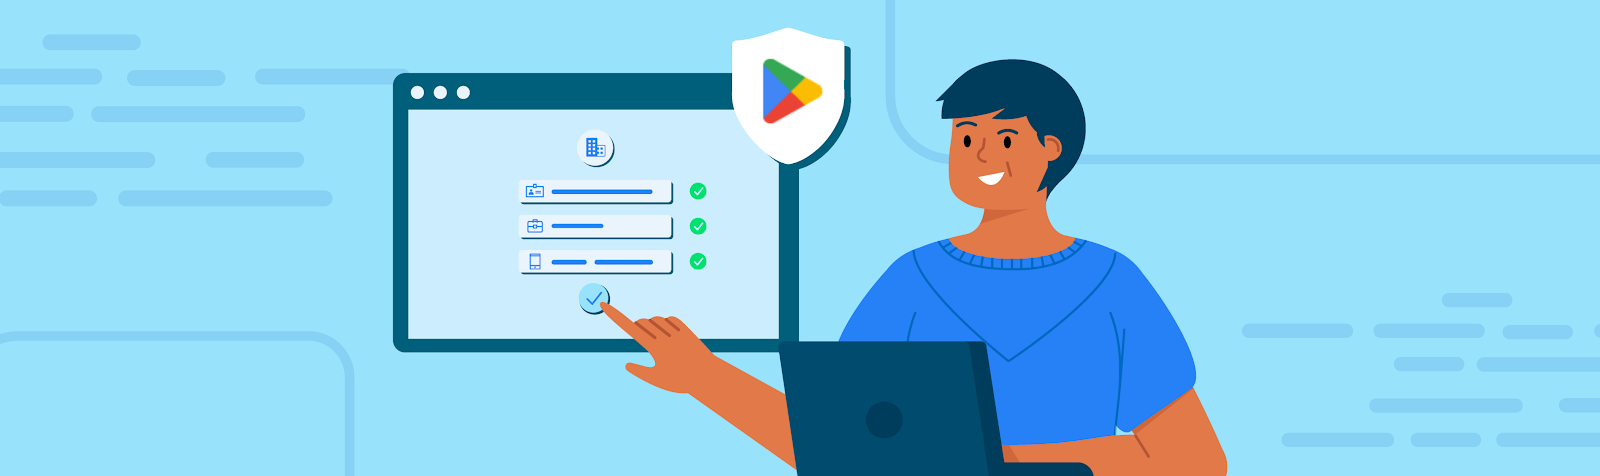
Posted by Kobi Gluck, Director, Product Management, Google Play Developer
One of the many ways we keep Google Play a safe and trusted platform is by verifying the identity of developers and their payment information. This helps prevent the spread of malware, reduces fraud, and helps users understand who’s behind the apps they’re installing.
For example, we require developers to verify their email address and phone number to make sure that every account is created by a real person, with real contact details.
Today, we're announcing expanded developer verification requirements in our Play Console Requirements policy. As part of this update, we’ll also share more developer details on your app’s store listing page to help users make confident, informed choices about what to download.
Here’s a quick look at what’s new.
Requiring organizations to provide a D-U-N-S number
When you create a new Play Console developer account for an organization, you’ll now need to provide a D-U-N-S number. Assigned by Dun & Bradstreet, D-U-N-S numbers are unique nine-digit identifiers that are widely used to verify businesses.
Because we’ll use D-U-N-S numbers to verify your business information during the account creation process, it's important to make sure the information that Dun & Bradstreet has about your business is up to date before creating a developer account. You may also be required to submit official organization documents to help us to verify your information.
Organizations will need to provide a D-U-N-S number
Building user trust by helping them make more informed choices
We’re renaming the “Contact details” section on your app’s store listing to “App support” and adding a new "About the developer” section to help users learn more about you. This may show verified identity information like name, address, and contact details.
Examples of the new “App support” section for individual accounts (on the left) and organizations (on the right). These examples are subject to change.
Keeping developer information up to date
Once you create a new Play Console developer account and we’ve verified your details, you’ll be eligible to start publishing apps on Google Play.
If at any point we can’t verify your information, like your legal name or address–we’ll get in touch and ask you to reverify your information to avoid having your apps removed from Google Play.
Timeline
On August 31, we’ll start rolling out these requirements for anyone creating new Play Console developer accounts. Your “About the developer” section will be visible to users as soon as you publish a new app. Over the first couple of months, we’ll listen to feedback and refine the experience before expanding to existing developers.
In October, we’ll share more information with existing developers about how to update and verify existing accounts.
Thank you for partnering with us as we continue to make Google Play a safe and trusted platform for everyone.
Today we're bringing you Android 14 Beta 4, continuing our work on polish and performance as we get closer to the general availability release of Android 14. Beta 4 is available for Pixel Tablet and Pixel Fold, in addition to the rest of the supported Pixel family, so you can test your applications on devices spanning multiple form factors and directly experience the work we're doing to improve the large-screen and foldable device experience.
Platform Stability
Beta 4 is our second Platform Stable Android 14 release, which means that the developer APIs and all app-facing behaviors are final for you to review and integrate into your apps, and you can publish apps on Google Play to devices running Android 14 at the official API level.
It's a good time to finish compatibility testing and publish any necessary updates to ensure a smooth app experience ahead of the final release of Android 14 later this year.
If you develop an SDK, library, tool, or game engine, it's even more important to release any necessary updates now to prevent your downstream app and game developers from being blocked with compatibility issues. Also, when you release a compatible update, please make sure to let your developers know.
App Compatibility
Each release of Android contains changes to the platform that improve privacy, security, and the overall user experience. These changes can affect your apps. Testing your app involves installing your production app onto a device running Android 14 Beta 4; you can use Google Play or other means. Work through all the app's flows and look for functional or UI issues. Review the behavior changes to focus your testing.
Get started with Android 14
Today's Beta 4 release has everything you need to try Android 14 features, test your apps, and give us feedback. The easiest way to get started is using the 64-bit Android Emulator system images for the Pixel Tablet or Pixel Fold configurations found in the latest preview of the Android Studio SDK Manager. You can also enroll any supported Pixel device here — including the new Pixel 7a, Pixel Tablet, and the Pixel Fold — to get this and future Android 14 Beta and feature drop Beta updates over-the-air.
For the best development experience with Android 14, we recommend that you use the latest release of Android Studio Hedgehog which includes the Android SDK Upgrade Assistant to help with your migration. Once you’re set up, here are some of the things you should do:
Try the new features and APIs. Report issues in our tracker on the feedback page.
Test your current app for compatibility – learn whether your app is affected by default behavior changes in Android 14. Install your app onto a device or emulator running Android 14 and extensively test it.
Test your app with opt-in changes – Android 14 has opt-in behavior changes that only affect your app when it’s targeting the new platform. It’s important to understand and assess these changes early. To make it easier to test, you can toggle the changes on and off individually.
Update your app with the Android SDK Upgrade Assistant - Android Studio Hedgehog now filters and identifies the specific Android 14 API changes that are relevant to your app, and walks you through the steps to upgrade your targetSdkVersion with the Android SDK Upgrade Assistant.
Android SDK Upgrade Assistant in Android Studio Hedgehog
We’ll update the beta system images regularly throughout the Android 14 release cycle.
If you are already enrolled in the Android 14 Beta program and your device is supported, Beta 4 will be made available to you as an Over The Air update without taking any additional action.
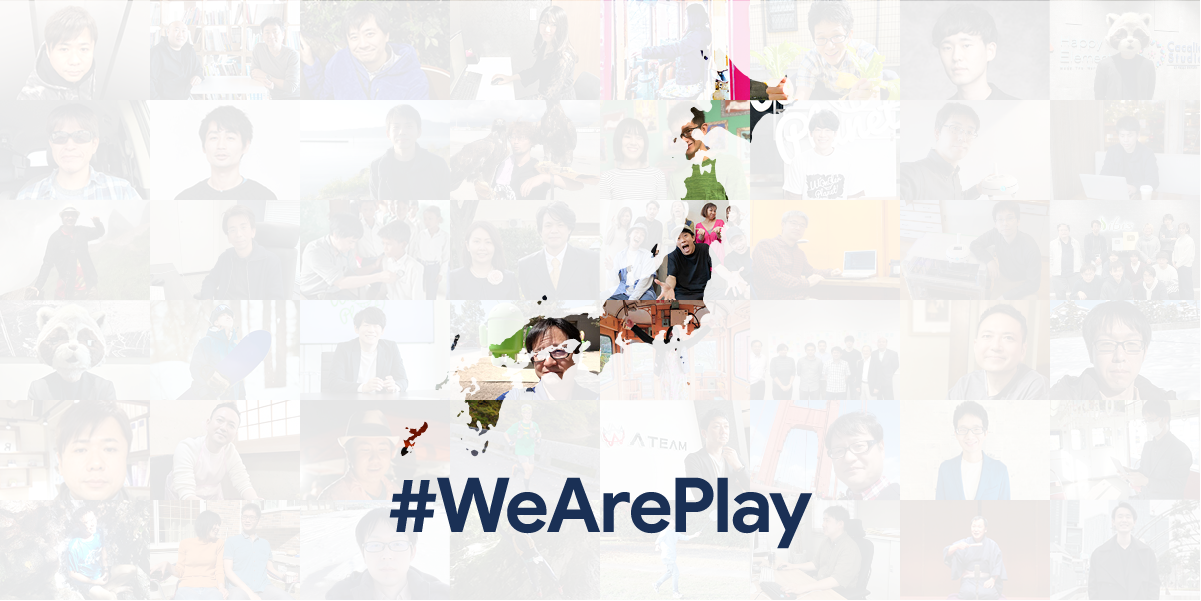
#WeArePlay is on a virtual world tour: starting first with the U.S. last summer by spotlighting the stories of app and game founders from every state, then visiting India sharing stories from across the country, and more recently visiting Europe by sharing stories from countries across the region.
Today, we’re continuing our tour with one more stop: Japan. From a snowboarding app made by a paralympian, to a game inspired by the enchanting landmarks of Gifu. Discover the people growing apps and games businesses on Google Play.
We’re starting with stories from Chubu, Chugoku & Shikoku and Kinki, with more following throughout the year. Let’s explore some of the stories from across these 3 regions.
Takao Hayashi, founder of Ateam Entertainment
First, Takao Hayashi from Nagoya, Aichi. When Takao’s father sadly passed away when he was only 9 years old, he decided to double down on his hobby of coding and help his family become financially secure. He eventually launched Ateam, and after releasing various apps and games in Japan, his company began to focus on expansion into new markets. Their efforts are paying off, as real-time battle RPG Unison League has become a global hit. The Japanese art in the game has become so popular that some fans have even adopted the style of their favorite characters into their fashion. Next, Takao wants to release new games and reach players in more parts of the world, including India and Latin America.
Keiji Okamoto, founder of yukiyama
Next, Keiji Okamoto from Kobe, Hyogo. Keiji worked hard to pursue his passion for snowboarding all the way to a professional level. However, an accident on the slopes left him with a spinal injury and the news that he might never snowboard again. With his future plans uncertain and hoping to contribute to the sport despite no longer being able to snowboard, Keiji founded yukiyama: a platform where snowsports enthusiasts can access ski resort maps and track their distances down the slopes. Today the app is used all over Japan. The team plans to make it accessible to tourists too by localizing it to other languages. As the app grows, so does Keiji's sports career, who now competes in the Paralympics.
Hitomi Wada, founder of blazeworks
Now, Hitomi Wada from Kakamigahara, Gifu. Hitomi has been a fan of fantasy role-playing games since a friend first introduced her to them as a child. Years later she got inspired to create her own game, Gifu Quest, while exploring the enchanting sights and landmarks of the Gifu prefecture. Players must save all 42 municipalities from ruin and can even play a role in the game’s creation - with some of their photos of Gifu featuring in the game, and many sharing their travels to the places that appear in the game under the hashtag #realgifuquest. Next, Hitomi wants to create new games and eventually feature the whole of Japan.
Masaomi Kurokawa, Managing Director of KEMCO
And last but not least, Masaomi Kurokawa from Kure, Hiroshima. Masaomi’s love of computers and gaming began back in middle school, when his dad bought him his first computer to program. Later, during the mid-2000s, he decided he wanted to revive classic retro games from his childhood. His RPG title Dragon Lapis has a characteristic old-school aesthetic - with dragons, legends and battles, and is hugely popular with fans of the RPG-genre. His nostalgic games have a loyal fanbase both in Japan and overseas. Masaomi has more games in the works and, in the future, wants to take on new challenges like moving into the app space.
In our latest #WeArePlay stories, meet app and game founders from around the world bringing creative new ideas to their industries. From a mountaineering app that is helping to save lives, to game studios incorporating playful cultural nods and inclusive designs in their titles.
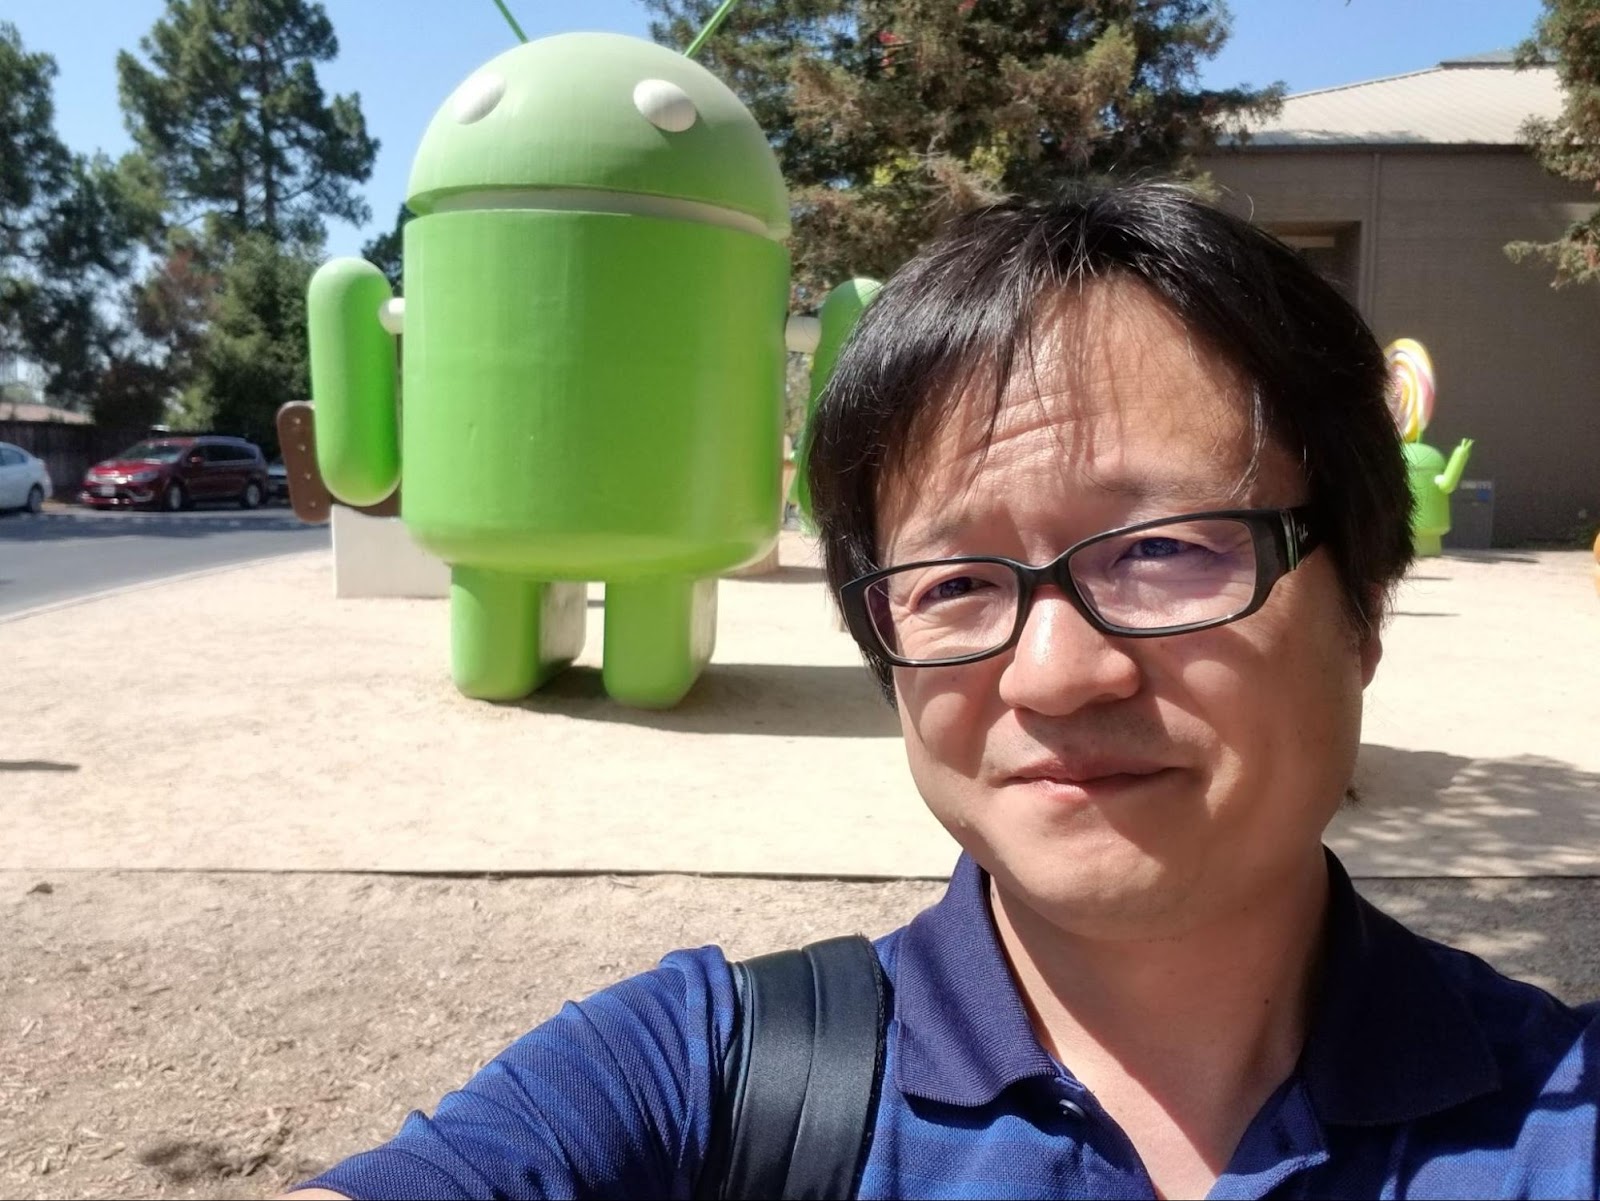
In our latest film, meet Yosihiko from Japan who founded YAMAP - an app for mountain climbers. After the 2011 Great East Japan Earthquake, he was inspired to bring people closer to nature and save lives. Despite having no programming experience, he and his team created a platform which enables mountaineers to safely check their location and share their climb activity logs, even when there’s no phone signal. The app has become very popular with climbers, who have also formed a YAMAP community. Yoshihiko also recently partnered with the local government to aid mountain rescues.
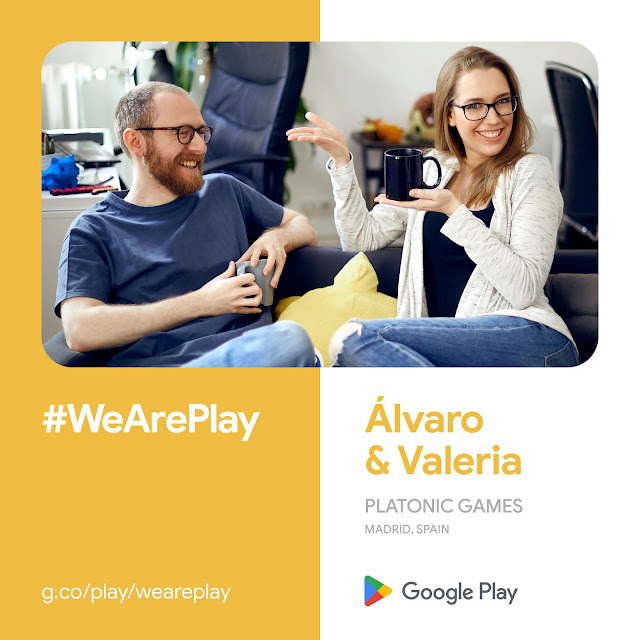
Next, Valeria and Álvaro from Spain - founders of Platonic Games. Born in Uruguay, Valeria moved to Spain as a child. Her parents loved video games so she grew up playing them with her family. After studying computer science and traveling the world with her PR job, she transitioned into game development and launched her own studio, Platonic Games, with friend and co-founder Álvaro. Noticing that games for girls were often limited to a handful of genres, the pair decided to design something new for a female audience. Happy Hop is an addictive racing game featuring kawaii-inspired “Miimo” characters.
And now, Olivier from Cameroon - founder of Kiroo Games. Growing up around his father’s video store and a huge collection of science magazines, Olivier was exposed to technology from an early age. So it’s no surprise that he studied computer science and soon began creating PC games. Following a successful crowdfunding campaign, he was able to release the African fantasy RPG, Aurion. Partly inspired by Japanese manga, the game is an allegory for geopolitical themes, with players following the King and Queen of Zama as they fight corruption in Aurion. Next, he hopes to transform Aurion into a global African-fantasy gaming brand.
Lastly, Yiwei from Malaysia - founder of Kurechii. He started his career as a web designer, but as a keen gamer himself he soon transitioned into game development and launched his own studio Kurechii. As he watched busy commuters in Tokyo playing on their phone while carrying their briefcases, he got the idea to create a game that could be played single-handedly, but still feature adventurous role playing. In Postknight, players follow a knight as he makes dangerous journeys across the kingdom of Kurestal to deliver parcels. After releasing the popular sequel Postknight 2 with brand new characters, the team are now working to enhance both games, as well as brainstorm ideas for new titles.
Check out their stories now at g.co/play/weareplay and keep an eye out for more stories coming soon.
Records are a new Java feature for immutable data carrier classes introduced in Java 16 and Android 14. To use records in Android Studio Flamingo, you need an Android 14 (API level 34) SDK so the java.lang.Record class is in android.jar. This is available from the "Android UpsideDownCake Preview" SDK revision 4. Records are essentially classes with immutable properties and implicit hashCode, equals, and toString methods based on the underlying data fields. In that respect they are very similar to Kotlin data classes. To declare a Person record with the fields String name and int age to be compiled to a Java record, use the following code:
@JvmRecord
data classPerson(val name: String, val age: Int)
The build.gradle file also needs to be extended to use the correct SDK and Java source and target. Currently the Android UpsideDownCake Preview is required, but when the Android 14 final SDK is released use "compileSdk 34" and "targetSdk 34" in place of the preview version.
Records don’t necessarily bring value compared to data classes in pure Kotlin programs, but they let Kotlin programs interact with Java libraries whose APIs include records. For Java programmers this allows Java code to use records. Use the following code to declare the same record in Java:
publicrecordPerson(String name, int age) {}
Besides the record flags and attributes, the record Person is roughly equivalent to the following class described using Kotlin source:
It is possible in a record class to override the hashCode, equals, and toString methods, effectively replacing the JVM runtime generated methods. In this case, the behavior is user-defined for these methods.
Record desugaring
Since records are not supported on any Android device today, the D8/R8 desugaring engine needs to desugar records: it transforms the record code into code compatible with the Android VMs. Record desugaring involves transforming the record into a roughly equivalent class, without generating or compiling sources. The following Kotlin source shows an approximation of the generated code. For the application code size to remain small, records are desugared so that helper methods are shared in between records.
classPersonDesugared(val name: String, val age: Int) {
fungetFieldsAsObjects(): Array<Any> {
return arrayOf(name, age)
}
overridefunhashCode(): Int {
return SharedRecordHelper.hash(
PersonDesugared::class.java,
getFieldsAsObjects())
}
overridefunequals(other: Any?): Boolean {
if (other == null || other !is PersonDesugared) {
returnfalse
}
return getFieldsAsObjects().contentEquals(other.getFieldsAsObjects())
}
overridefuntoString(): String {
return SharedRecordHelper.toString(
getFieldsAsObjects(),
PersonDesugared::class.java,
"name;age")
}
// The SharedRecordHelper is present once in each app using records and its // methods are shared in between all records.classSharedRecordHelper {
companionobject {
funhash(recordClass: Class<*>, fieldValues: Array<Any>): Int {
return31 * recordClass.hashCode() + fieldValues.contentHashCode()
}
funtoString(
fieldValues: Array<Any>,
recordClass: Class<*>,
fieldNames: String
): String {
val fieldNamesSplit: List<String> =
if (fieldNames.isEmpty()) emptyList() else fieldNames.split(";")
val builder: StringBuilder = StringBuilder()
builder.append(recordClass.simpleName).append("[")
for (i in fieldNamesSplit.indices) {
builder
.append(fieldNamesSplit[i])
.append("=")
.append(fieldValues[i])
if (i != fieldNamesSplit.size - 1) {
builder.append(", ")
}
}
builder.append("]")
return builder.toString()
}
}
}
}
Record shrinking
R8 assumes that the default hashCode, equals, and toString methods generated by javac effectively represent the internal state of the record. Therefore, if a field is minified, the methods should reflect that; toString should print the minified name. If a field is removed, for example because it has a constant value across all instances, then the methods should reflect that; the field is ignored by the hashCode, equals, and toString methods. When R8 uses the record structure in the methods generated by javac, for example when it looks up fields in the record or inspects the printed record structure, it's using reflection. As is the case for any use of reflection, you must write keep rules to inform the shrinker of the reflective use so that it can preserve the structure.
In our example, assume that age is the constant 42 across the application while name isn’t constant across the application. Then toString returns different results depending on the rules you set:
Person(“John”, 42).toString();
// With D8 or R8 with -dontobfuscate -dontoptimize
>>> Person[name=John, age=42]// With R8 and no keep rule.
>>> a[a=John]// With R8 and -keep,allowshrinking,allowoptimization class Person
>>> Person[b=John]// With R8 and -keepclassmembers,allowshrinking,allowoptimization class Person { <fields>; }
>>> a[name=John]// With R8 and -keepclassmembers,allowobfuscation class Person { <fields>; }
>>> a[a=John, b=42]// With R8 and -keep class Person { <fields>; }
>>> Person[name=John, age=42]
Reflective use cases
Preserve toString behavior
Say you have code that uses the exact printing of the record and expects it to be unchanged. For that you must keep the full content of the record fields with a rule such as:
This ensures that if the Person record is retained in the output, any toString callproduces the exact same string as it would in the original program. For example:
However, if you only want to preserve the printing for the fields that are actually used, you can let the unused fields to be removed or shrunk with allowshrinking:
If you’re using another build system than AGP, using records may require you to adapt the build system. The java.lang.Record class is not present until Android 14, introduced in the SDK from "Android UpsideDownCake Preview" revision 4. D8/R8 introduces the com.android.tools.r8.RecordTag, an empty class, to indicate that a record subclass is a record. The RecordTag is used so that instructions referencing java.lang.Record can directly be rewritten by desugaring to reference RecordTag and still work (instanceof, method and field signatures, etc.).
This means that each build containing a reference to java.lang.Record generates a synthetic RecordTag class. In a situation where an application is split in shards, each shard being compiled to a dex file, and the dex files put together without merging in the Android application, this could lead to duplicate RecordTag class.
To avoid the issue, any D8 intermediate build generates the RecordTag class as a global synthetic, in a different output than the dex file. The dex merge step is then able to correctly merge global synthetics to avoid unexpected runtime behavior. Each build system using multiple compilation such as sharding or intermediate outputs is required to support global synthetics to work correctly. AGP fully supports records from version 8.1.
Posted by Maru Ahues Bouza, Director, Android Developer Relations
Last month at Google I/O, we announced that Pixel Tablet and Pixel Fold are joining our Pixel family of devices, and this month, as consumers purchase them, they are opening them up and downloading their favorite apps, including perhaps…yours!
We’ve been walking you through a number of optimizations you can make so that your app looks great on large screens, but it boils down to three important design principles to make the most of the extra screen space on large screen Android devices:
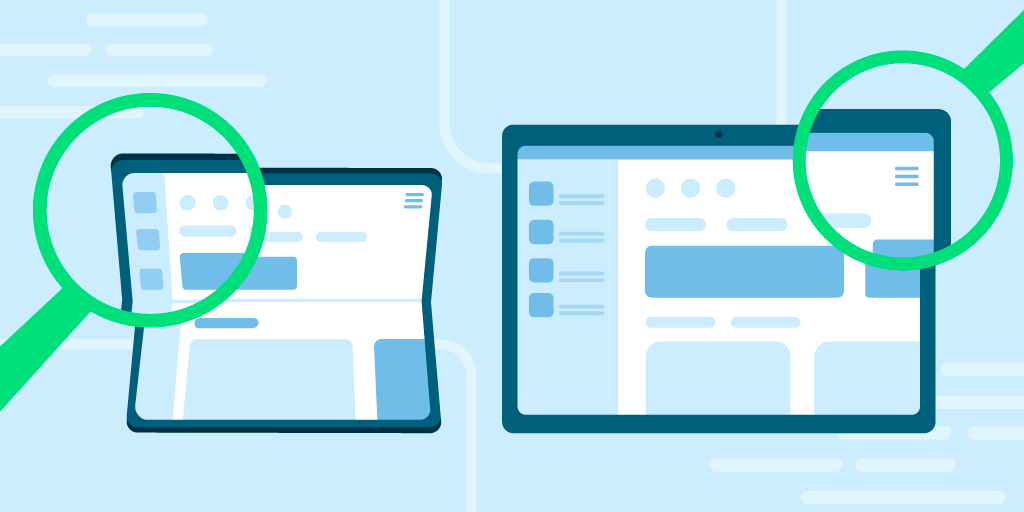
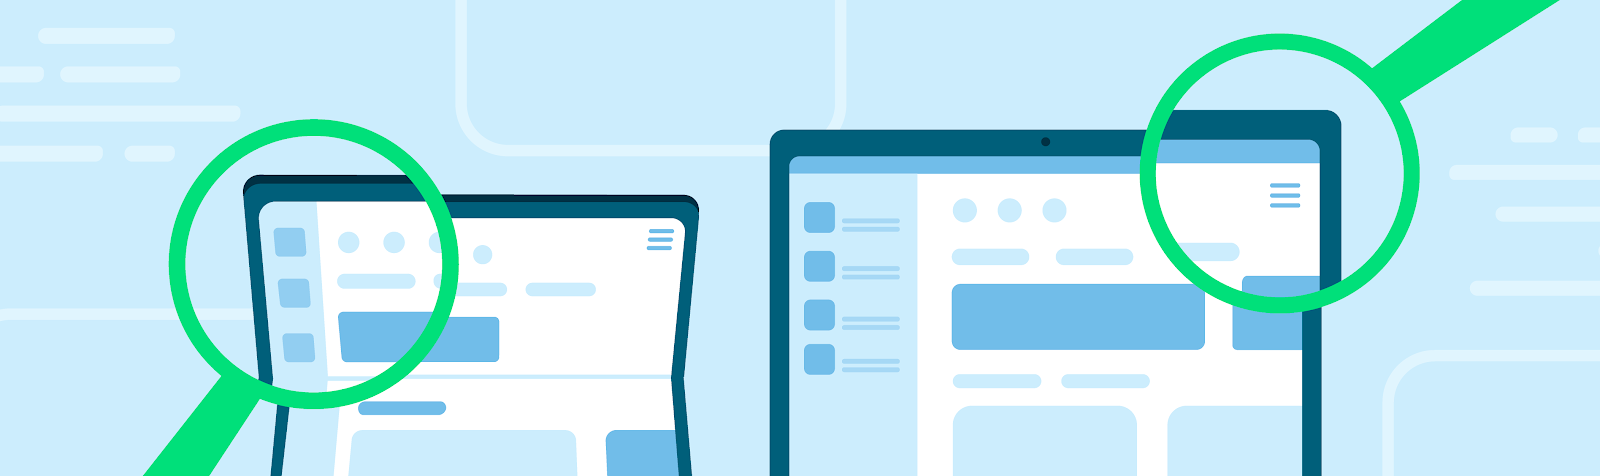
Two-pane layouts display content across two columns, showing you more content across the unfolded, larger screen, and allows you to do more without extra taps or losing context
App continuity on foldable phones ensures apps easily transition from folded to unfolded orientations
Responsive layouts resize content and controls as the screen size changes, such as when you use two apps in split-screen mode
Some of the latest resources to help you get started for large screens
For the last few weeks, we’ve been diving into the world of large screens with posts to help you get the most out of these devices with your apps, including many of the latest updates from this year’s Google I/O. Here’s a round-up of some of the posts:
The dos and don’ts: Common questions we encounter when optimizing your Android app for large screens (And what NOT to do!)
New testing features in Android Studio: including updates to Android Studio and Emulators from Google I/O that let you create virtual devices using new Google Pixel Fold and Google Pixel Tablet device profiles (Android Studio Hedgehog)
This is just a taste of the materials we have to help you get your apps ready for large screens, and there’s even more here. Still want more? We’d love to hear how we can help. We can’t wait to see how great your apps look on Pixel Tablet and Pixel Fold!
Posted by Alex Vanyo, Developer Relations Engineer
With the increase in Android apps being used on large screen form factors like foldables and tablets, more and more apps are building fully adaptive UIs. See Support different screen sizes for best practices for updating your app for best practices for updating your app. The bottom line is that Layout and app behavior should be based on device configuration and available features, and not the physical type of the device.
At the same time, we get this question a lot: “Is there an easy way to tell if a device is a foldable, tablet, or something else?”
It might seem that using the physical type of device provides all the information developers need to create great experiences. However, we can make more adaptive apps with a better user experience by adding more context. For example:
Do you want “flip”-style phones to count as foldables?
Do you want to determine if a device is a tablet, or just if cellular functionality is available?
What would rollables count as? What about ChromeOS devices, or other desktop devices that can run Android apps?
The most common reason app developers want to know the type of the device is so they can determine what kind of layout to show. But with the increase of split-screen and multi-window usage on large screens, making layout decisions based on device type leads to incorrect layout decisions in certain scenarios on large screen devices.
As we’ve been updating our own apps to better support more devices, we have seen a few important use cases to highlight further. We will cover four main scenarios:
Layouts - Display the most appropriate UI for different devices and folding postures
Hardware features - Implement support for a variety of hardware features
Display the most appropriate UI for different devices, display modes, and folding postures.
Recommended Solution
Use window size classes to guide layout decisions based on your current windowing state using opinionated breakpoints that are derived from common device types. Don't restrict orientation or resizability; you prevent users from using your application in their desired manner.
Observe folding features with Jetpack WindowManager, which provides the set of folding features that intersect your app's current window. Note that even if your activity isn’t receiving any folding features, it could still be running on a device capable of folding – on the outer screen, on the inner screen in a small window, or on an external display.
Why
Historically, multiple distinct layouts were created for different screen sizes, often with a “tablet” layout and a “phone” layout. These two layouts then existed together, and both had to be kept up to date as the app changed. Referring to these layouts as “tablet” and “phone” layouts was useful when the device manufacturers by and large limited themselves to making devices that fit cleanly into these two categories. Users today have a lot more choice as manufacturers are creating devices that are more physically varied, and usable in different ways.
A single device may sometimes have enough room to display a "tablet"-sized layout, while other times (for example, a folded foldable or split screen) the device may only have enough room to display a “phone” layout. There are even cases where a smaller layout is desired such as foldable flip phone cover displays.
This could be due to a foldable that has a smaller outer screen and a larger inner screen, or whenever the user enters multi-window mode and adjusts freeform windowing environments. Critically, the type of app layout should not be decided by the physical type of the device; it should be decided by the current size of the app’s window, which may or may not be full screen on the current device display.
On large screen devices running Android 12L and higher, apps that restrict the orientation or resizability can be placed into compatibility mode as the device is rotated or folded or the app enters multi-window mode. Compatibility mode letterboxes the app, preserving the app's specified restrictions, but missing the opportunity to display more, useful content to the user.
Hardware features
Goal
Implement support for a variety of hardware features (for example, if the device has a SIM).
Recommend Solution
Make dynamic, runtime decisions based on whether a feature is available, instead of assuming that a feature is or is not available for a certain kind of device.
If your app has a feature that is absolutely required, Google Play respects the required uses-feature declarations in your manifest. However, be mindful that any required features reduce the set of devices that your app can be installed on, and adding new required features prevents updates to previously supported devices.
Why
There are many hardware features that are present on some Android devices, but not present on others. As devices continue to evolve, we’ve seen multiple cases where user-facing features are not supported, because developers assume that a physical type of device doesn’t support a particular hardware feature.
For example, we’ve seen cases where biometric authentication isn’t offered as a login option on tablets that support biometric authentication, even when the same app supports biometric authentication on phones. Biometric authentication should be an option for the user if the device supports it, not based on the type of device.
Another example is assuming cellular connectivity is limited to standard-size phones. Foldable devices might have “tablet”-sized screens, but foldables still have a cellular connection and a phone number. If a device has the capability, the user should be able to choose to use the device accordingly.
Some hardware features are also dynamically available. Peripherals might be attached and detached by the user, and apps should gracefully handle gaining and losing access to these features. Hardware features like the camera and microphone can only be used by one app at a time, so multi-tasking between different apps may also result in losing access to hardware features.
Displaying physical device type to the user
Goal
Personalize user-facing information by type of device (for example, "Run on your tablet")
Recommendation
Referring in the UI to the user’s device as simply a “device” covers all form factors and is the simplest to implement. However, differentiating between the multiple devices a user may have provides a more polished experience and enables you to display the type of the device to the user using heuristics relevant to your particular use case.
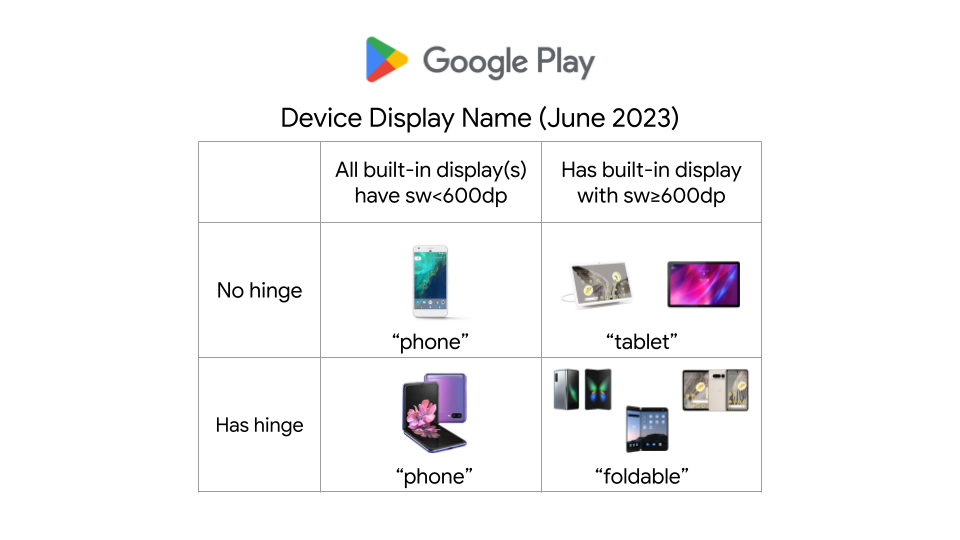
For example, Google Play currently uses the following heuristics for determining the device name to display to the user when installing an app on a particular device. The logic is specific to this particular use case, and may change as devices and form factors evolve.
Google Play Device Display Name logic as of June 2023
Why
If you are displaying the type of the device to the user, and want to differentiate between the physical type of the device for personalizing the experience, such as to say “download on your foldable” or to show more specific device imagery, you can use the available physical features as heuristics for which type of device the user is using. However, these are only heuristics and could change as the accepted terms for referring to the devices themselves change. As discussed above, a foldable device may or may not support other hardware features, or have a large screen.
“Foldable” heuristic:
If a device has a hinge sensor (which can be determined by PackageManager.hasSystemFeature(PackageManager.FEATURE_SENSOR_HINGE_ANGLE)), then the device supports folding in some manner. Note: While this covers most foldables moving forward, it may not cover some older foldables that don’t expose a hinge sensor. Additionally, the screen the app is being displayed on may or may not fold, the device might have an additional non-folding screen as well, or the screen may not currently be folded, even if it could fold. Devices like the Samsung Flip have a smallest width of less than 600dp, The inner screen of large-screen foldables have a smallest width of 600dp or more.
“Phone” heuristic:
99.96% of phones have a built-in screen with a width smaller than 600dp when in portrait, but that same screen size could be the result of a freeform/split-screen window on a tablet or desktop device.
“Desktop” heuristic:
Desktop devices, like ChromeOS devices, running Android apps, may expose specific features or environment information that apps can use. For instance, ChromeOS has the system feature "org.chromium.arc" or “org.chromium.arc.device_management” to enable developers to determine whether their app is running on ChromeOS. But apps running on tablets – and phones, if the user so chooses – may also use desktop-class keyboards and mice for enhanced productivity.
Metrics tracking for device type
Goal
Understand how users are using your app on different types of devices.
Recommendation
Use the heuristics and features discussed above as inputs to your analytics, while keeping in mind that physical device type doesn’t give the complete story for how users are using your app on that device.
Why
Even if the user is using a device that can physically fold, they may be using the app in multiple configurations. Users might use an app more or less on the inner screen compared to the outer screen, and they might multi-task with other apps on the inner screen. For devices that support external displays, the app might not be running on either of a foldable's built-in physical displays.
Other information that might also be relevant:
Are there external peripherals being used to interact with the app, like keyboards, mice, trackpads, or styluses?
Does the device have a built-in touchscreen?
Is the app being used in a free-form windowing environment?
Conclusion
Don't make assumptions about what a particular physical device implies for your app. “Is the device foldable?” is a good starting point, but it shouldn’t be the only question you ask. Additional pieces of information will give a more precise and more relevant answer to your use case at hand, and each use case has different considerations that you should make to build versatile, adaptive apps.
Available in 180 countries and with over 1 billion downloads on Google Play, Dropbox is one of the world’s most popular file sharing and cloud storage services. Dropbox is on a mission to design a more enlightened way of working, keeping life organized and work moving. Recently that meant Jetpack Compose , Android’s modern declarative toolkit for creating native UI.
A smarter, faster way to build UI
Since adopting Compose, Dropbox developers have rewritten many features for the app, including its home screen, file preview, and search experiences. Dropbox’s search experience was completely rebuilt in just a few weeks, which was 40% less time than expected and less than half the time it took them to build the same feature for iOS.
The team being able to work faster was a direct result of how simple it was for them to use Compose. Since rebuilding the search experience, Dropbox developers have seen a 13% increase in successful search sessions —a key metric for the team.
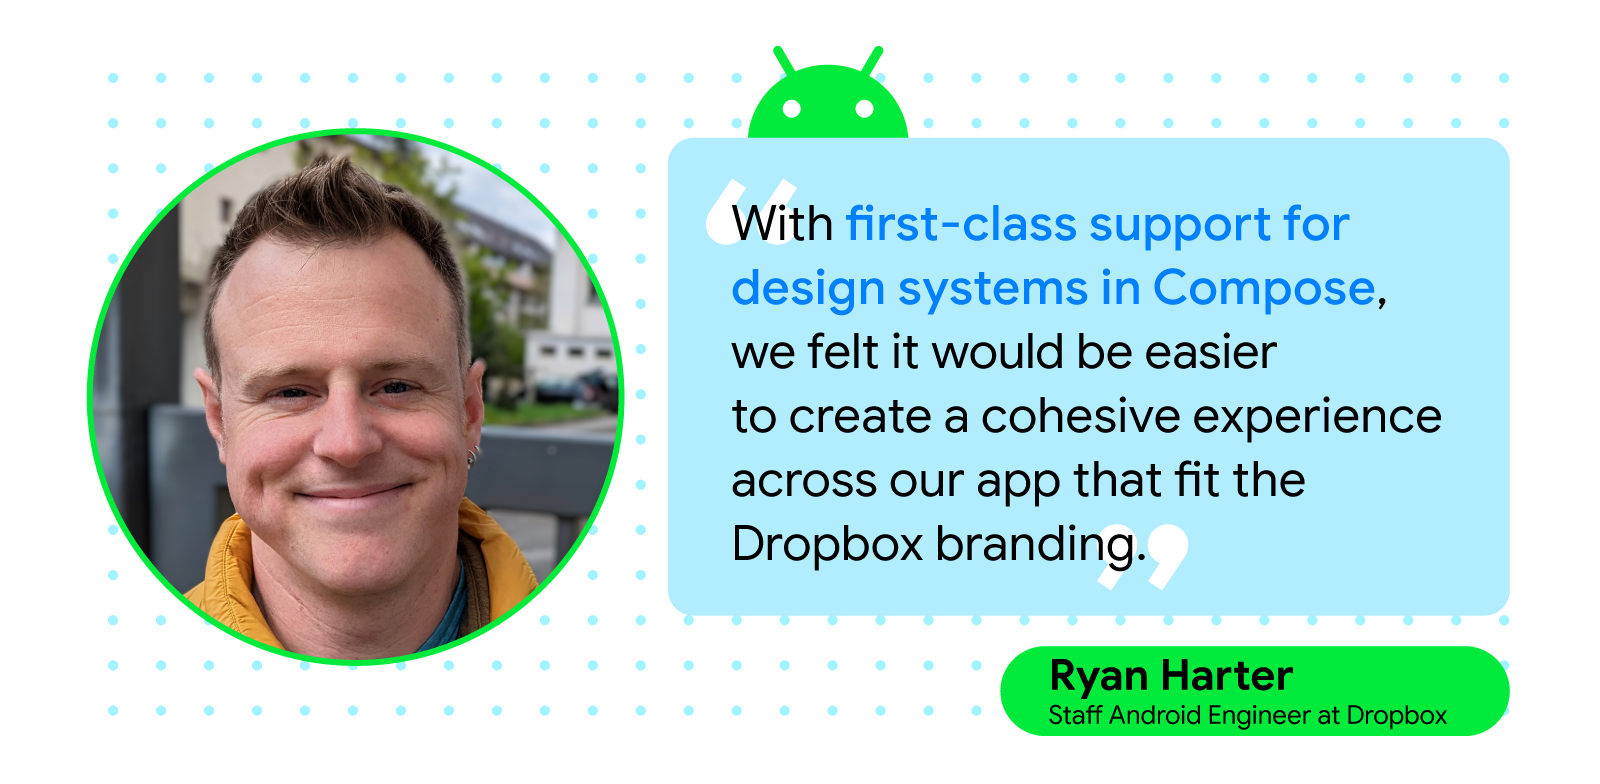
Compose helped Dropbox developers move quickly, letting them easily build complex, custom UIs with the toolkit’s basic building blocks and utilities. “Support for multiple previews, with different configurations or data, allows us to consider different variations of components as we build them instead of as an afterthought,” said Ryan Harter, staff Android engineer at Dropbox.
The Dropbox team also built a new design system on top of Android’s MaterialTheme, which the engineers accomplished by following Compose best practices. Creating the new design system on top of Android’s MaterialTheme minimized the time it took for Dropbox developers to lay the app’s foundation, allowing them to build new features with Compose while maintaining a look and feel that’s consistent with Dropbox’s branding.
Compatibility with Views made trying Compose easy
Dropbox developers were also swayed to use Compose thanks to its interoperability with Views and were impressed by how easy it was to develop in tandem with both toolkits. The Dropbox team was able to support classic Views libraries and plugins within the app while creating new UI components using Compose. Because of this, Dropbox developers could gradually migrate the app to Compose instead of completely overhauling the app.
“Interoperability with Compose allowed us to move forward with the toolkit, even when we needed to interact with Views in certain workflows such as ExoPlayer and PDF document views,” continued Ryan. “You can start with a smaller component and experience the benefits and improved speed without committing to rewriting your entire app. It’s clear that Compose was designed with the intention that users don’t need to perform an all-or-nothing migration.”
Improved testing and experimentation
During their rewrites, Dropbox engineers found that Compose made developing easier and enabled more efficient testing. “Compose, together with Android Studio’s preview support, has allowed us to iterate on features faster by reducing the length of the feedback cycle while developing screens,” continued Ryan.
The fast feedback cycle and interactive previews from Compose allowed the Dropbox team to experiment with UX quickly and test any assumptions they had about the updates, which made it easier to release features.
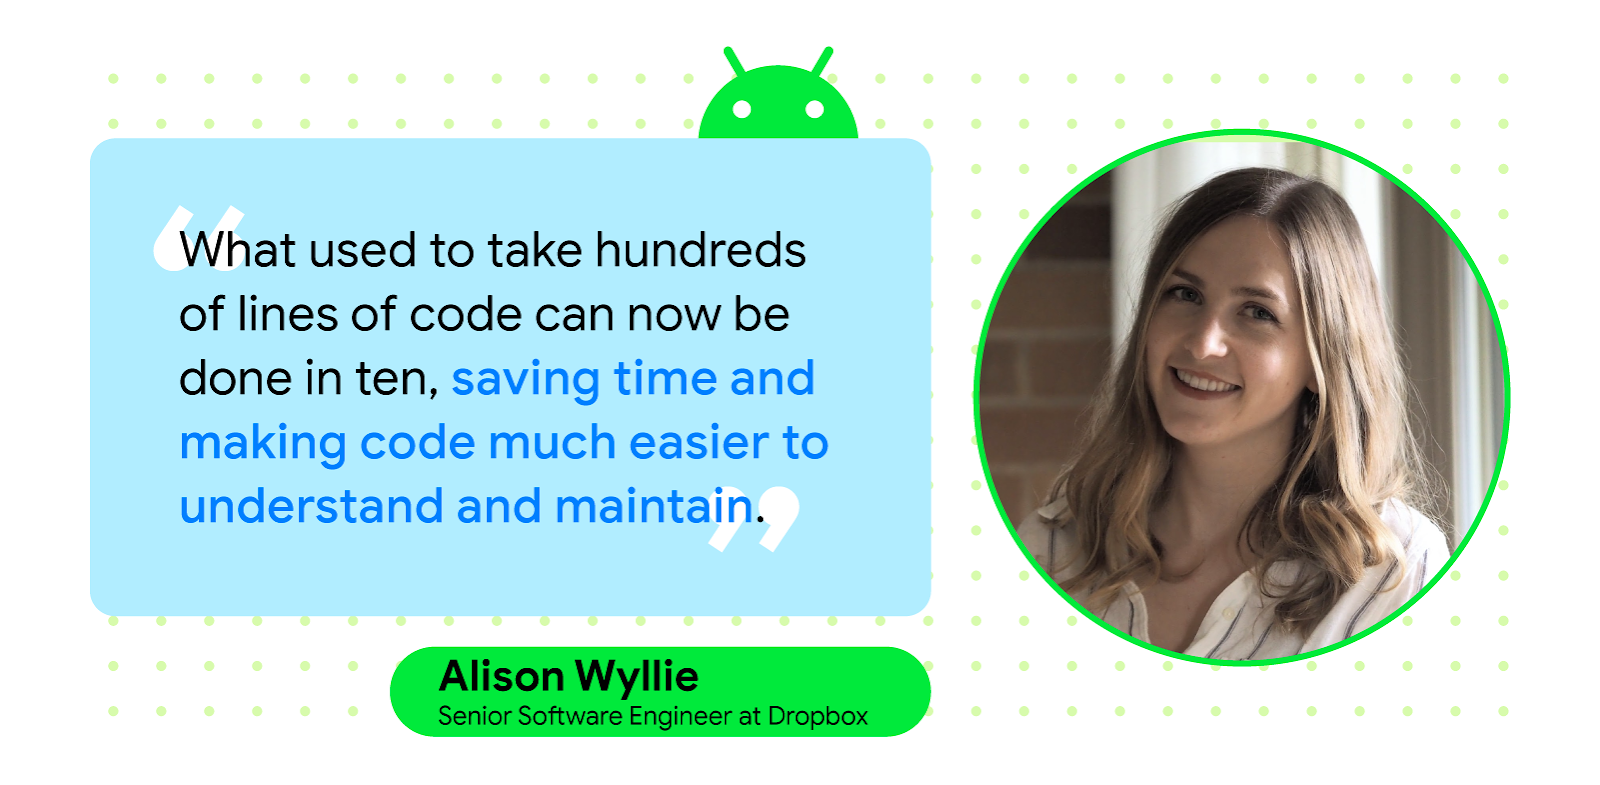
“If questions came up about performance or use of an approach, we went into Android Studio and used the interactive previews to test and measure results so we’d have more answers and fewer assumptions,” said Alison Wyllie, a senior software engineer at Dropbox. “And the fast feedback cycle and interactive previews that come with Compose have allowed us to experiment quickly with UX and test our assumptions, allowing us to get features into users’ hands faster.”
Jetpack Compose’s push toward a unidirectional data flow (UDF) also helped Dropbox engineers while testing and debugging. Combining UDF with Compose testing libraries and the toolkit’s declarative approach to creating UI made the Dropbox team confident that the app’s features were stable and bug free because they could fully test them before release.
Continuing improvements with Jetpack Compose
Dropbox’s engineers were impressed by the ease and speed with which they could iterate and get feedback using Compose. With interactive and on-device previews, Compose allows for experimentation and development in ways that weren’t previously possible for the team at Dropbox. The Dropbox team plans to continue building the app’s design system using Compose and expects most new features to be written with the toolkit.
“Compose gave us a fresh start with a lot of key areas that have historically been difficult for Android engineers. I’m very excited to see what new functionality Google and the open source community will create next,” said Allison.
 Posted by Sarat Tummala, Product Manager, Google Play services

 Posted by Joseph Mills, Group Product Manager, Google Play
 Posted by Kobi Gluck, Director, Product Management, Google Play Developer


 Posted by


 Posted by Leticia Lago, Developer Marketing


 Posted by Leticia Lago, Developer Marketing


 Posted by Clément Béra, Senior software engineer

 Posted by Alex Vanyo, Developer Relations Engineer
 Posted by the Android team