Posted by Jeremy Woods, Software Engineer, Android UI Toolkit

The latest versions of the Jetpack Navigation library (2.2.0 and 2.3.0) added a lot of requested features and functionality, including dynamic navigation, navigation back stack entries, a library for navigation testing, additional features for deep linking, and more. Let’s go over the most important changes, see what problems they solve, and learn how to use them!
Dynamic Navigation
We’ve updated Navigation to simplify adding dynamic feature modules for your application.
Previously, implementing navigation between destinations defined in dynamic feature modules required a lot of work. Before you could navigate to the first dynamic destination, you needed to add the Play Core library and the Split Install API to your app. You also needed to check for and download the dynamic module. Once downloaded, you could then finally navigate to the destination. On top of this, if you wanted to have an on-screen progress bar for the module being downloaded, you needed to implement a SplitInstallManager listener.
To address this complexity, we created the Dynamic Navigator library. This library extends the functionality of the Jetpack Navigation library to provide seamless installation of on-demand dynamic feature modules when navigating. The library handles all Play Store interaction for you, and it even includes a progress screen that provides the download status of your dynamic module.
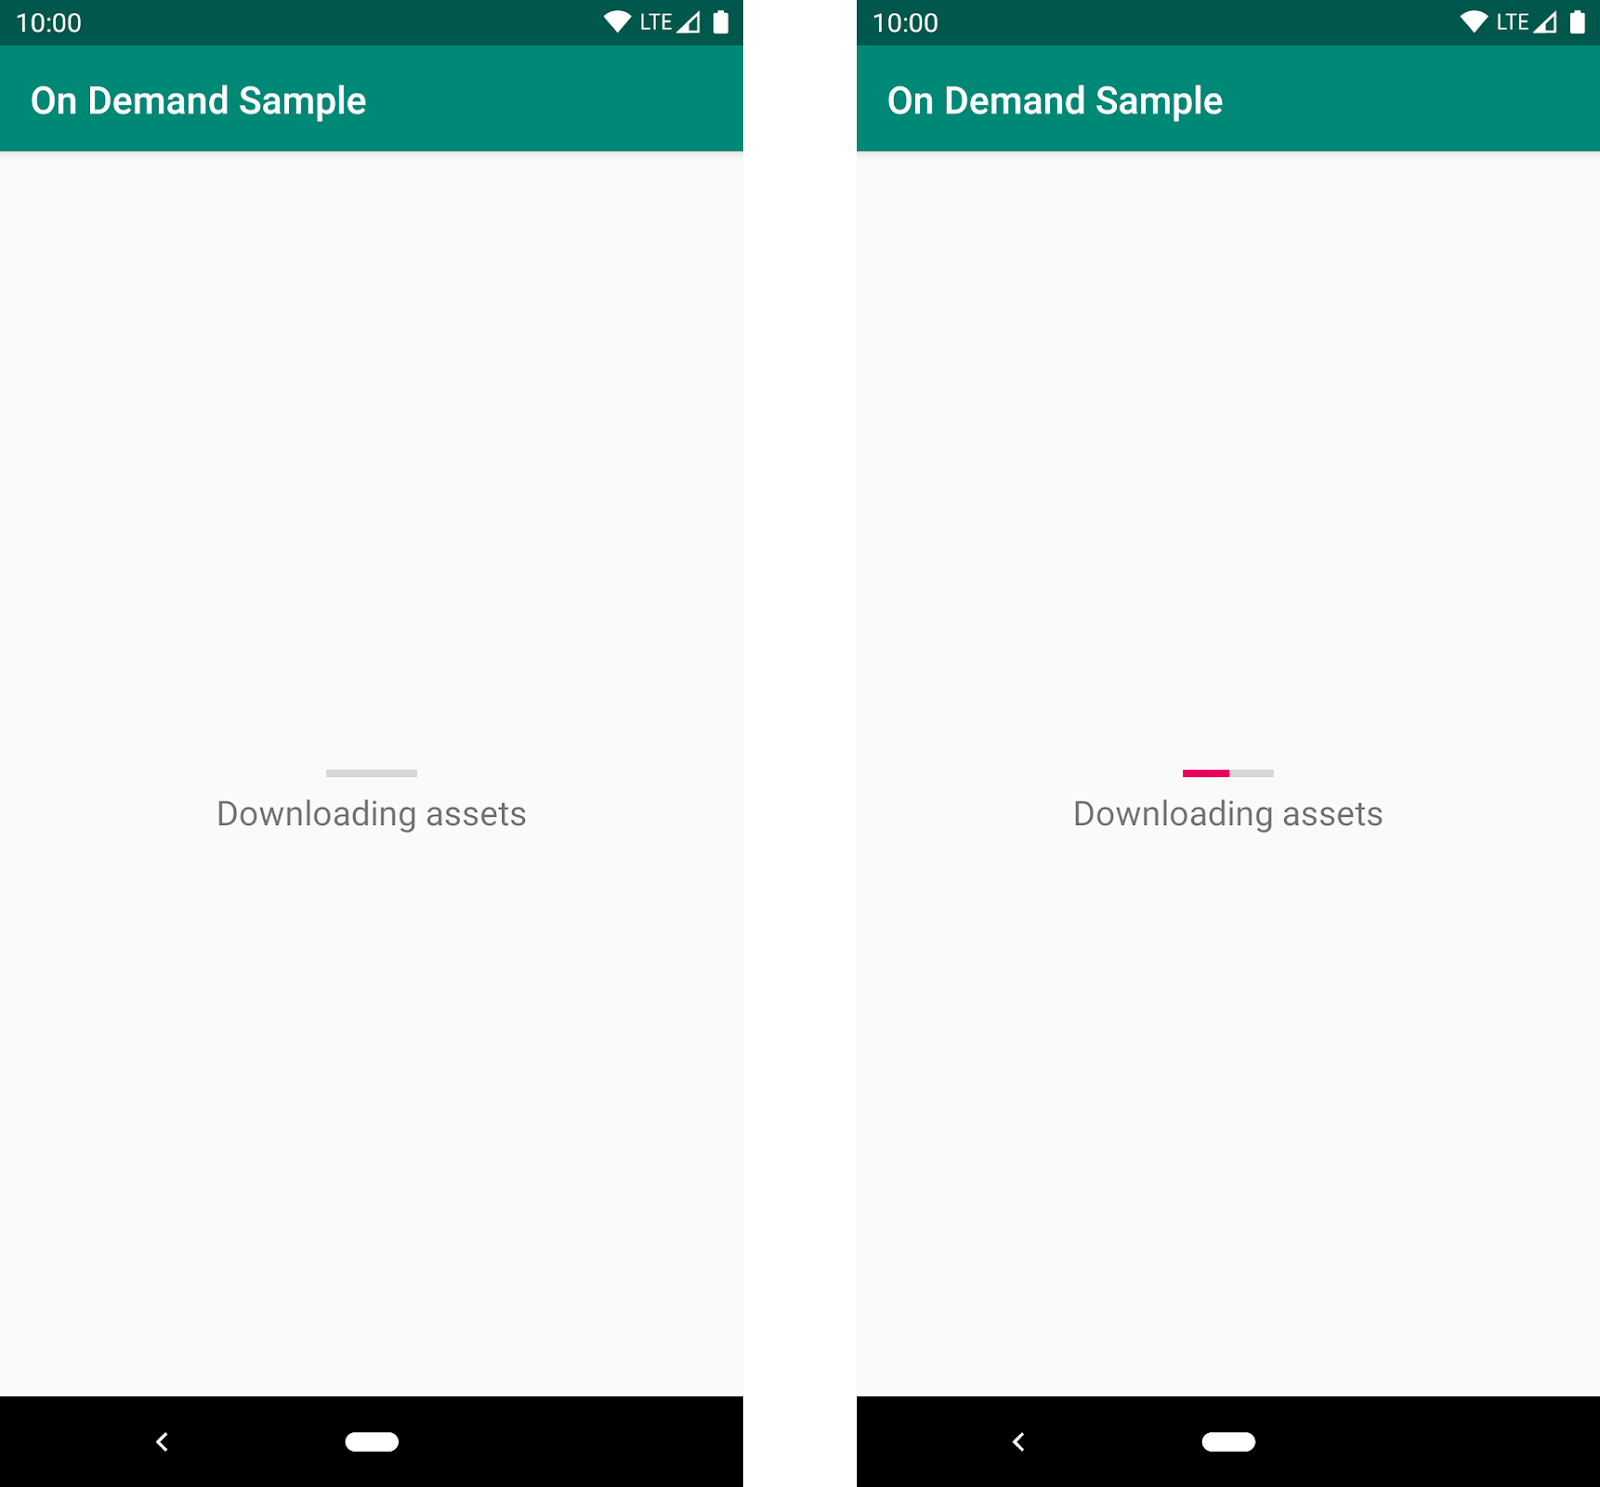
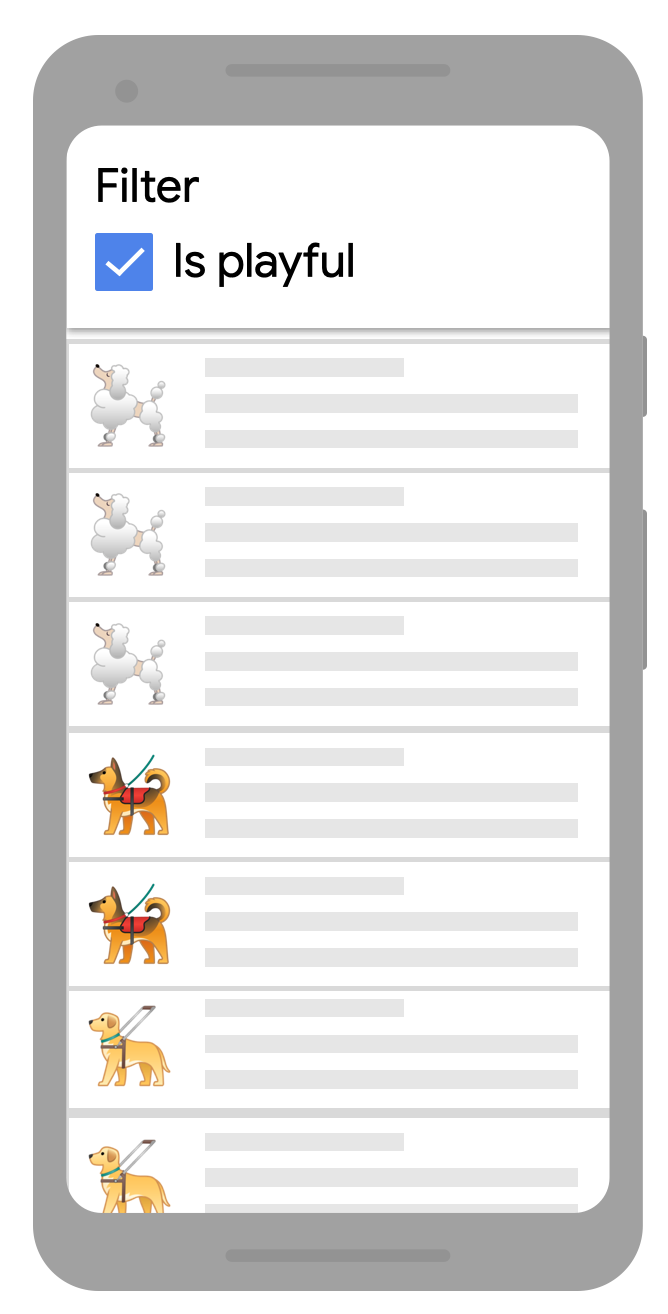
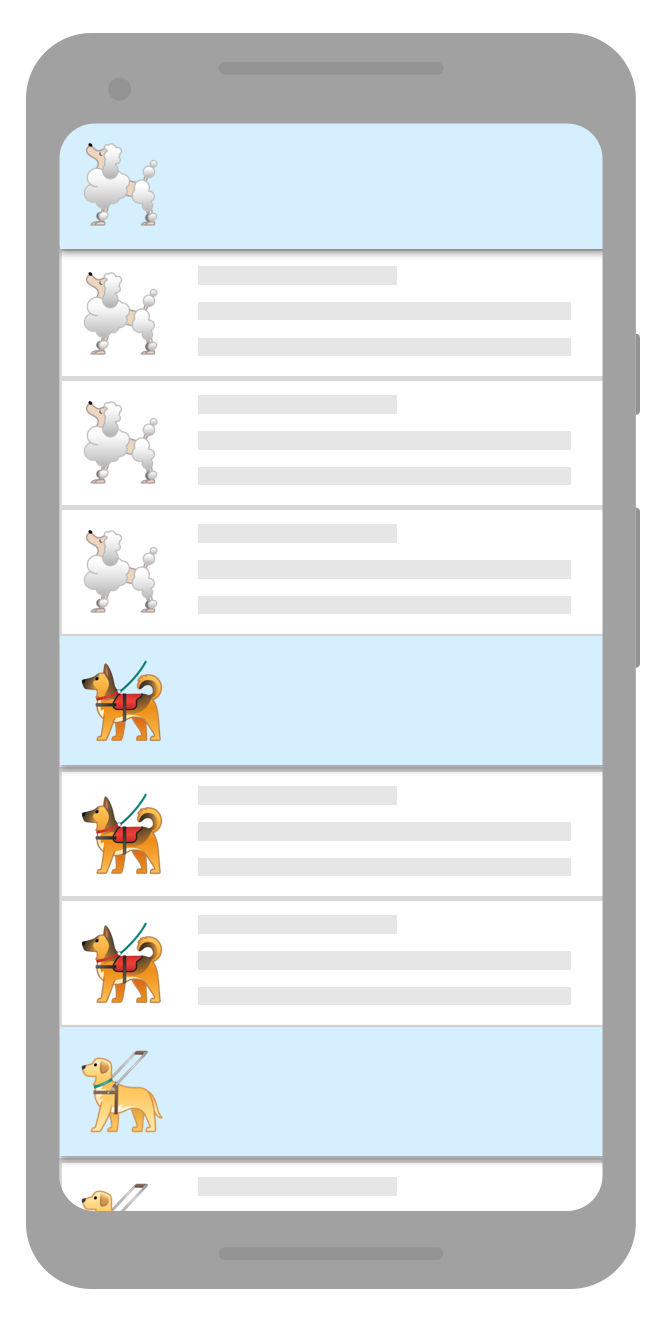
The default UI for showing a progress bar when a user navigates to a dynamic feature for the first time. The app displays this screen as the corresponding module downloads
To use dynamic navigation, all you need to do is:
- Change instances of
NavHostFragmenttoDynamicNavHostFragment - Add an
app:moduleNameattribute to the destinations associated with aDynamicNavHostFragment
For more information on dynamic navigation, see Navigate with dynamic feature modules and check out the samples.
NavBackStackEntry: Unlocked
When you navigate from one destination to the next, the previous destination and its latest state is placed on the Navigation back stack. If you return to the previous destination by using navController.popBackBack(), the top back stack entry is removed from the back stack with its state still intact and the NavDestination is restored. The Navigation back stack contains all of the previous destinations that were needed to arrive at the current NavDestination.
We manage the destinations on the Navigation back stack by encapsulating them into the NavBackStackEntry class. NavBackStackEntry is now public. This means that users can go a level deeper than just NavDestinations and gain access to navigation-specific ViewModels, Lifecycles, and SavedStateRegistries. You can now properly scope data sharing or ensure it is destroyed at the appropriate time.
See Navigation and the back stack for more information.
NavGraph ViewModels
Since a NavBackStackEntry is a ViewModelProvider, you can create a ViewModel to share data between destinations at the NavGraph level. Each parent navigation graph of all NavDestinations are on the back stack, so your view model can be scoped appropriately:
val viewModel: MyViewModel by navGraphViewModels(R.id.my_graph)
For more information on navGraph scoped view models, see Share UI-related data between destinations with ViewModel
Returning a Result from a destination
By combining ViewModel and Lifecycle, you can share data between two specific destinations. To do this, NavBackStackEntry provides a SavedStateHandle, a key-value map that can be used to store and retrieve data, even across configuration changes. By using the given SavedStateHandle, you can access and pass data between destinations. For example to pass data from destination A to destination B:
In destination A:
override fun onViewCreated(view: View, savedInstanceState: Bundle?) {
    val navController = findNavController();
    // We use a String here, but any type that can be put in a Bundle is supported
    navController.currentBackStackEntry?.savedStateHandle?.getLiveData<String>("key")?.observe(
        viewLifecycleOwner) { result ->
        // Do something with the result.
    }
}
And in destination B:
navController.previousBackStackEntry?.savedStateHandle?.set("key", result)
See Returning a result to the previous Destination for more details.
Testing your Navigation Flow
Previously, the recommended testing solution for Navigation was Mockito. You would create a mock NavController and verify that navigate() was called at the appropriate time with the correct parameters. Unfortunately, this solution was not enough to test certain areas of Navigation flow, such as ViewModel interaction or the Navigation back stack. The Navigation Library now offers a well-integrated solution for these areas with the Navigation Testing library.
The Navigation Testing library adds TestNavHostController, which gives access to the Navigation back stack in a test environment. This means that you can now verify the state of the entire back stack. When using the TestNavHostController, you can set your own LifecycleOwner, ViewModelStoreOwner, and OnBackPressDispatcher by using the APIs given by NavHostController. By setting these components, you can test them in the context of navigation.
For example, here's how to test a destination that uses a nav graph-scoped ViewModel:
val navController = TestNavHostController(ApplicationProvider.getApplicationContext())

// This allows fragments to use by navGraphViewModels()
navController.setViewModelStore(ViewModelStore())
navController.setGraph(R.navigation.main_nav)
The TestNavHostController also lets you set the current destination. You can move the test directly to the use case being tested without the need to set it up using navigate() calls. This is extremely convenient for writing tests for different navigation scenarios.
When setting the current destination, you might do something like the following:
val navController = TestNavHostController(ApplicationProvider.getApplicationContext())

navController.setGraph(R.navigation.main_nav)
navController.setCurrentDestination(R.id.destination_1)
Remember that when setting the current destination, that destination must be part of your nav graph.
For more information about TestNavHostController, see the Test Navigation docs.
Nav Deep Linking
Deep linking allows you to navigate directly to any destination no matter where you currently are in the NavGraph. This can be very useful for launching your app to a specific destination or jumping between destinations that would otherwise be inaccessible to one another.
When navigating using a deep link, you can now provide deep link query parameters in any order and even leave them out altogether if they have been given a default value or have been made nullable. This means that if you have provided default values for all of the query parameters on a deep link, the deep link can match a URL pattern without including any query parameters.
For example, www.example.com?arg1={arg1}&arg2={arg2} will now match with www.example.com as long as arg1 and arg2 have default values and/or are nullable.
Deep links can also be matched using intent actions and MIME types. Instead of requiring destinations to match by URI, you can provide the deep link with an action or MIME type and match with that instead. You can specify multiple match types for a single deep link, but note that URI argument matching is prioritized first, followed by action, and then mimeType.
You create a deep link by adding it to a destination in XML, using the Kotlin DSL, or by using the Navigation Editor in Android Studio.
Here's how to add a deep link to a destination using XML:
<fragment android:id="@+id/a"
          android:name="com.example.myapplication.FragmentA"
          tools:layout="@layout/a">
        <deeplink app:url="www.example.com"
                app:action="android.intent.action.MY_ACTION"
                app:mimeType="type/subtype"/>
    </fragment>
Here's how to add the same deep link using the Kotlin DSL:
val baseUri = "http://www.example.com/"

fragment<MyFragment>(nav_graph.dest.a) {
   deepLink(navDeepLink {
    uriPattern = "${baseUri}"
    action = "android.intent.action.MY_ACTION"
    mimeType = "type/subtype"
   })
}
You can also add the same deep link using the Navigation Editor in Android Studio versions 4.1 and higher. Note that you must also be using the Navigation 2.3.0-alpha06 dependency or later.
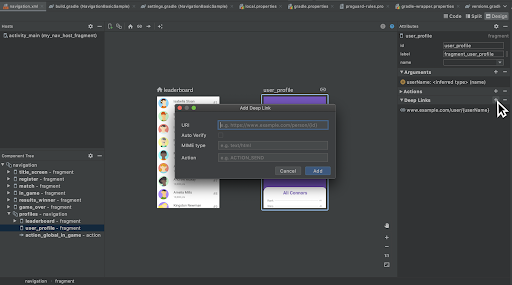
Adding a deep link to a destination in the Navigation Editor
To navigate to a destination using a deep link, you must first build a NavDeepLinkRequest and then pass that deep link request into the Navigation controller's call to navigate():
val deepLinkRequest = NavDeepLinkRequest.Builder
        .fromUri(Uri.parse("http://www.example.com"))
        .setAction("android.intent.action.MY_ACTION")
        .setMimeType("type/subtype")
        .build()
navController.navigate(deeplinkRequest)
For more information on deep links, visit Create a deep link for a destination, as well as the deep linking sections in Navigate to a destination and Kotlin DSL.
Navigation Editor
Android Studio 4.0 includes new features for the Navigation Editor. You can now edit your destinations using a split pane view. This means you can edit the XML or design and see the changes in real time.
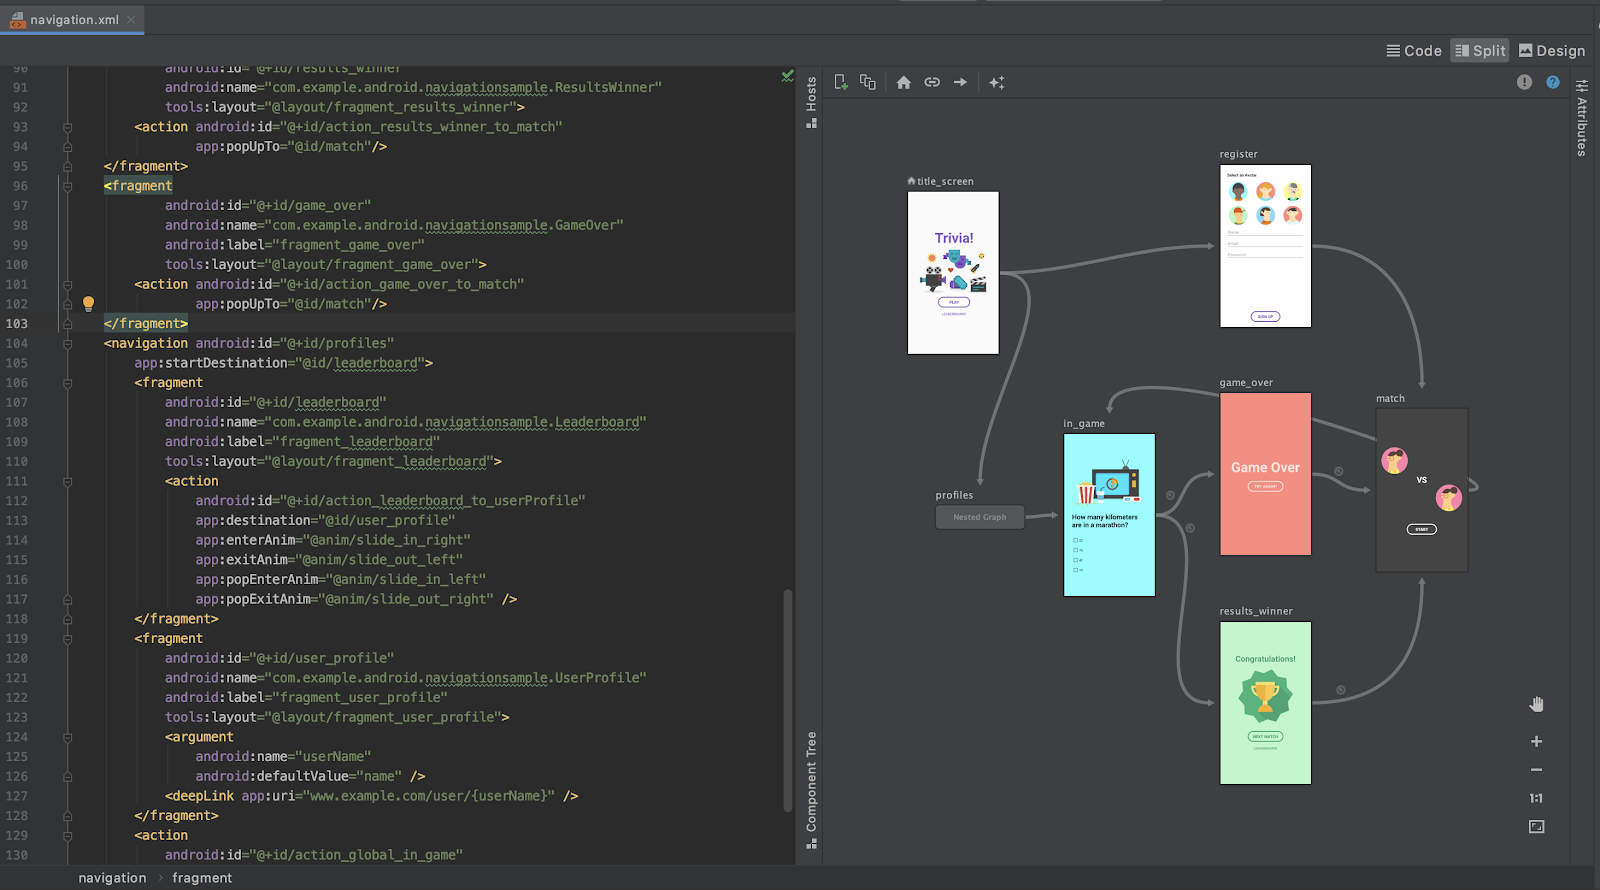
Viewing a navigation.xml file in split view mode
In Android Studio 4.1, the Navigation Editor introduced the component tree. This allows you to traverse the entire nav graph, freely going in and out of nested graphs.
Navigating through a graph in the Navigation Editor
Additional Changes
NavigationUI can now use any layout that uses the Openable interface. This means that it is no longer limited to DrawerLayout and allows for customization of the AppBarConfiguration. You can provide your Openable and use it as the layout instead.
Navigation also provides support for Kotlin DSL. Kotlin DSL can be used to create different destinations, actions, or deep links. For more information see the documentation for Kotlin DSL.
Wrap up
Navigation added lots of useful features over the past year. You can simplify your dynamic feature modules by taking advantage of the Dynamic Navigator library, use a NavBackStackEntry to help correctly scope your data, easily test your navigation flow using the TestNavHostController, or even match your deep link using intent actions and/or MIME types.
For more information about the Jetpack Navigation library, check out the documentation at https://developer.android.com/guide/navigation
Please provide feedback (or file bugs) using the Navigation issuetracker component.