Posted by Jamal Eason, Product Manager, Android
This blog post is part of a weekly series for #11WeeksOfAndroid. For each of the #11WeeksOfAndroid, we’re diving into a key area so you don’t miss anything. This week, we spotlighted Android Developer Tools; here’s a look at what you should know.
The big news
During the 11 weeks of Android, we launched a range of developer tool updates in Android Studio. As of today, you can find version 4.0 of Android Studio on the stable release channel, version 4.1 on the beta channel, and the very latest features of version 4.2 on the canary channel. The focus across each of these versions is a balance of app productivity and delivery of a high quality product that you can rely on for app development. For each day of this past week we highlighted improvements and tips in the key points of your development flow from app design, coding, deployment, build, app testing with the emulator, to app performance profiling. This blog highlights the content that we released during the Android Developer Tools week of 11 Weeks of Android.
What to watch and read
To see an overview of what is new in Android Developer Tools across the recent releases of Android Studio, check out this video from the #Android11 Beta launch which includes an exciting and in-depth demo.
What’s New in Android Development Tools
Design
At the beginning of the week we had a day of content focused on app design tools for developers. To start, watch this overview video of the latest updates in design tools:
What’s new in Design Tools
We also posted two in-depth blog posts for the design tools day:
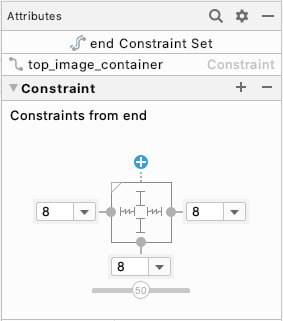
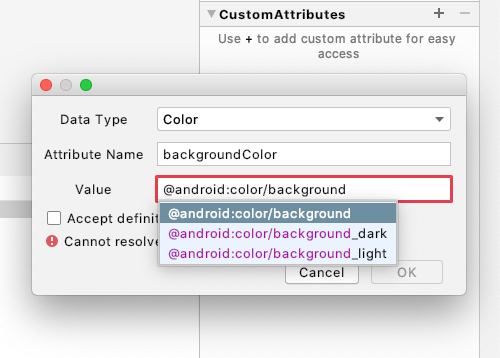
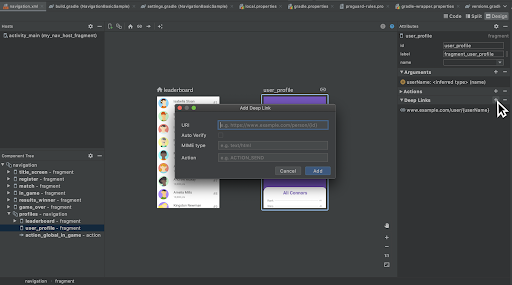
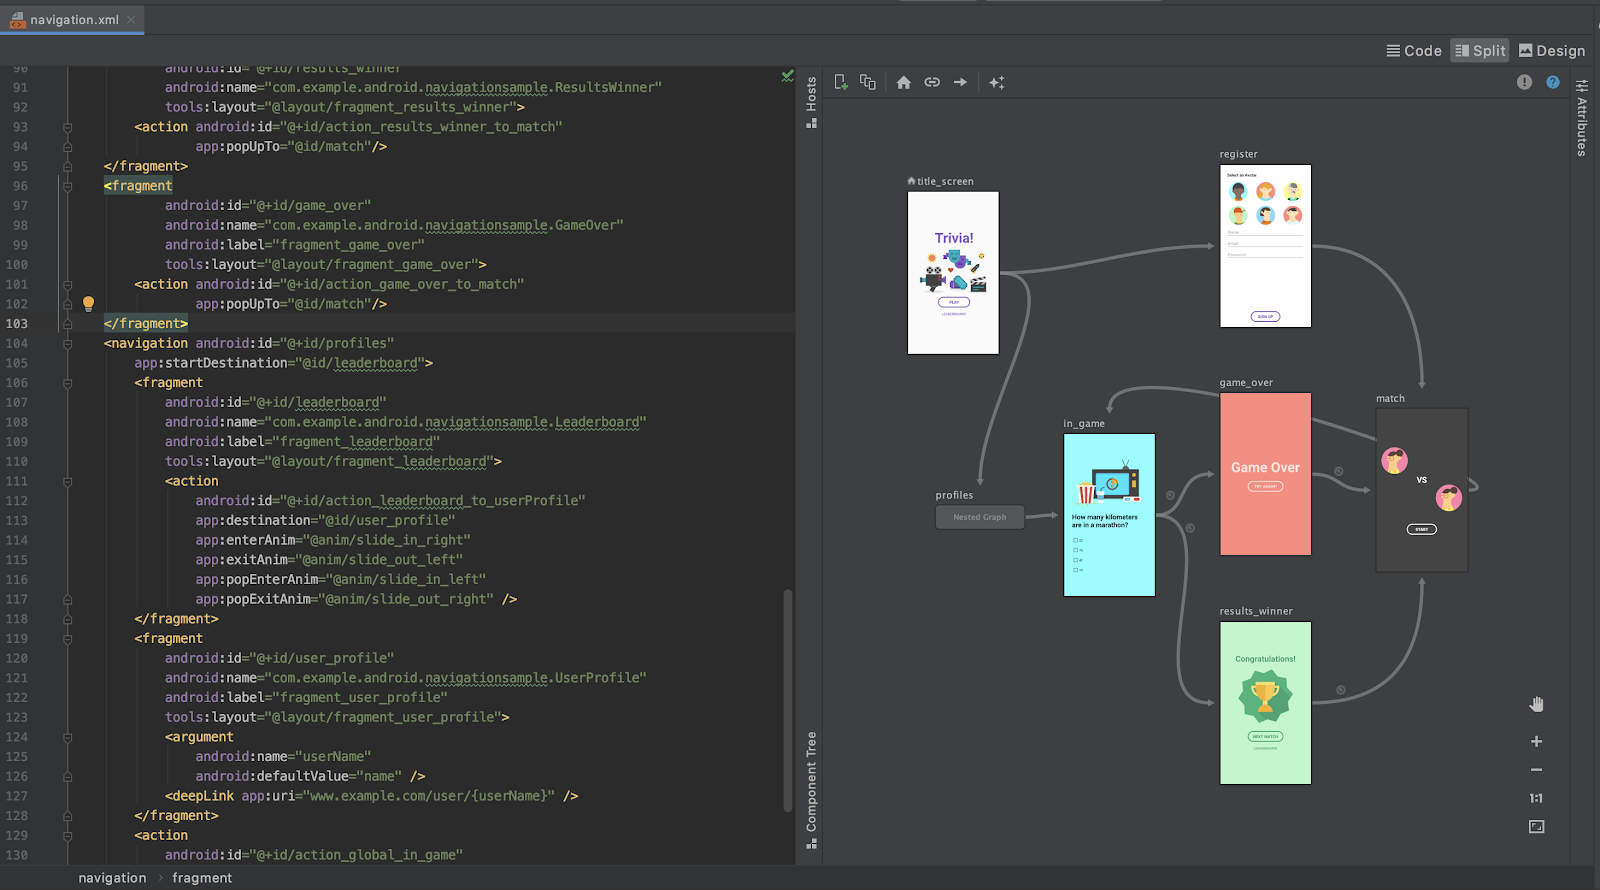
- Design Tools Suite UX enhancements in Android Studio 4.1 - details the various changes to the Layout Editor, Resource Manager, Navigation Editor, and updates to keyboard shortcuts to accelerate your UI design flow.
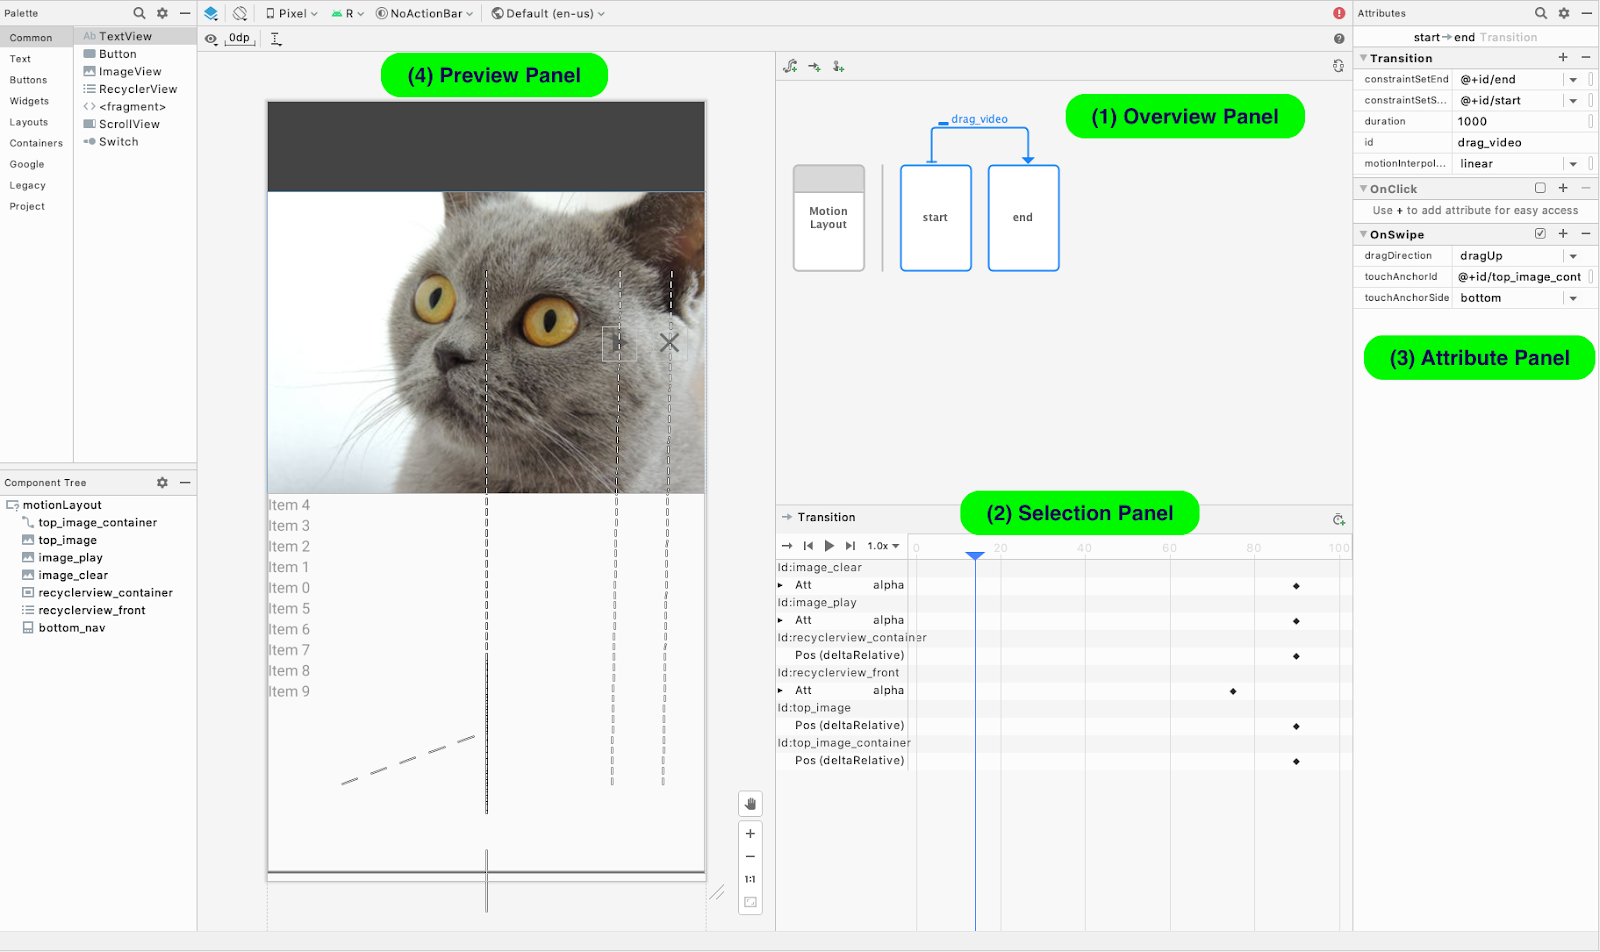
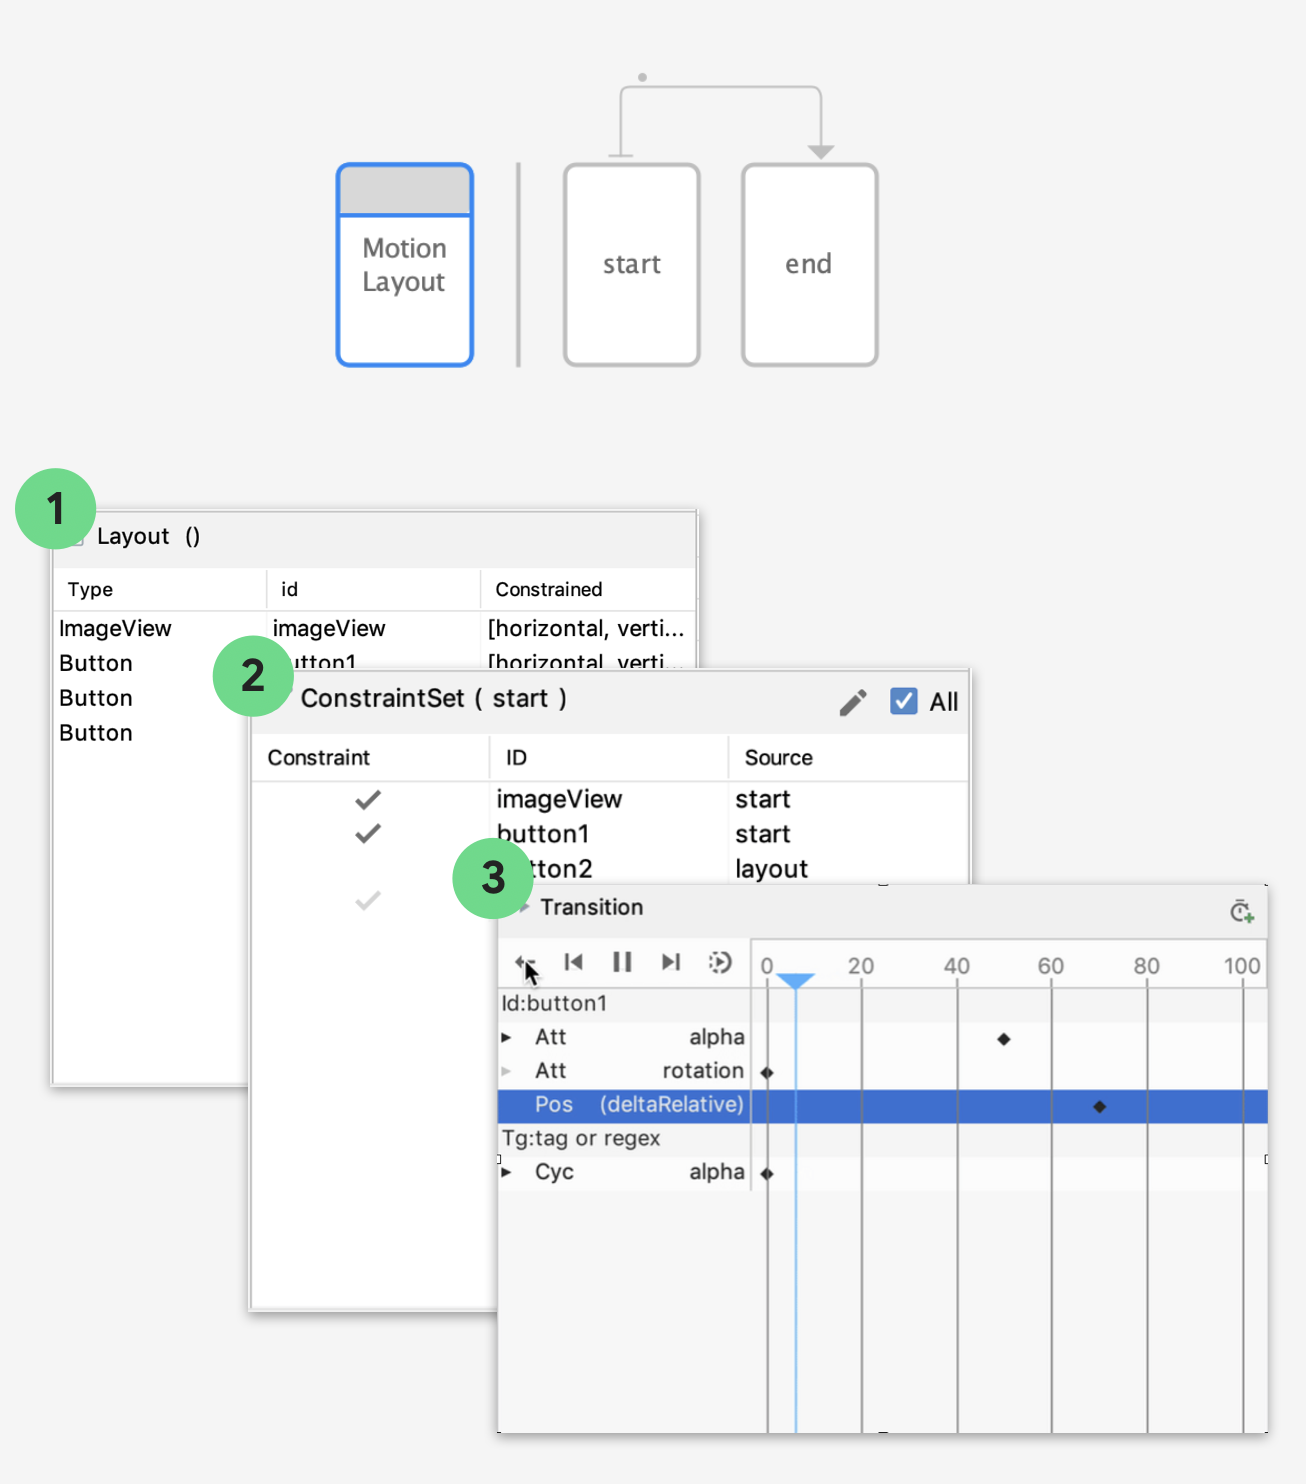
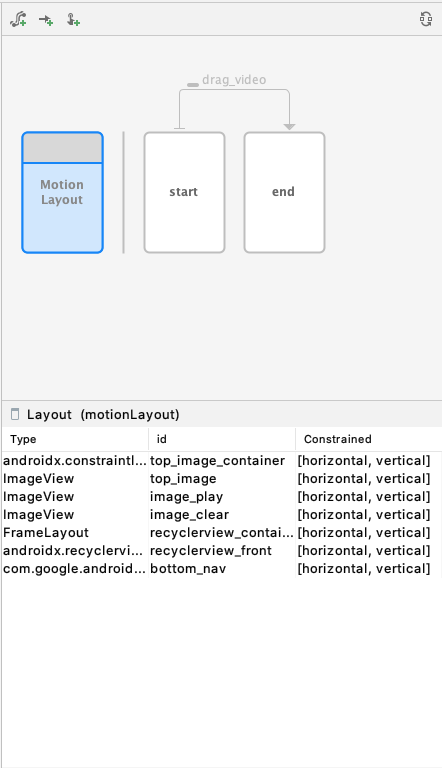
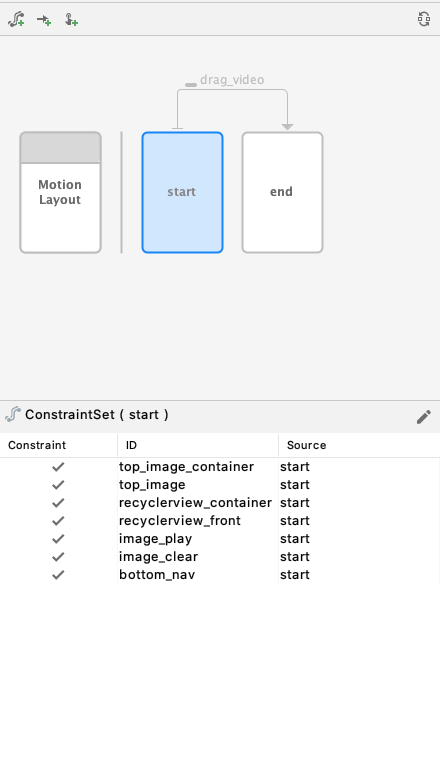
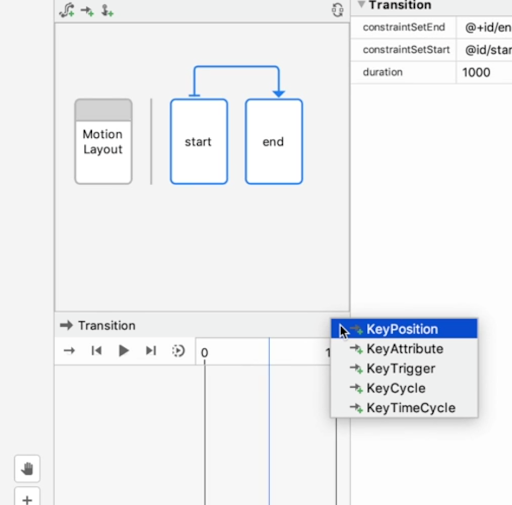
- Introducing the Motion Editor - provides a quick tour of the new Motion Editor and how to use the latest features to create animations for your app.
To debug your layouts, watch our video on the updates to the layout inspector:
Debugging UI issues with Layout Inspector
And lastly for design tools, we released a video about the latest developments for Jetpack Compose Design tools:
What's new in Compose Design Tools
Coding & Deployment
During the week, we posted tips and tricks to improve your coding experience and app deployment flow in Android Studio. Check out the following social media channels to review the latest postings:
- @androidstudio - the Twitter channel for the official IDE for Android app development.
A next-gen code-shrinker needs smart editor features for your code shrinker rules. Studio 4.0 brings you syntax highlighting, code completion, and error checking when writing rules for R8! pic.twitter.com/5lSANdYm5F
— Android Studio (@androidstudio) July 28, 2020
- @androiddev - delivers news and announcements for developers from the Android team at Google
? Crash reports made easy with Android Gradle plugin
— Android Developers (@AndroidDev) July 28, 2020
Make your Android Vitals crash reports for production native code more actionable. The trick: packaging native debug symbols in your app bundle with a flip of a flag. #11WeeksOfAndroid
Learn more → https://t.co/zLlKROUZIO pic.twitter.com/XUhgP6z8bF
We also shared a new video on how to use the new database inspector in Android Studio:
Database Inspector
Additionally, you will find an updated blog on the development tools we have in place for Jetpack Hilt:
- Dagger and Hilt navigation support in Android Studio - highlights tips and tool accelerators for using Dagger and Hilt APIs in Android Studio.
Build
In the middle of the week, we released four blogs posts around the build system in Android developer tools, which included:
- New APIs in the Android Gradle Plugin - details the new Domain Specific Language (DSL) interface and documents the new direction for extending the built-in build APIs.
- Understanding your build with the Build Analyzer - a thorough walkthrough of the new build tool that can help you uncover bottlenecks in your build process.
- Configuration Caching deep dive - a technical explanation on this new preview feature from Gradle and how to try it out in your project to speed up your builds.
- Shrinking Your App with R8 - provides an overview of the features available in R8, the reduction in code size you might expect, and show how to enable these features in R8.
Android Emulator
On top of sharing a series of best practices and tips on social media about using the Android Emulator during the week, you can also a full summary in the following in-depth article:
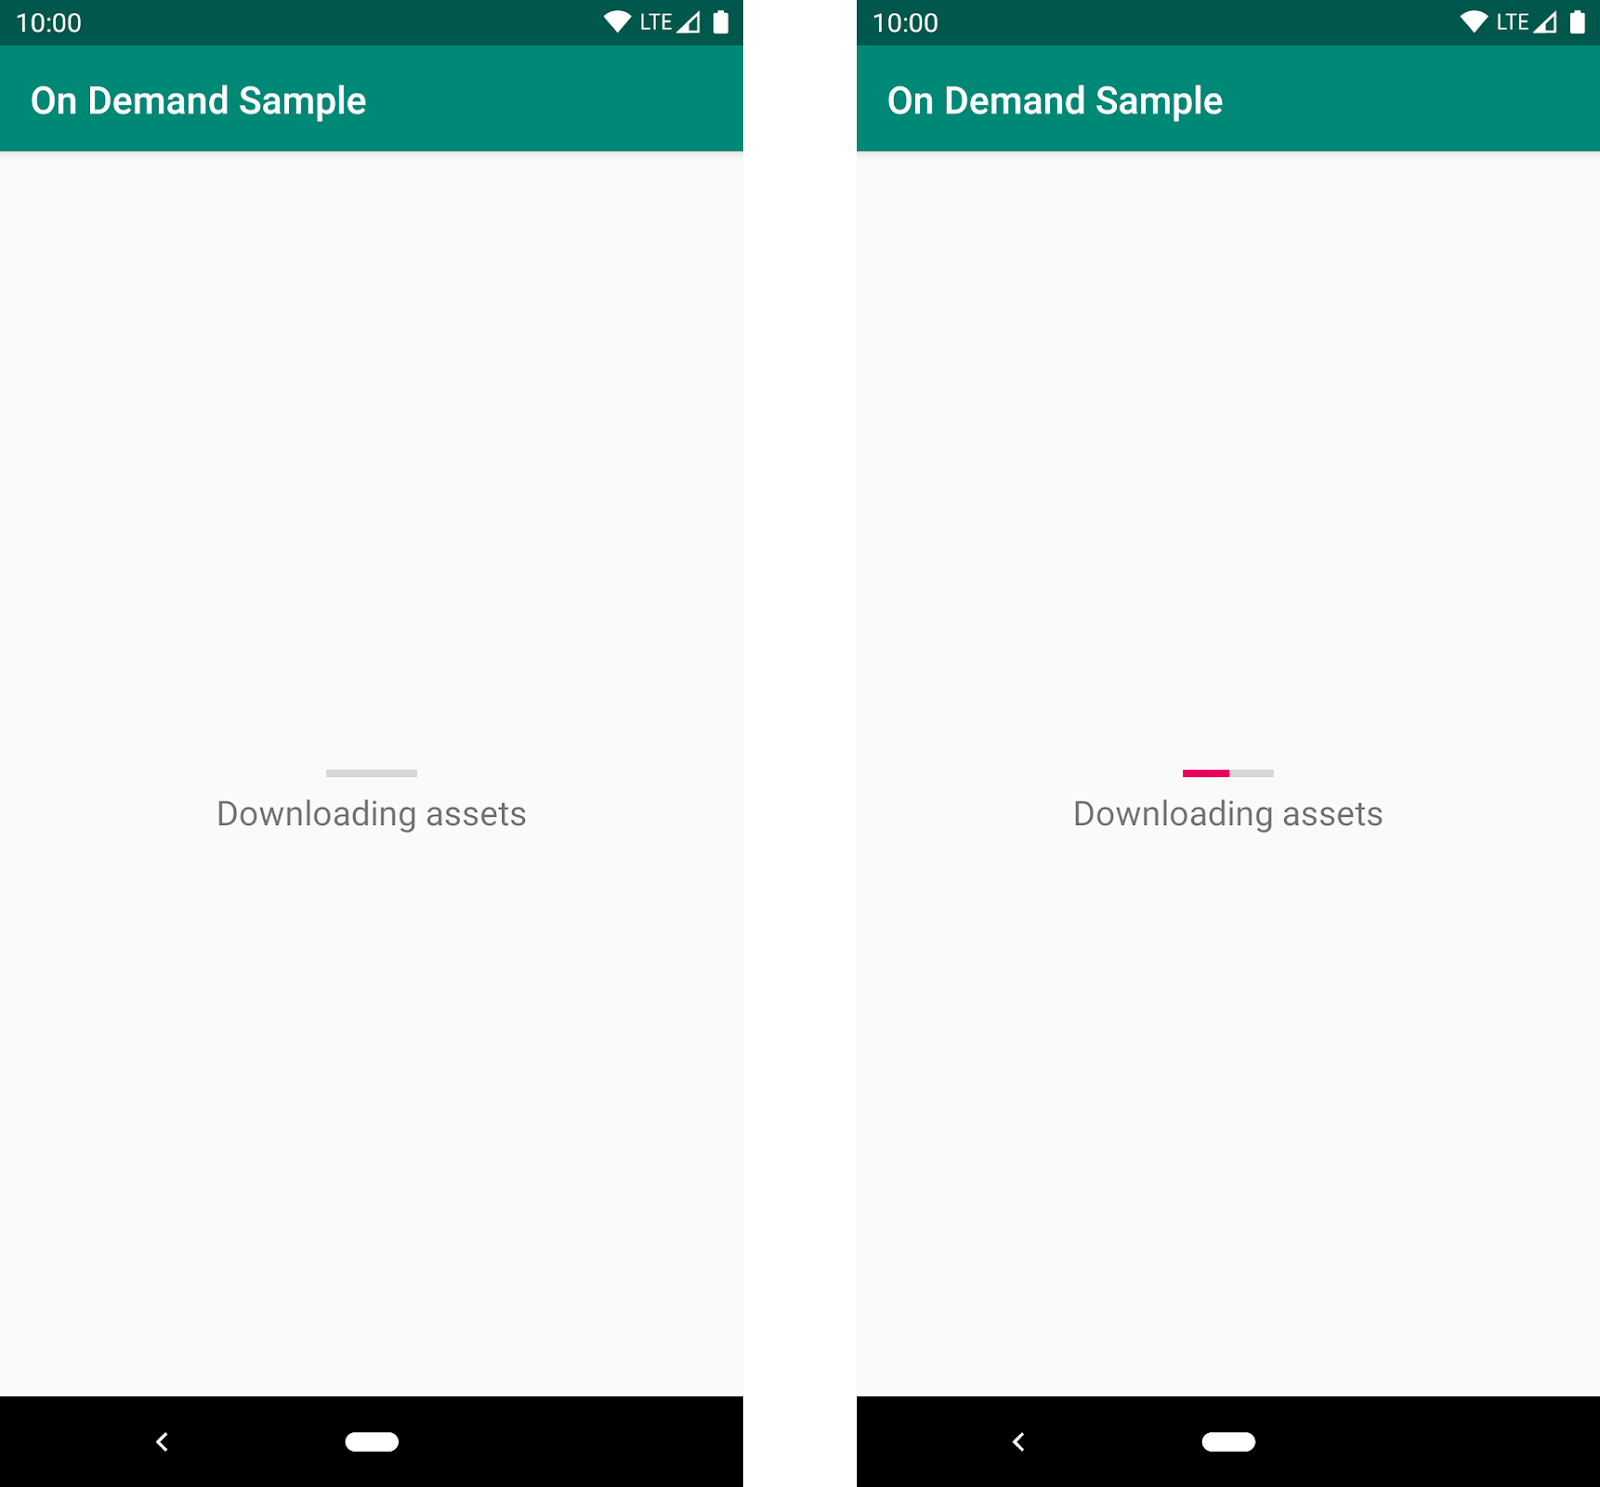
- Developing for Android 11 with the Android Emulator - outlines new feature areas like 5G connectivity and foldable device support, and other advantages for using the Android Emulator as a part of your daily development workflow.
Performance Profilers
We know improving app performance is critical for a great user experience. Therefore, we ended the week with a day on performance profilers content. To start, we posted a video about System Trace and how you can use it to troubleshoot app performance issues:
Troubleshooting app performance issues with System Trace in Android Studio
Plus, we published a blog post on C++ memory profiling:
- Native memory profiling with Android Studio 4.1 - explains how to use the new native memory profiler to diagnose memory issues in your C++ code.
Learning path
If you’re looking for an easy way to pick up the highlights of this week, check out the Developer Tools pathway. A pathway is an ordered tutorial that allows users to complete a pre-defined module that culminates in a quiz. It includes videos and blog posts. A virtual badge is awarded to each user who passes the quiz. Test your knowledge of key takeaways about Developer Tools to earn a limited edition badge.
Key takeaways
Thank you for tuning in and learning about the latest in Android Development tools. Thanks to all of you who chatted with us during the Reddit AMA this week. Throughout this past week, we showcased features that can be found either in the latest stable release or the canary release channel of Android Studio. If you want to try out what you learned this week, download Android Studio today.
Below, you will find a quick listing of where you will find each of the major features. Note, that features in non-stable versions may not land in a particular version until they have reached our quality bar:
Features found in Android Studio 4.0 (Stable Channel)
- Motion Editor
- Layout Inspector
- Layout Validation
- Custom View Preview
- CPU Profiler Update
- R8 Rules Editing
- Build Analyzer
- Dynamic Feature Dependency
- Clangd support
- Intellij 2019.3
Features found in Android Studio 4.1 (Beta Channel)
- Database Inspector
- Dependency Injection Tools
- Faster Apply Changes
- Gradle Configuration Caching (Preview)
- Custom View Preview
- Android Emulator in IDE
- Instrumentation Testing
- Profiler UI Updates
- Native Memory Profiling
- System Trace 2.0
- New Gradle API
- MLKit & TFLite Model Import
- Intellij 2020.1
Features found in Android Studio 4.2 + (Canary Channel)
- Compose Interactive Preview
- Compose Animation Visualization
- Compose Deploy to Device
- Sample Data API for Compose
- Compose Editing Support
- Test Failure Retention
- Android Emulator- 5G Connectivity and Foldable Support
- Intellij 2020.2 - coming soon
Resources
You can find the entire playlist of #11WeeksOfAndroid video content here, and learn more about each week here. We’ll continue to spotlight new areas each week, so keep an eye out and follow us on Twitter and YouTube. Thanks so much for letting us be a part of this experience with you!