Posted by Amanda Alexander, Product Manager

Android Jetpack is a key component of Modern Android Development. It is a suite of over 100 libraries, tools and guidance to help developers follow best practices, reduce boilerplate code, and write code that works consistently across Android versions and devices. By using Android Jetpack to improve your productivity, you can focus on building unique features for your app.
Most apps on Google Play use Jetpack as a key component of their app architecture, in fact over 90% of the top 1000 apps use Android Jetpack.
At ADS this week we released updates to three major areas of Jetpack:
- Architecture Libraries and Guidance
- Application Performance
- User Interface Libraries and Guidance
We’ll take a moment to expand on each of these areas and then conclude with some additional updates that we also shipped.
Let’s go…
Architecture Libraries and Guidance
App architecture libraries and components ensure that apps are robust, testable, and maintainable.
Managing tasks with WorkManager
The WorkManager library makes it easy to schedule deferrable, asynchronous tasks that must be run reliably for instance uploading backups or analytics. These APIs let you create a task and hand it off to WorkManager to run when the work constraints are met.
WorkManager 2.8.0-alpha04 has been updated with the ability to update WorkRequests in a non-intrusive way, preserving original enqueue time, chaining and more. It makes changes to Worker’s constraints much easier, e.g. if constraints need to be changed from one version of an application to another or via configuration set by server-side. Previously, it was possible to achieve only by canceling already scheduled workers and rescheduling them again. However, this approach was very disruptive: already running workers could have been canceled, cadence of periodic workers could have been broken, and the whole chains of workers required reconstruction if one of them needed an update. Now using the update method or ExistingPeriodicWorkPolicy.UPDATE developers don’t have to worry about any of these issues.
Data Persistence
Most applications need to persist local state - whether it be caching results, managing local lists of user enter data, or powering data returned in the UI. Room is the recommended data persistence layer which provides an abstraction layer over SQLite, allowing for increased usability and safety over the platform.
In Room 2.5.0-alpha03, we added a new shortcut annotation, @Upsert, which attempts to insert an entity when there is no uniqueness conflict or update the entity if there is a conflict. Moreover, all of Room runtime APIs along with androidx.sqlite have been converted to Kotlin, creating a better experience for Kotlin users such as strict nullability and opening the door to support other Kotlin language features.
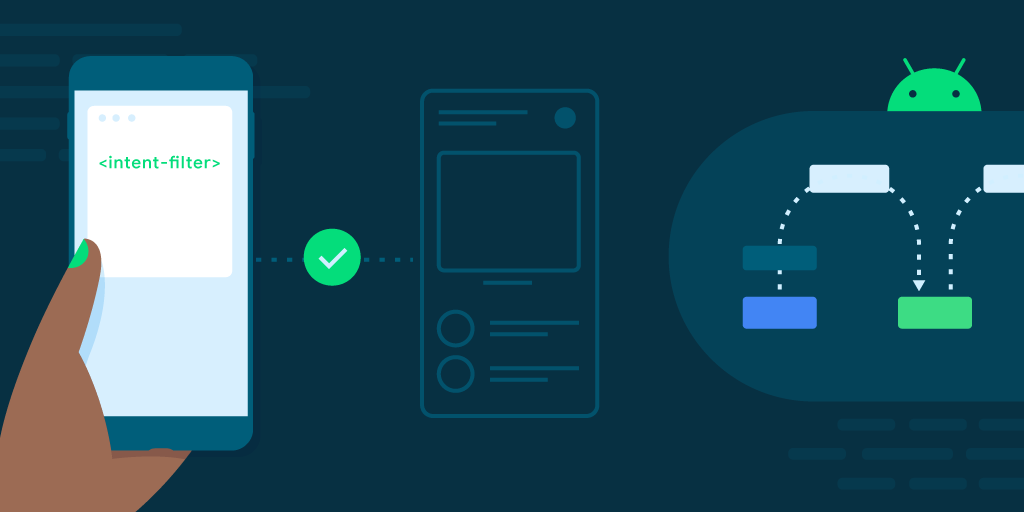
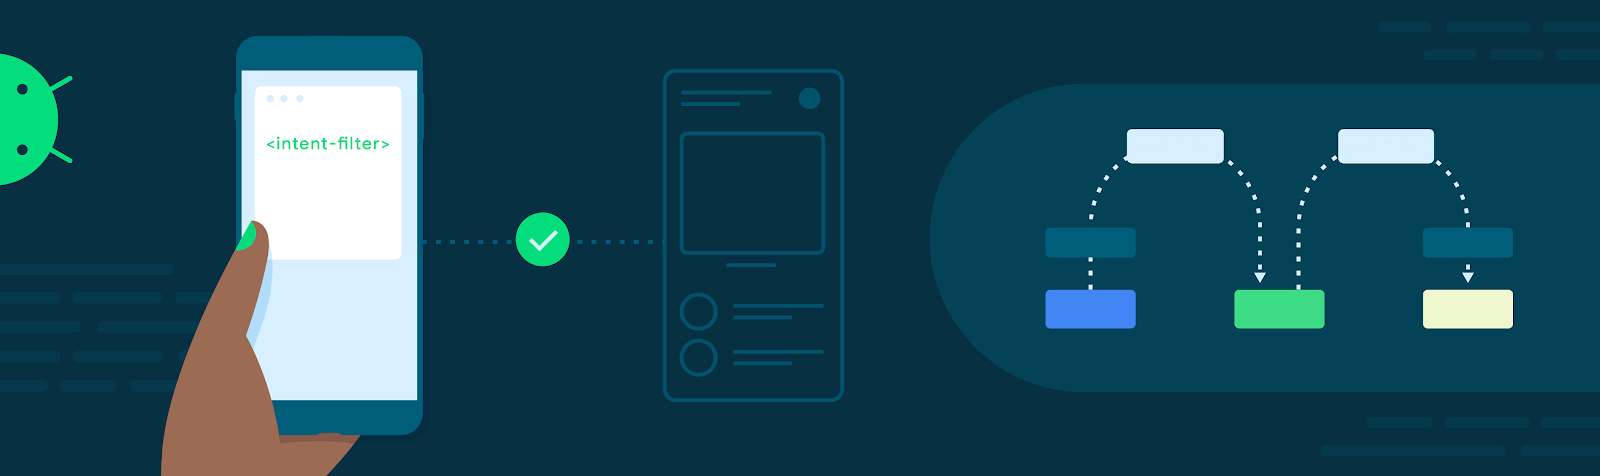
Android 13 Activity APIs, now backward compatible
The Activity library includes the ComponentActivity class, a base class built on top of the Android framework’s Activity class which provides APIs that enable Jetpack Compose, other Architecture Components, and support for backporting new features introduced in Android 13 with Activity 1.6.1.
By using ComponentActivity directly, or either of its subclasses of FragmentActivity or AppCompatActivity, you can use a single API to pick images via the Photo Picker when it is available with an automatic fallback to the Storage Access Framework to allow support back to Android 4.4 (API 19).
You’ll also be set up for the future with support for the Predictive back gesture introduced in Android 13 simply by upgrading to Activity 1.6.1. The Activity APIs provide a single API for custom back navigation that works back to API 14 and is fully compatible with opting in to predictive back gestures.
Testing Pagination with the Paging Testing library
The Paging library provides support for loading very large data sets. To get the most of Paging, the integration includes multiple layers of your application - your repository layer, ViewModel layer, and your UI.
To make it easier to test that integration,
Paging 3.2.0-alpha03 introduces a new paging-testing artifact with test specific APIs to make it possible to test each layer in isolation. This first release focuses on the repository layer and specifically around testing a custom PagingSource via the new TestPager APIs to ensure you can test your paging sources in different scenarios that are harder to reproduce with integration tests.
New Architecture Documentation
Investing in Architecture is important to improve the quality of your app by making it more robust, testable, maintainable, and scalable. That's why our recommendations on Architecture keep growing! In fact, they've grown so much we released a new Architecture recommendations page that consolidates and centralizes important best practices you can find in our docs.
The team recently released new guidance on modularization. The guide is split into two parts:
The UI layer docs got two new pages:
- The state holders and UI state page explains the different types of state holders you can find in the UI layer and which implementation you should use depending on the type of logic to perform.
- The state production page that shows best practices about how to model and expose UI state depending on the sources of state change.
Due to popular demand, the UI events page has been updated with examples of Navigation UI events. We also released new Navigation guidance about providing runtime type safety to the Kotlin DSL and Navigation Compose.
Lastly, if you need to make your app work offline, we got you covered. The build an offline-first app guide helps you design your app to properly handle reads and writes, and deal with sync and conflict resolution in a device with no Internet connectivity.
New ViewModel Documentation
This updated guidance is designed to make it easier to understand when ViewModels are the right tool to reach for when building your UI layer.
Using performance libraries allows you to build performant apps and identify optimizations to maintain high performance, resulting in better end-user experiences.
Improving Start-up Times
App speed can have a big impact on a user’s experience, particularly when using apps right after installation. To improve that first time experience, we are continuing to enhance Baseline Profiles. Baseline Profiles allow apps and libraries to provide the Android run-time with metadata about code path usage, which it uses to prioritize ahead-of-time compilation. This profile data is aggregated across libraries and lands in an app’s APK as a baseline.prof file, which is then used at install time to partially pre-compile the app and its statically-linked library code. This can make your apps load faster and reduce dropped frames the first time a user interacts with an app.
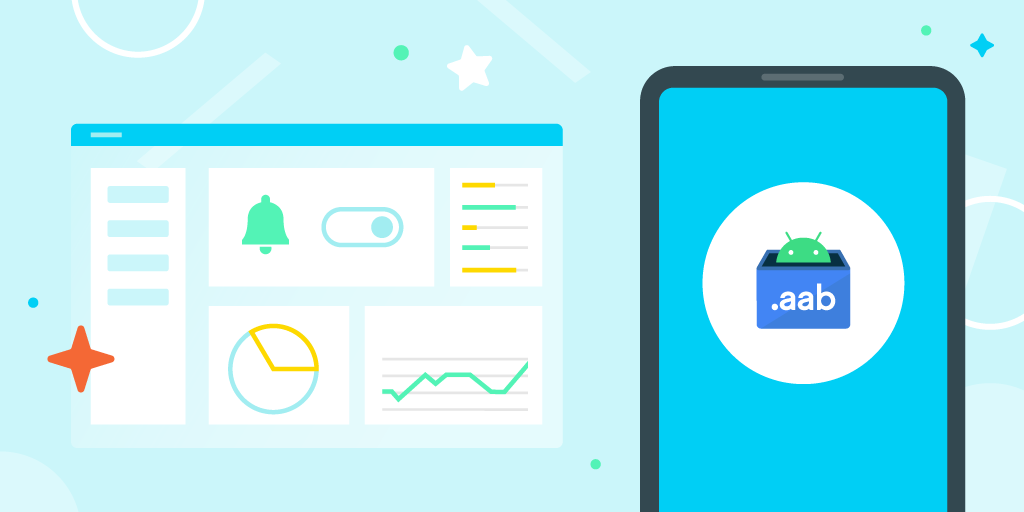
With AGP 7.3, baseline profile tooling is fully stable, so you don't need alpha dependencies to get a 30%+ performance boost to your app's initial launch and scroll after each app update.
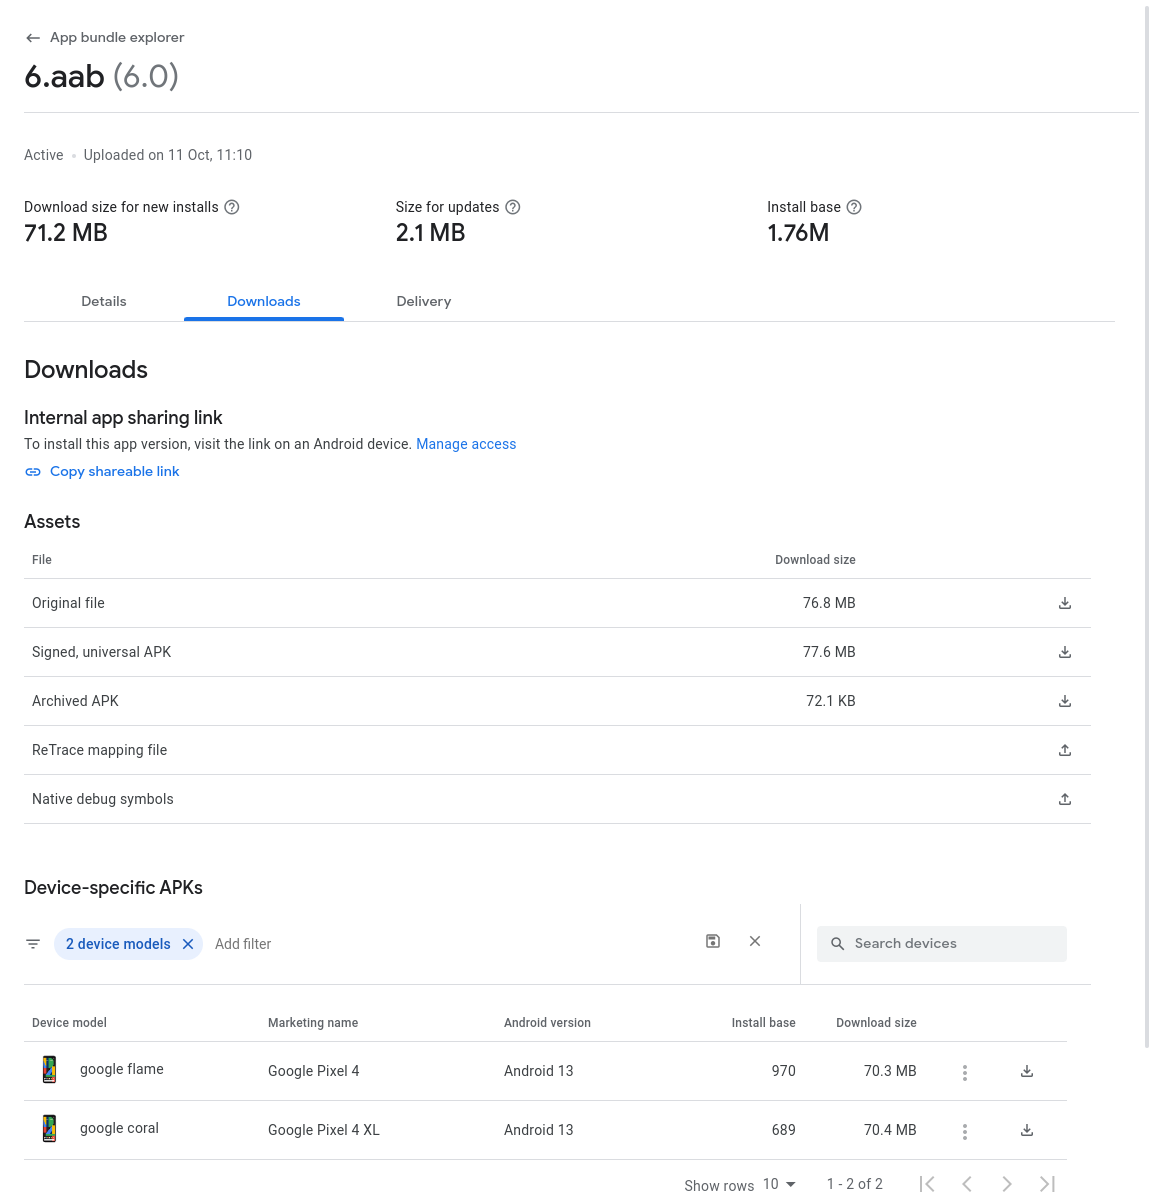
In profileinstaller:1.3.0-alpha01, ProfileVerifier allows you to inspect profile compilation in the field, and starting in Android Studio Flamingo Canary 6, the Studio APK Inspector now shows the contents of your APK's baseline profiles.
Accurate reporting of startup metrics
Startup metrics are an important part of measuring your app’s performance, but the system (and the Benchmark libraries!) need a signal that marks the completion of the startup phase. That signal is the Activity’s call to reportFullyDrawn(). Activity 1.7.0-alpha01 added new APIs in the form of the FullyDrawnReporter APIs that allows multiple components to report when they are ready for interaction. ComponentActivity will wait for all components to complete before calling reportFullyDrawn() on your behalf.
These APIs are encouraged to enable:
- Signaling the Android Runtime when startup completes, to ensure all of the code run during a multi-frame startup sequence is included and prioritized for background compilation.
- Signaling Macrobenchmark and Play Vitals when your application should be considered fully drawn for startup metrics, so you can track performance.
Two Activity Compose APIs, ReportDrawnWhen and ReportDrawnAfter, have been added to make it more convenient to use the FullyDrawnReporter from individual composables.
Recomposition Tracing
We recently launched the first alpha of Jetpack Compose Composition Tracing, a tool that allows you to see composable functions in the Android Studio system trace profiler. This feature combines the benefits of low intrusiveness from system tracing with method tracing levels of detail in your compositions. By adding a dependency on Compose Runtime Tracing, you will be able to see traces of your recomposition call stack in Android Studio Flamingo Canary 5 system traces and click on them to navigate straight to the code! You can read more about the feature and how to set it up in your project
here.
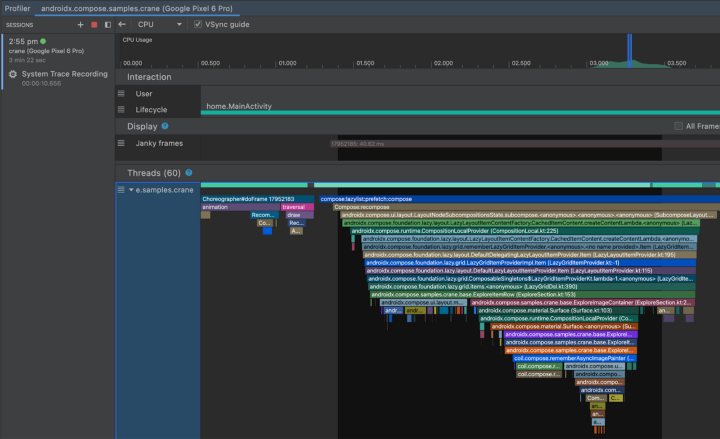 |
| Composables in the system trace |
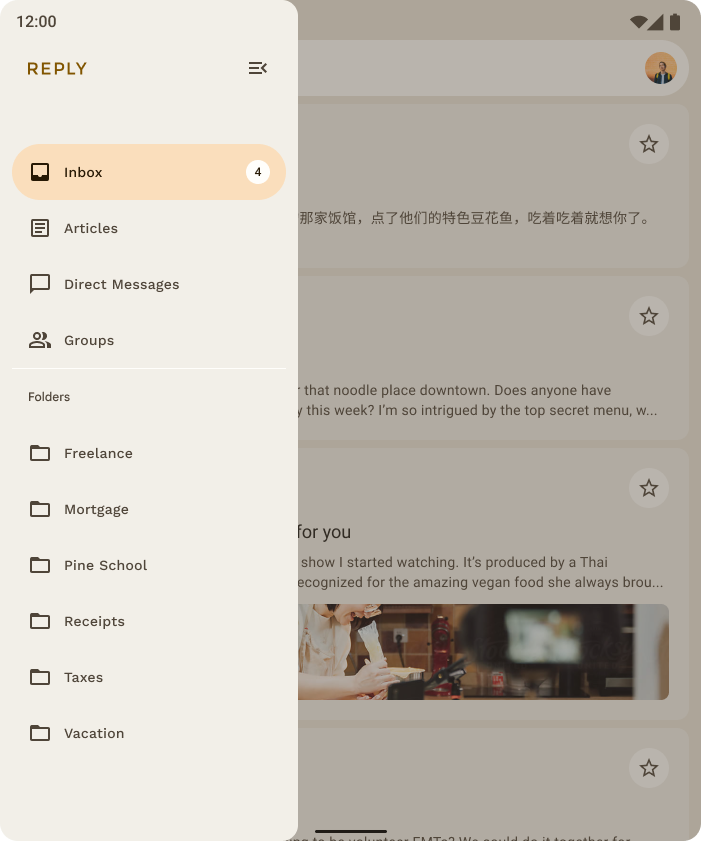
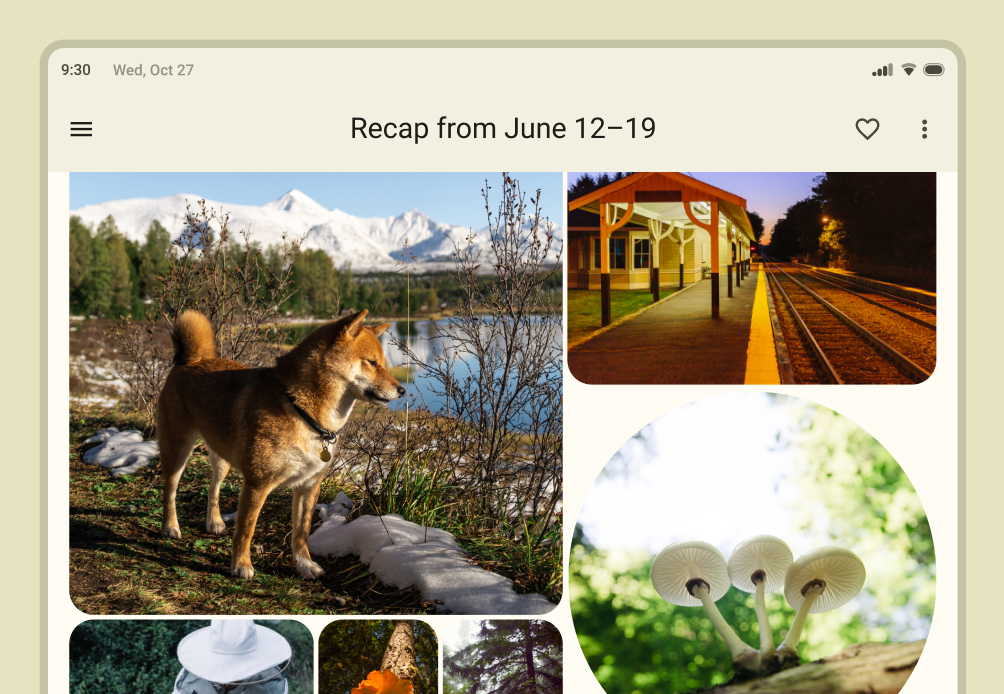
User Interface Libraries and Guidance
Jetpack Compose
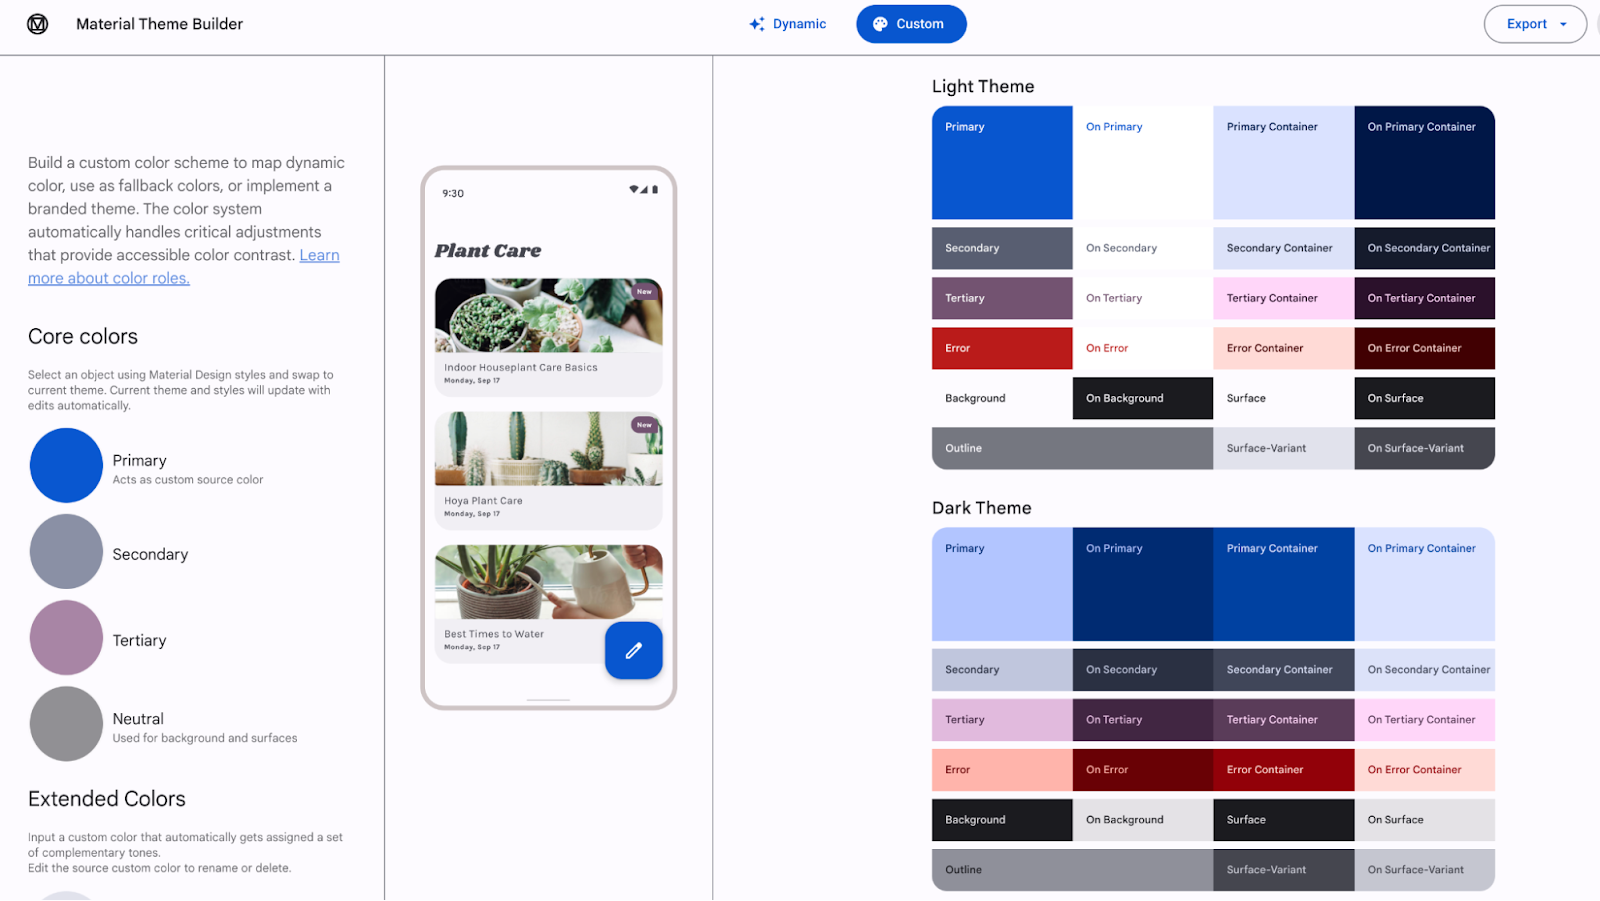
Jetpack Compose, Android’s modern toolkit for building native UI, has launched the Compose October ‘22 release which includes many performance improvements and adds support for staggered grids, drawing text directly to canvas, and pull to refresh. We also published our first Bill of Materials (BOM) to simplify the process of adding Compose library versions to your Gradle dependencies. Check out the
What’s New in Jetpack Compose blog post to learn more.
Wear Tiles Material Library
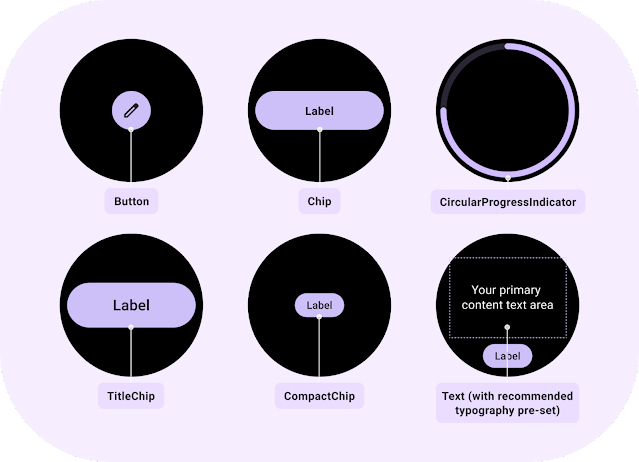
Tiles for Wear OS give users glanceable access to information and actions. To help you create tiles, we launched the Tiles Material library, which includes built-in support for Material Design for Wear OS.
The included components are:
- Button - a clickable, circular-shaped object, with either icon, text or image with 3 predefined sizes.
- Chip - a clickable, stadium-shaped object that can contain an icon, primary and secondary labels, and has fixed height and customizable width.
- CompactChip & TitleChip - two variations of the standard Chip that have smaller and larger heights, respectively, and can contain one line of text.
- CircularProgressIndicator - a colored arc around the edge of the screen with the given start and end angles, which can describe a full or partial circle with the full progress arc behind it.
- Text - a text element which uses the recommended Wear Material typography styles.
In addition to components, there are several recommended tile layouts within Material guidelines. Read more about Wear OS Tiles Material Library in this blog.
Add Splash Screen to more devices
The core SplashScreen library brings the new Android 12 splash screen to all devices from API 23. Using the splash screen library, your application doesn't need any custom SplashScreen Activity and leverages the right APIs for a fast launch of your application. To use it, simply follow the steps outlined in our guide. For more information about the Android 12 splash screen, visit the official documentation.
Other key updates
Camera
The CameraX library makes it easier to add camera capabilities to your app. In 1.2.0-beta01, a new library camera-mlkit-vision was added. It enables an easy integration of CameraX with many MLKit features, including barcode scanning, face detection, text detection, etc. You can find the sample code here. We also added a new experimental Zero-Shutter Lag API which optimizes capture pipeline to have better latency while keeping good image quality.
Annotation
The
Annotation library exposes metadata that helps tools and other developers understand your app's code. It provides familiar annotations like @NonNull that pair with lint checks to improve the correctness and usability of your code.
Annotation 1.5 stable release has been fully migrated to Kotlin sources, resulting in support for Kotlin-specific target use sites and other Kotlin-compatible annotation features.
Kotlin Multiplatform
We have been experimenting with Kotlin Multiplatform Mobile from Jetbrains to enable code sharing across platforms. We have experimental previews of the Collections and DataStore libraries for apps targeting Android and iOS and we would like your feedback! Read more here.
This was a brief tour of all the key changes in Jetpack over the past few months. For more details on each Jetpack library, check out the AndroidX release notes, quickly find relevant libraries with the API picker and watch the Google ADS talks for additional highlights.