Tag Archives: Pixel

Experimental Nighttime Photography with Nexus and Pixel


On a full moon night last year I carried a professional DSLR camera, a heavy lens and a tripod up to a hilltop in the Marin Headlands just north of San Francisco to take a picture of the Golden Gate Bridge and the lights of the city behind it.
A view of the Golden Gate Bridge from the Marin Headlands, taken with a DSLR camera (Canon 1DX, Zeiss Otus 28mm f/1.4 ZE). Click here for the full resolution image.
I thought the photo of the moonlit landscape came out well so I showed it to my (then) teammates in Gcam, a Google Research team that focuses on computational photography - developing algorithms that assist in taking pictures, usually with smartphones and similar small cameras. Seeing my nighttime photo, one of the Gcam team members challenged me to re-take it, but with a phone camera instead of a DSLR. Even though cameras on cellphones have come a long way, I wasn’t sure whether it would be possible to come close to the DSLR shot.

Probably the most successful Gcam project to date is the image processing pipeline that enables the HDR+ mode in the camera app on Nexus and Pixel phones. HDR+ allows you to take photos at low-light levels by rapidly shooting a burst of up to ten short exposures and averaging them them into a single image, reducing blur due to camera shake while collecting enough total light to yield surprisingly good pictures. Of course there are limits to what HDR+ can do. Once it gets dark enough the camera just cannot gather enough light and challenging shots like nighttime landscapes are still beyond reach.

The Challenges
To learn what was possible with a cellphone camera in extremely low-light conditions, I looked to the experimental SeeInTheDark app, written by Marc Levoy and presented at the ICCV 2015 Extreme Imaging Workshop, which can produce pictures with even less light than HDR+. It does this by accumulating more exposures, and merging them under the assumption that the scene is static and any differences between successive exposures must be due to camera motion or sensor noise. The app reduces noise further by dropping image resolution to about 1 MPixel. With SeeInTheDark it is just possible to take pictures, albeit fairly grainy ones, by the light of the full moon.

However, in order to keep motion blur due to camera shake and moving objects in the scene at acceptable levels, both HDR+ and SeeInTheDark must keep the exposure times for individual frames below roughly one tenth of a second. Since the user can’t hold the camera perfectly still for extended periods, it doesn’t make sense to attempt to merge a large number of frames into a single picture. Therefore, HDR+ merges at most ten frames, while SeeInTheDark progressively discounts older frames as new ones are captured. This limits how much light the camera can gather and thus affects the quality of the final pictures at very low light levels.

Of course, if we want to take high-quality pictures of low-light scenes (such as a landscape illuminated only by the moon), increasing the exposure time to more than one second and mounting the phone on a tripod or placing it on some other solid support makes the task a lot easier. Google’s Nexus 6P and Pixel phones support exposure times of 4 and 2 seconds respectively. As long as the scene is static, we should be able to record and merge dozens of frames to produce a single final image, even if shooting those frames takes several minutes.

Even with the use of a tripod, a sharp picture requires the camera’s lens to be focused on the subject, and this can be tricky in scenes with very low light levels. The two autofocus mechanisms employed by cellphone cameras — contrast detection and phase detection — fail when it’s dark enough that the camera's image sensor returns mostly noise. Fortunately, the interesting parts of outdoor scenes tend to be far enough away that simply setting the focus distance to infinity produces sharp images.

Experiments & Results
Taking all this into account, I wrote a simple Android camera app with manual control over exposure time, ISO and focus distance. When the shutter button is pressed the app waits a few seconds and then records up to 64 frames with the selected settings. The app saves the raw frames captured from the sensor as DNG files, which can later be downloaded onto a PC for processing.

To test my app, I visited the Point Reyes lighthouse on the California coast some thirty miles northwest of San Francisco on a full moon night. I pointed a Nexus 6P phone at the building and shot a burst of 32 four-second frames at ISO 1600. After covering the camera lens with opaque adhesive tape I shot an additional 32 black frames. Back at the office I loaded the raw files into Photoshop. The individual frames were very grainy, as one would expect given the tiny sensor in a cellphone camera, but computing the mean of all 32 frames cleaned up most of the grain, and subtracting the mean of the 32 black frames removed faint grid-like patterns caused by local variations in the sensor's black level. The resulting image, shown below, looks surprisingly good.
Point Reyes lighthouse at night, photographed with Google Nexus 6P (full resolution image here).
The lantern in the lighthouse is overexposed, but the rest of the scene is sharp, not too grainy, and has pleasing, natural looking colors. For comparison, a hand-held HDR+ shot of the same scene looks like this:
Point Reyes Lighthouse at night, hand-held HDR+ shot (full resolution image here). The inset rectangle has been brightened in Photoshop to roughly match the previous picture.
Satisfied with these results, I wanted to see if I could capture a nighttime landscape as well as the stars in the clear sky above it, all in one picture. When I took the photo of the lighthouse a thin layer of clouds conspired with the bright moonlight to make the stars nearly invisible, but on a clear night a two or four second exposure can easily capture the brighter stars. The stars are not stationary, though; they appear to rotate around the celestial poles, completing a full turn every 24 hours. The motion is slow enough to be invisible in exposures of only a few seconds, but over the minutes it takes to record a few dozen frames the stars move enough to turn into streaks when the frames are merged. Here is an example:
The North Star above Mount Burdell, single 2-second exposure. (full resolution image here).
Mean of 32 2-second exposures (full resolution image here).
Seeing streaks instead of pinpoint stars in the sky can be avoided by shifting and rotating the original frames such that the stars align. Merging the aligned frames produces an image with a clean-looking sky, and many faint stars that were hidden by noise in the individual frames become visible. Of course, the ground is now motion-blurred as if the camera had followed the rotation of the sky.
Mean of 32 2-second exposures, stars aligned (full resolution image here).
We now have two images; one where the ground is sharp, and one where the sky is sharp, and we can combine them into a single picture that is sharp everywhere. In Photoshop the easiest way to do that is with a hand-painted layer mask. After adjusting brightness and colors to taste, slight cropping, and removing an ugly "No Trespassing" sign we get a presentable picture:
The North Star above Mount Burdell, shot with Google Pixel, final image (full resolution image here).
Using Even Less Light
The pictures I've shown so far were shot on nights with a full moon, when it was bright enough that one could easily walk outside without a lantern or a flashlight. I wanted to find out if it was possible to take cellphone photos in even less light. Using a Pixel phone, I tried a scene illuminated by a three-quarter moon low in the sky, and another one with no moon at all. Anticipating more noise in the individual exposures, I shot 64-frame bursts. The processed final images still look fine:
Wrecked fishing boat in Inverness and the Big Dipper, 64 2-second exposures, shot with Google Pixel (full resolution image here).
Stars above Pierce Point Ranch, 64 2-second exposures, shot with Google Pixel (full resolution image here).
In the second image the distant lights of the cities around the San Francisco Bay caused the sky near the horizon to glow, but without moonlight the night was still dark enough to make the Milky Way visible. The picture looks noticeably grainier than my earlier moonlight shots, but it's not too bad.

Pushing the Limits
How far can we go? Can we take a cellphone photo with only starlight - no moon, no artificial light sources nearby, and no background glow from a distant city?

To test this I drove to a point on the California coast a little north of the mouth of the Russian River, where nights can get really dark, and pointed my Pixel phone at the summer sky above the ocean. Combining 64 two-second exposures taken at ISO 12800, and 64 corresponding black black frames did produce a recognizable image of the Milky Way. The constellations Scorpius and Sagittarius are clearly visible, and squinting hard enough one can just barely make out the horizon and one or two rocks in the ocean, but overall, this is not a picture you'd want to print out and frame. Still, this may be the lowest-light cellphone photo ever taken.
Only starlight, shot with Google Pixel (full resolution image here).
Here we are approaching the limits of what the Pixel camera can do. The camera cannot handle exposure times longer than two seconds. If this restriction was removed we could expose individual frames for eight to ten seconds, and the stars still would not show noticeable motion blur. With longer exposures we could lower the ISO setting, which would significantly reduce noise in the individual frames, and we would get a correspondingly cleaner and more detailed final picture.

Getting back to the original challenge - using a cellphone to reproduce a night-time DSLR shot of the Golden Gate - I did that. Here is what I got:
Golden Gate Bridge at night, shot with Google Nexus 6P (full resolution image here).
The Moon above San Francisco, shot with Google Nexus 6P (full resolution image here).
At 9 to 10 MPixels the resolution of these pictures is not as high as what a DSLR camera might produce, but otherwise image quality is surprisingly good: the photos are sharp all the way into the corners, there is not much visible noise, the captured dynamic range is sufficient to avoid saturating all but the brightest highlights, and the colors are pleasing.

Trying to find out if phone cameras might be suitable for outdoor nighttime photography was a fun experiment, and clearly the result is yes, they are. However, arriving at the final images required a lot of careful post-processing on a desktop computer, and the procedure is too cumbersome for all but the most dedicated cellphone photographers. However, with the right software a phone should be able to process the images internally, and if steps such as painting layer masks by hand can be eliminated, it might be possible to do point-and-shoot photography in very low light conditions. Almost - the cellphone would still have to rest on the ground or be mounted on a tripod.

Here’s a Google Photos album with more examples of photos that were created with the technique described above.
Changes to Device Identifiers in Android O

Posted by Giles Hogben, Privacy Engineer

Android O introduces some improvements to help provide user control over the use of identifiers. These improvements include:

  • limiting the use of device-scoped identifiers that are not resettable
  • updating the Android O Wi-Fi stack in conjunction with changes to the Wi-Fi chipset firmware used by Pixel, Pixel XL and Nexus 5x phones to randomize MAC addresses in probe requests
  • updating the way that applications request account information and providing more user-facing control

Device identifier changes


Here are some of the device identifier changes for Android O:

Android ID


In O, Android ID (Settings.Secure.ANDROID_ID or SSAID) has a different value for each app and each user on the device. Developers requiring a device-scoped identifier, should instead use a resettable identifier, such as Advertising ID, giving users more control. Advertising ID also provides a user-facing setting to limit ad tracking.

Additionally in Android O:

  • The ANDROID_ID value won't change on package uninstall/reinstall, as long as the package name and signing key are the same. Apps can rely on this value to maintain state across reinstalls.
  • If an app was installed on a device running an earlier version of Android, the Android ID remains the same when the device is updated to Android O, unless the app is uninstalled and reinstalled.
  • The Android ID value only changes if the device is factory reset or if the signing key rotates between uninstall and reinstall events.
  • This change is only required for device manufacturers shipping with Google Play services and Advertising ID. Other device manufacturers may provide an alternative resettable ID or continue to provide ANDROID ID.

Build.SERIAL


To be consistent with runtime permissions required for access to IMEI, use of android.os.Build.SERIAL is deprecated for apps that target Android O or newer. Instead, they can use a new Android O API, Build.getSerial(), which returns the actual serial number, as long as the caller holds the PHONE permission. In a future version of Android, apps targeting Android O will see Build.SERIAL as "UNKNOWN". To avoid breaking legacy app functionality, apps targeting prior versions of Android will continue see the device's serial number, as before.

Net.Hostname


Net.Hostname provides the network hostname of the device. In previous versions of Android, the default value of the network hostname and the value of the DHCP hostname option contained Settings.Secure.ANDROID_ID. In Android O, net.hostname is empty and the DHCP client no longer sends a hostname, following IETF RFC 7844 (anonymity profile).

Widevine ID


For new devices shipping with O, the Widevine Client ID returns a different value for each app package name and web origin (for web browser apps).

Unique system and settings properties


In addition to Build.SERIAL, there are other settings and system properties that aren't available in Android O. These include:

  • ro.runtime.firstboot: Millisecond-precise timestamp of first boot after last wipe or most recent boot
  • htc.camera.sensor.front_SN: Camera serial number (available on some HTC devices)
  • persist.service.bdroid.bdaddr: Bluetooth MAC address property
  • Settings.Secure.bluetooth_address: Device Bluetooth MAC address. In O, this is only available to apps holding the LOCAL_MAC_ADDRESS permission.

MAC address randomization in Wi-Fi probe requests


We collaborated with security researchers1 to design robust MAC address randomization for Wi-Fi scan traffic produced by the chipset firmware in Google Pixel and Nexus 5X devices. The Android Connectivity team then worked with manufacturers to update the Wi-Fi chipset firmware used by these devices.

Android O integrates these firmware changes into the Android Wi-Fi stack, so that devices using these chipsets with updated firmware and running Android O or above can take advantage of them.

Here are some of the changes that we've made to Pixel, Pixel XL and Nexus 5x firmware when running O+:

  • For each Wi-Fi scan while it is disconnected from an access point, the phone uses a new random MAC address (whether or not the device is in standby).
  • The initial packet sequence number for each scan is also randomized.
  • Unnecessary Probe Request Information Elements have been removed: Information Elements are limited to the SSID and DS parameter sets.

Changes in the getAccounts API


In Android O and above, the GET_ACCOUNTS permission is no longer sufficient to gain access to the list of accounts registered on the device. Applications must use an API provided by the app managing the specific account type or the user must grant permission to access the account via an account chooser activity. For example, Gmail can access Google accounts registered on the device because Google owns the Gmail application, but the user would need to grant Gmail access to information about other accounts registered on the device.

Apps targeting Android O or later should either use AccountManager#newChooseAccountIntent() or an authenticator-specific method to gain access to an account. Applications with a lower target SDK can still use the current flow.

In Android O, apps can also use the AccountManager.setAccountVisibility()/ getVisibility() methods to manage visibility policies of accounts owned by those apps.

In addition, the LOGIN_ACCOUNTS_CHANGED_ACTION broadcast is deprecated, but still works in Android O. Applications should use addOnAccountsUpdatedListener() to get updates about accounts at runtime for a list of account types that they specify.

Check out Best Practices for Unique Identifiers for more information.


Notes


  1. Glenn Wilkinson and team at Sensepost, UK, Célestin Matte, Mathieu Cunche: University of Lyon, INSA-Lyon, CITI Lab, Inria Privatics, Mathy Vanhoef, KU Leuven 

With these Pixel tips, your photos will bloom bright

Spring has sprung, and so have desert wildflowers, daffodils along the highway, and even the tulips you picked up at your florist. Everything seems to be in bloom—and everyone is sharing photos of flowers on social media.

Your petal pics should be the best of the bunch. So with help from Brittany Asch of BRRCH Floral, we’ve gathered a few tips to help you take, store and share the prettiest photos of poppies, petunias, phlox or whatever blossoms you love best—with help from your Pixel, Phone by Google, of course!

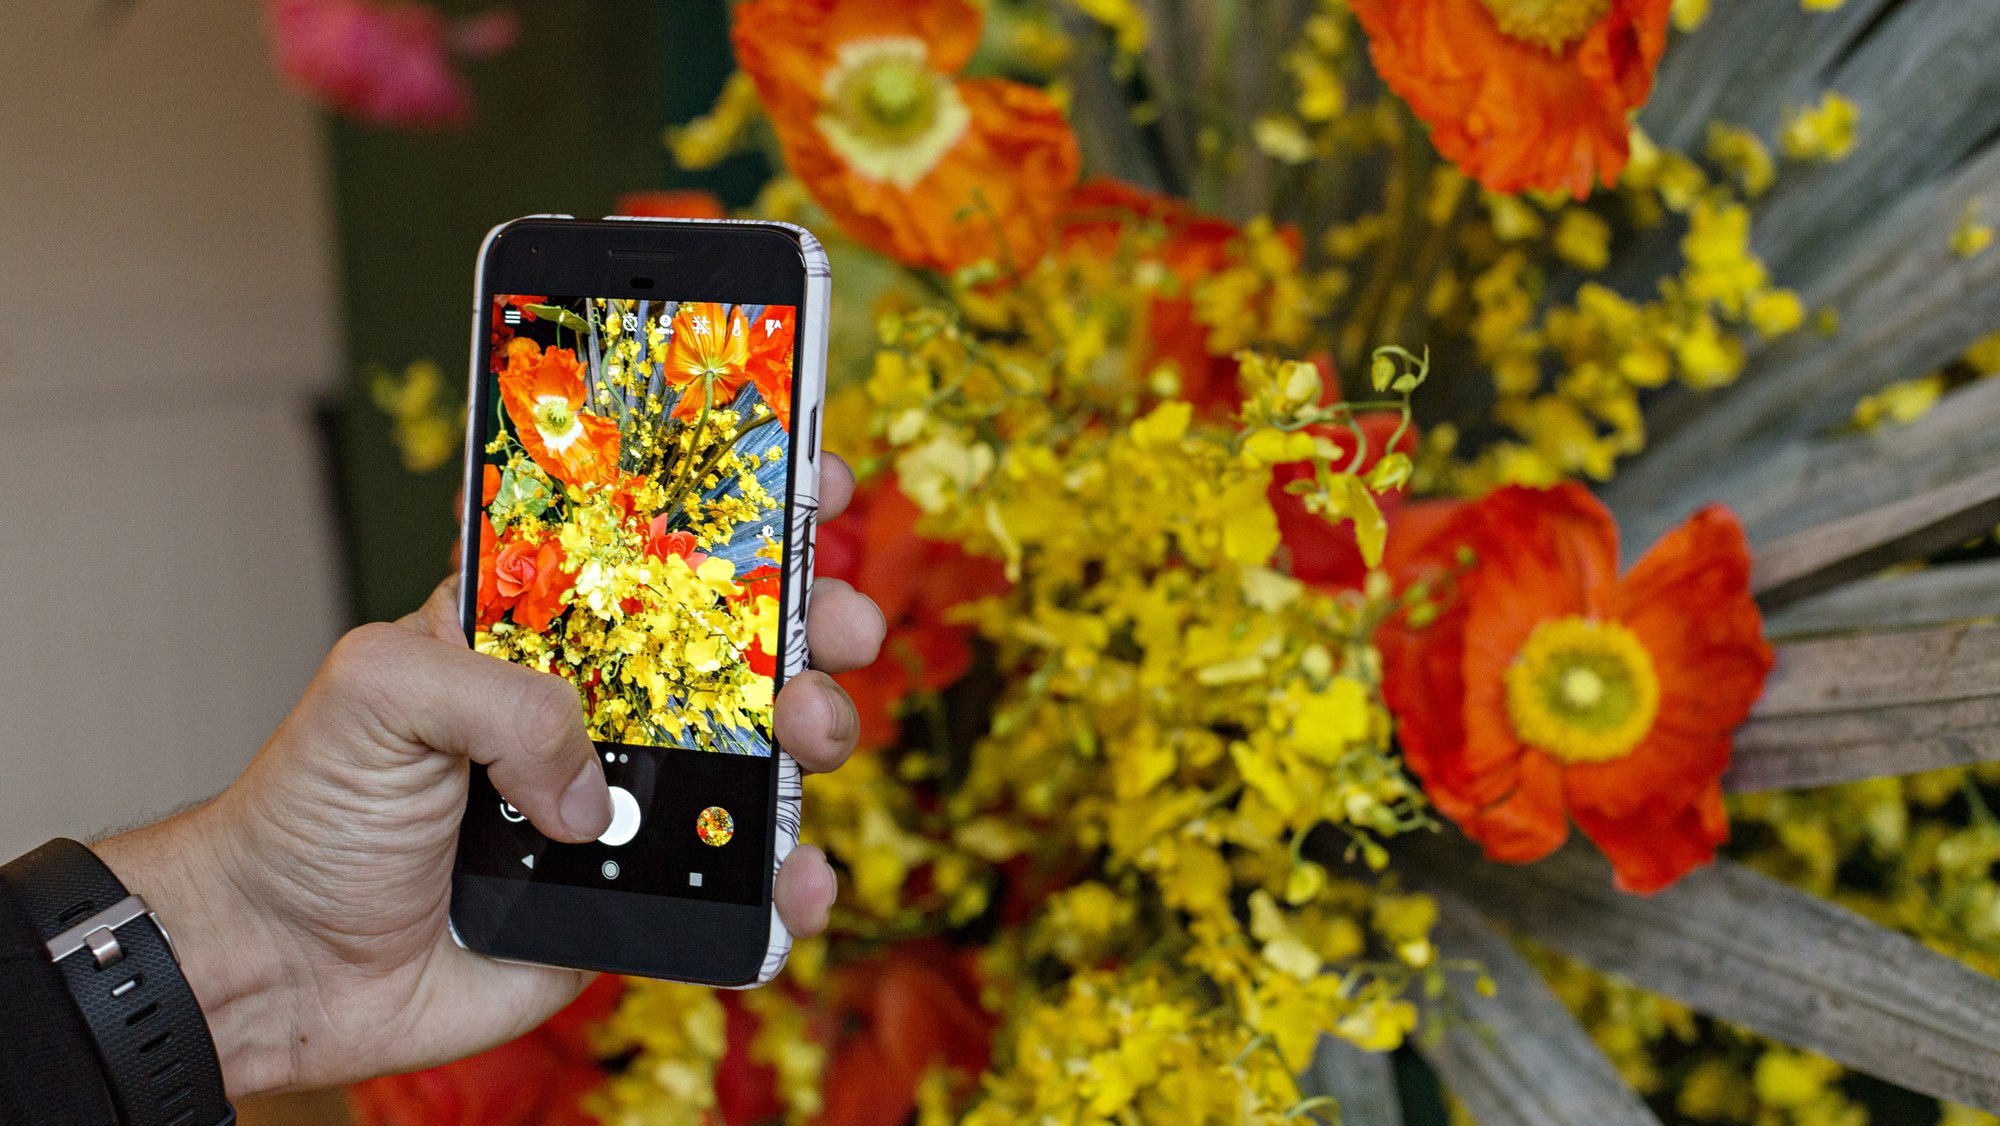
  1. Lighting is key. Check your exposure to ensure you're giving your plants and flowers the right amount of light to see the details. On Pixel, you can easily brighten or darken your shot to get the perfect amount of exposure. Tap the camera, the slide your finger up or down to adjust the exposure depending on the lighting conditions.
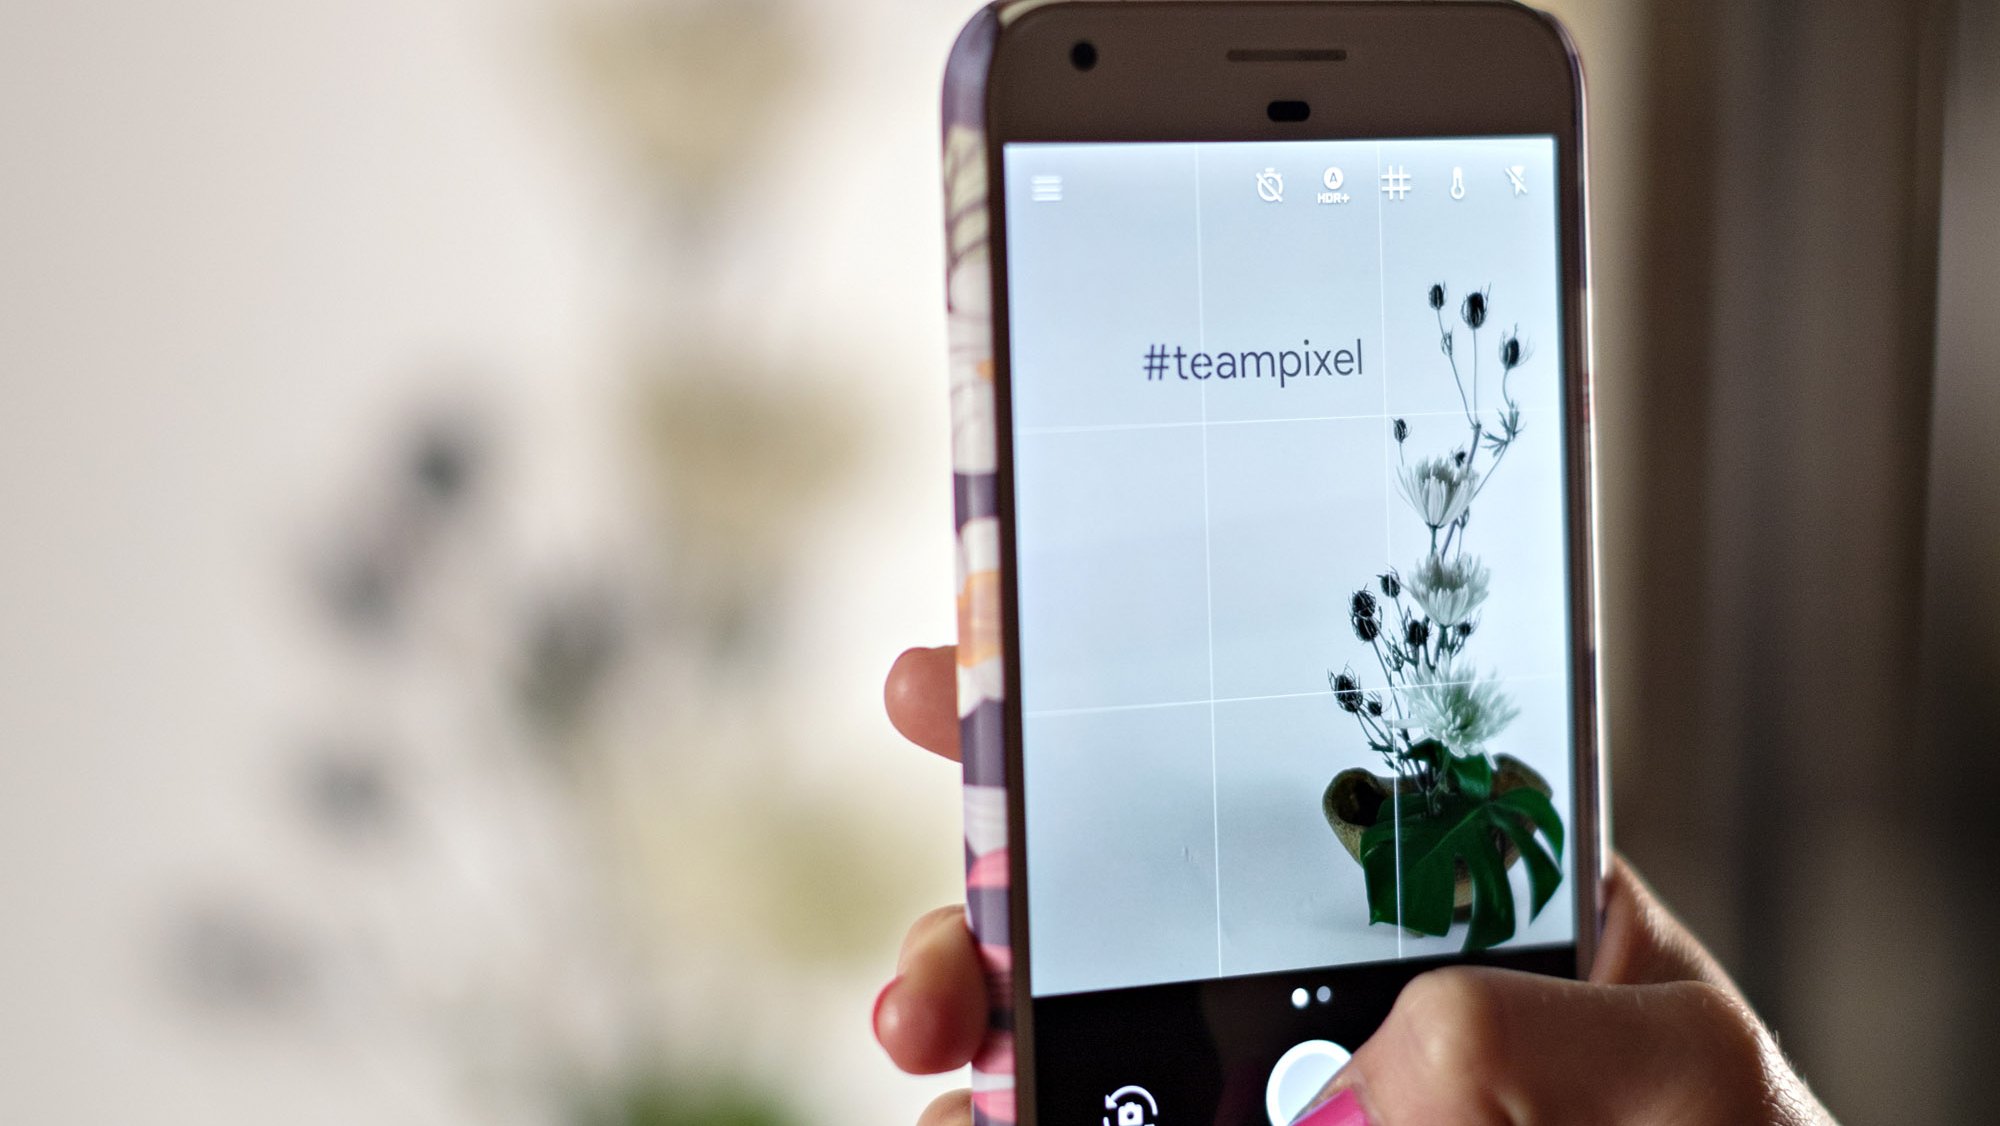
  2. Consider your frame. Take note of the surrounding area (is it worthy of the ‘gram?). If it’s not, zoom in. If it is, capture a wider angle that shows the full view. On Pixel, you can use a compositional tool to help frame your shot. Look for the grid in the top right of the camera—your arrangement should be at the center of the grid. We recommend 3 x 3 as a ratio for flowers.
  3. That Lens Blur, tho. This Pixel feature will make your photos look professional. Start by clicking on the menu bar at the top left; you’ll see the Lens Blur option second from the bottom. Click on it, take your photo and slowly raise your phone to capture the perfect lens blur. After you snap a photo you can also edit the placement and degree of lens blur. This is a great for up-close shots!
  4. Grab a friend. Have him or her pose with your flowers to bring them to life and add depth to the photo.
  5. Take as many as you want! With Pixel, you get unlimited high-quality storage with Google Photos for free, so you can try out as many shots as you need without worrying about filling up your phone with dud buds.
  6. Find ‘em later. Just type “flowers” into the search bar in Google Photos for a bouquet of photos just waiting to be shared.

Don’t forget to share your snapshots with #teampixel for a chance to be featured on our Instagram account!

From the street to the gallery, and now your Pixel: The new EN MASSE Live Case

Editor’s note: Today’s blog is brought to you by special guest contributor Jason Botkin, director and co-founder of EN MASSE

In 2016, every element of our daily lives can act as a platform for creative expression and engagement, from the clothes we wear to how we style our hair to heck, even our phone cases. This allows us to return to a more authentic spirit of expression, honouring and enhancing the power and potential of human creativity, alongside personal and social transformation through art.


That’s why I am thrilled to introduce the new Artworks Live Case designed by EN MASSE, a multi-artist collaborative drawing project that explores the creation of highly spontaneous, large-scale collaborative black and white drawings and public installations.
To design this Live Case series, we tapped into Montreal’s massively vibrant creative community and brought together seven artists, each with different artistic backgrounds and styles. While many of these artists are schooled in the ‘fine arts’, their heart and minds belong to punk rock, hip hop, cartoons, graffiti, street art and tattoo cultures.


We challenged ourselves to transform our typically large-scale black and white murals into smaller, customizable phone cases. To customize your Live Case, choose from one of the amazing drawings, zoom in and out, and rotate the design.


Each EN MASSE Live Case comes with a companion live wallpaper that rotates between our collection of designs. The shortcut button provides you one-touch access to our work, or can be programmed to open your favorite app.
Video courtesy of Salman Sajun


EN MASSE comes from the French word for “as a whole” or “all together”. Our goal is to create work that can remind people of their dreams: to be strong, to belong, and to be inspired. This exploration of shared creativity allows us to create something larger as a whole that we can do on our own, and is an exact portrait of our deeply human need to be affirmed.


Working with Google allows us to spread this mandate into new and ever-expanding networks, on a much greater scale! By linking a traditional artistic medium with powerful new technologies, like Live Cases, Pixel fans around the world can discover our art and become part of the EN MASSE movement.  

A BIG thank you to the diverse group of artists involved in this project:

To design and purchase your own EN MASSE Artworks Live Case, visit the Google Store. The case is available for $50 (CDN). We’re excited to be launching today alongside other Artworks Live Cases by Jen Stark, Craig & Karl, and Opening Ceremony.

Posted by Guest Blogger Jason Botkin, EN MASSE Director

OK Google. Give me directions to Best Buy

At the beginning of October, we gave Canadians (and the world) a first glimpse into our new family of hardware, made by Google. And now we’re bringing a whole new way for shoppers to experience our products, courtesy of Google shops.


Today, Google Canada is thrilled to open four flagship Google shops in Calgary, Vancouver, Edmonton and Mississauga Best Buy locations.


At our new locations, guests will encounter everything they love about Google, all in one place -- from personalized tech help to hands-on workshops with YouTube stars and, most importantly, immersive and interactive experiences with the latest Google products like Pixel, Daydream View & Chromecast Ultra!  

Earlier in October, we announced 10 smaller shops in Best Buy locations across the country - click here for locations. At the four new flagship shops opening today, we’ll offer:

  • One-on-one Help: Book 1:1 appointments with Google guides who can help you get the most out of your Google products & apps.

  • Product Workshops: Participate in ongoing workshops, from planning your holiday travel  to getting personalized tech tips for the whole family.

  • Holidays Events (new!): Sign up for unique and fun holiday-themed events at our four larger shops, led by YouTube creators, popular tech experts, artists and more.

Comprised of nearly 700 square feet, our new shops focus on every detail. From the use of large open spaces with curved edges to the hand-picked colour palette, each design element evokes a warm playful feel.


When you visit our four new shops, make sure to try some of our one-of-a-kind experiences like Portal, a super-sized display that lets you ‘fly’ through Google Earth, explore what people around the world are searching for, and play with other fun Google apps. You’ll also get to go hands-on with our new hardware like Pixel, Daydream View and Chromecast Ultra in our ‘Experience Bays’, which are fully programmable spaces that will evolve and change as our products do.


With the holidays around the corner, timing couldn’t be more perfect to sign up for our first Holiday Event  with The Sorry Girls, Canada’s DIY sweethearts. Hosted at our Google shops in Mississauga (December 3) and Vancouver (December 4), The Sorry Girls will teach you how to create fun holiday DIYs gifts for your loved ones, like customized ugly holiday sweaters, using Google tech. We’ll be announcing more workshops soon with other special guests -- see the full calendar of activities here.


So, stop by the Google shop and check out a few new things made by Google.


Follow the conversation with @GoogleCanada and #googleshop.


Happy holiday shopping!

Posted by Janell Fischer, Google Inc., Director of Retail Marketing

Meet the Google Earth and Google Trends Live Cases

Meet the Google Earth and Google Trends Live Cases 

Considering the amount of time we spend with our phones, it's no surprise that they've become one of our most personal possessions. They allow us to not only connect with those we love, but also to explore and discover the world around us, from getting the latest news to finding inspiration for our next adventure. We think the cases we choose should reflect our style and interest.

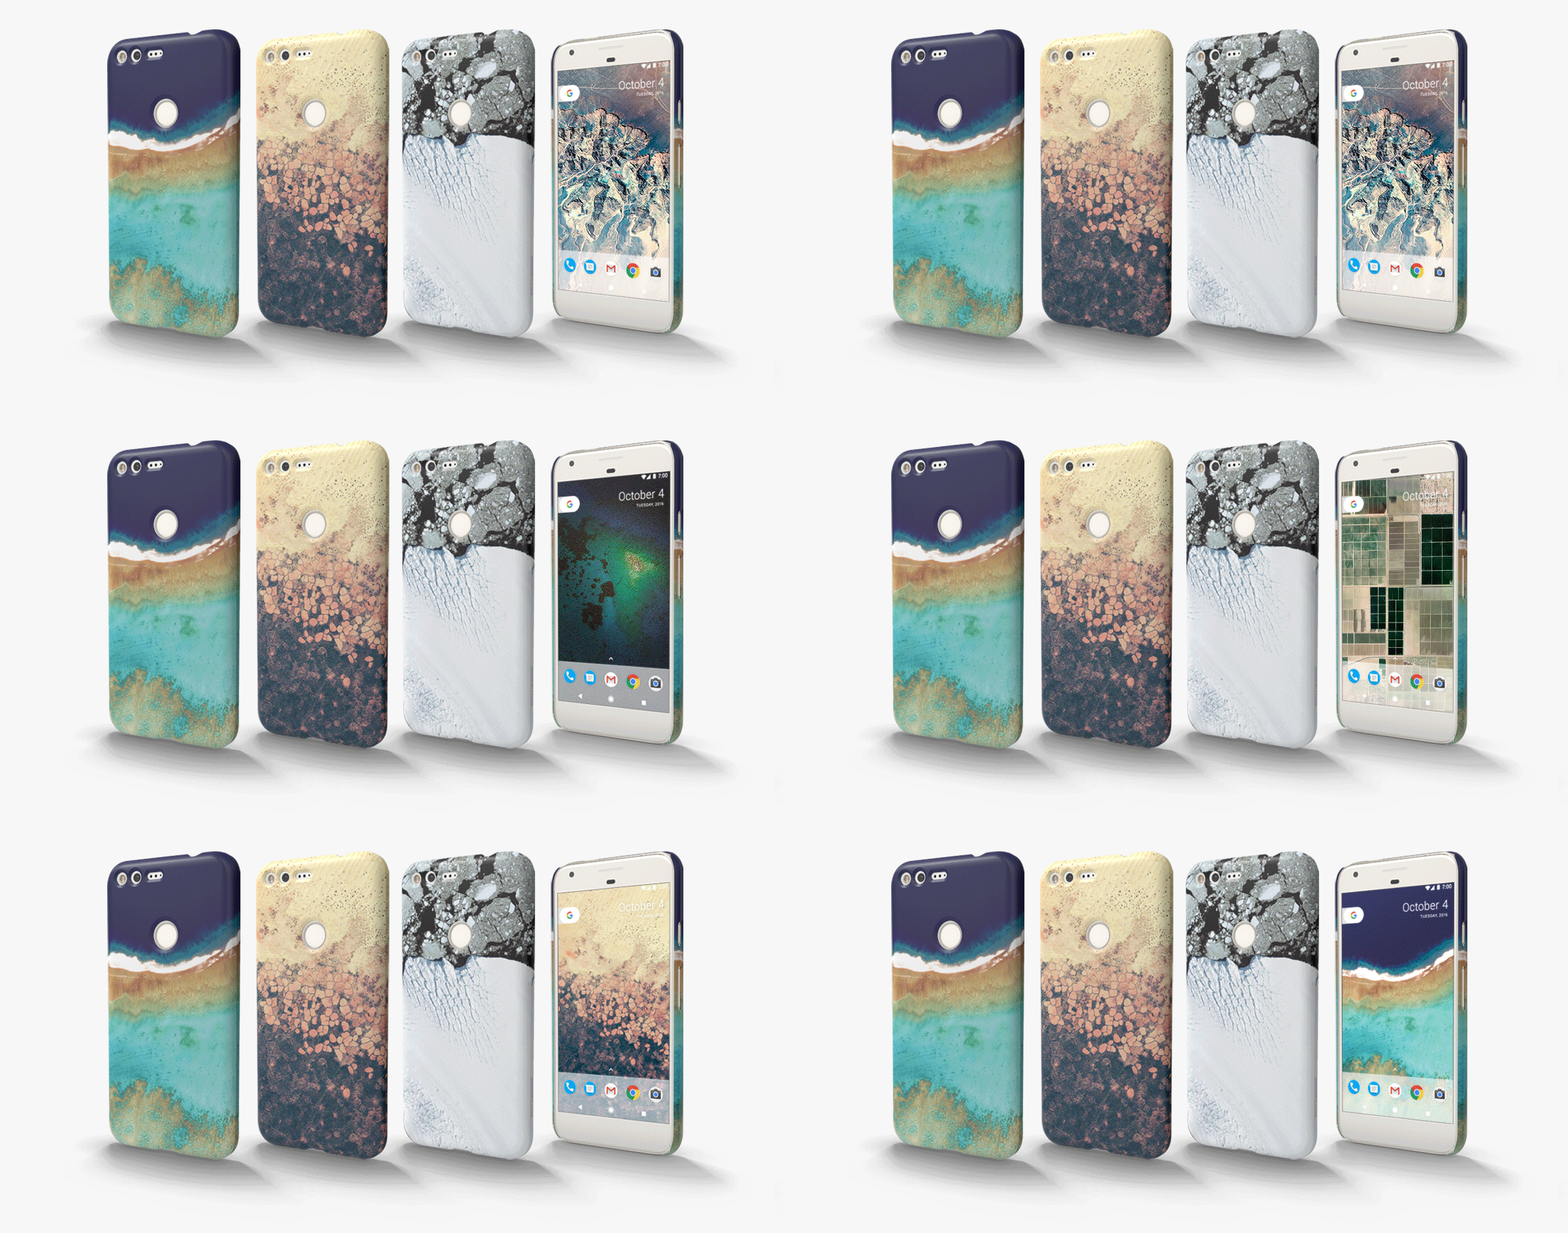
Today we’re excited to launch a new line of Live Cases designed exclusively for Google’s new Pixel phones that do more than just protect your phone. The Google Earth and Google Trends Live Cases enable you to experience new places around the world and stay up-to-date with the latest trends, with the companion live wallpaper. 

LiveCase_Pixel_Combo.png

Always know what’s trending

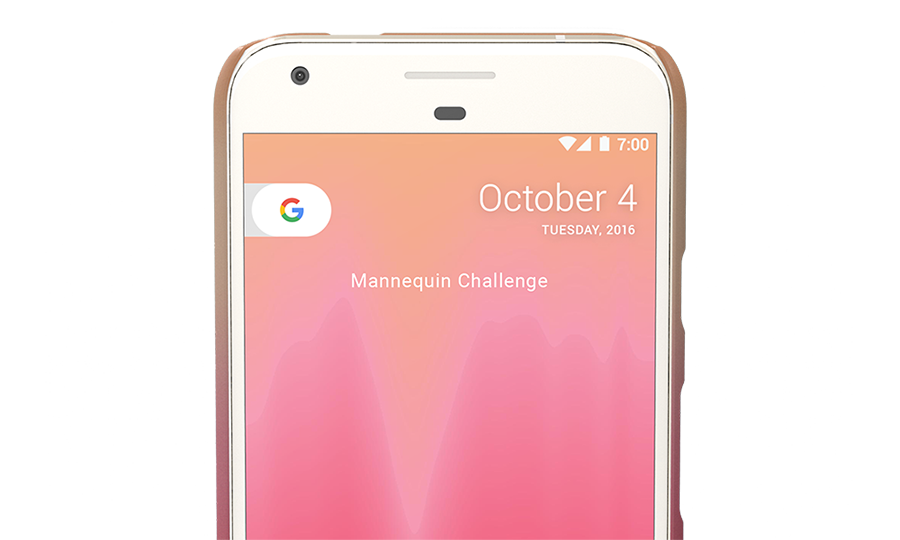
The Google Trends Live Case comes with a companion live wallpaper that charts the top trending Google Searches right on your home screen. Topics like the newest movie releases, hottest sports teams, and the latest social trends are brought to life through a visualization that represents its popularity during the last 24 hours. Double-tapping the screen surfaces additional trending topics, and pressing on the Live Case’s shortcut button takes you to the Google Search results for that topic.

Pixel_MannequinChallenge.png

See the world in the palm of your hand

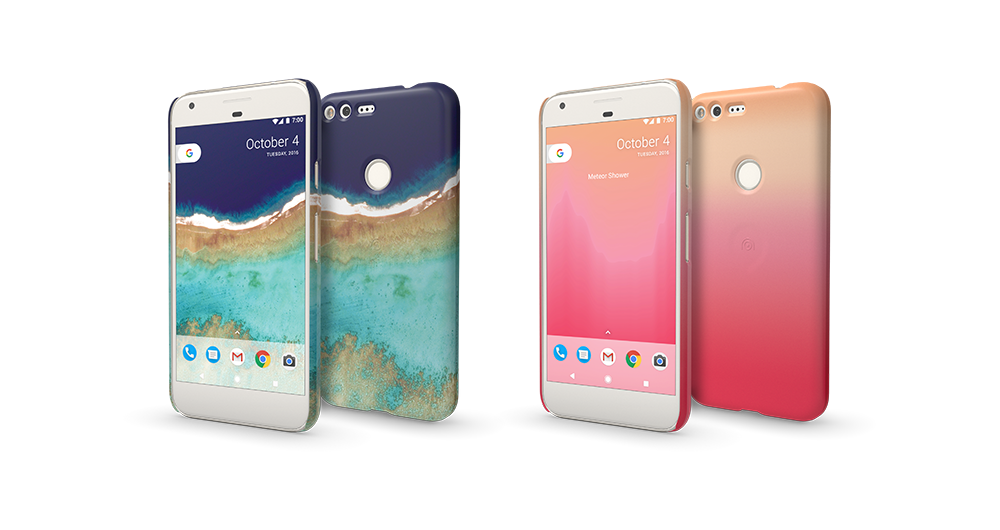
The Google Earth Live Case wraps beautiful imagery from Google Earth all around your Pixel phone. From the ice formations of Antarctica to the beaches of the South Pacific, the Live Case designs extend to your home screen through Live Case’s companion wallpaper. The wallpaper updates everyday with a new location from a curated collection of images from Google Earth, and when a landscape piques your interest, just press the shortcut button to explore the location in more detail on the Google Maps app.

Earth_3Case.gif

Exclusively for Pixel, Phone by Google

Discover the world with your own Google Earth and Google Trends Live Case. Available starting today  from the Google Store, Verizon and Best Buy in the US.

From the Runway to the Pixel: The Jeremy Scott Live Case

Today, we’re excited to announce that celebrated American fashion designer Jeremy Scott has teamed up with Google to create a line of limited edition Jeremy Scott Live Cases for our new Pixel phones.

Phones and cases have become an extension of our personal style. Scott, the creative mind behind fashion labels like Moschino and his own collection, has brought his distinctive vision to this new line, turning your Pixel into the ultimate accessory. And we didn't stop there. Why not add a bit more style to the other ways you express yourself?

Jeremy Scott Live Case by Google — Game Over

Introducing the Jeremy Scott Live Case

It’s no secret that we Heart - Android 7.1.png emojis. Scott does too, but always felt like a few were missing. So together, we worked to create and bring his emojis to Pixel through a new customized Live Case and its companion live wallpapers.
Jeremy-Scott-4-phone-line-up.gif

Designs to make your own

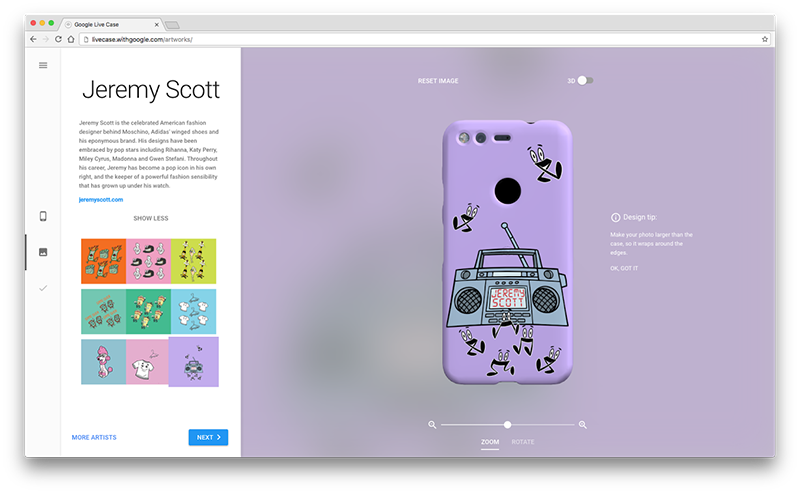
Scott created nine different canvases for Live Case that feature his cast of emoji characters. Fans can make the case their own by zooming and rotating the designs, creating the perfect layout for their phone case.
pasted image 0.png

The GIFs that keep on giving

Each Jeremy Scott Live Case comes with a companion wallpaper that updates daily with new characters. And with a shake of your Pixel, the characters come to life.

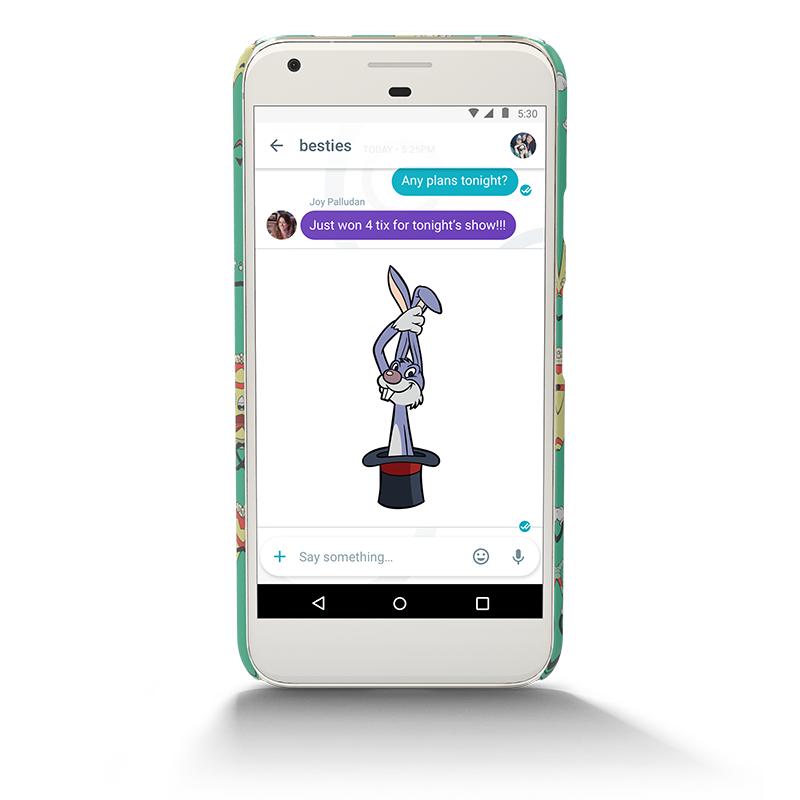
Lastly, to liven up your conversations in Allo, Messenger, or Hangouts, the Jeremy Scott Live Case comes with its own GIF keyboard that features the full line-up of 24 characters. Best friend scores free tickets to tonight’s concert? Nothing says “that’s amazing” like a GIF of a rabbit pulling itself out of a top hat.

Nexus_2017_N6P_JEREMY_SCOTT_ALLO.png

See the emojis #IRL

To celebrate the collaboration, we created real-life versions of Scott’s emojis that are currently popping up around the country. If you see one, snap a photo and use the hashtag #JeremyScottxGoogle. You never know where they might show up next.

JS_FingersCrossed.gif

Exclusively on the Google Store

To make your Jeremy Scott Live Case now, head to the Google Store. Available in the US, UK, Australia, Canada and Germany, for the Pixel, Pixel XL, Nexus 6P and Nexus 5X phones.

Source: Android