Tag Archives: Model Maker

5 things to know before customizing your first machine learning model with MediaPipe Model Maker

Posted by Jen Person, DevRel Engineer, CoreML

If you're reading this blog, then you're probably interested in creating a custom machine learning (ML) model. I recently went through the process myself, creating a custom dog detector to go with a Codelab, Create a custom object detection web app with MediaPipe. Like any new coding task, the process took some trial and error to figure out what I was doing along the way. To minimize the error part of your "trial and error" experience, I'm happy to share five takeaways from my model training experience with you.


1. Preparing data takes a long time. Be sure to make the time

Preparing your data for training will look different depending on the type of model you're customizing. In general, there is a step for sourcing data and a step for annotating data.

Sourcing data

Finding enough data points that best represent your use case can be a challenge. For one, you want to make sure you have the right to use any images or text you include in your data. Check the licensing for your data before training. One way to resolve this is to provide your own data. I just so happen to have hundreds of photos of my dogs, so choosing them for my object detector was a no-brainer. You can also look for existing datasets on Kaggle. There are so many options on Kaggle covering a wide range of use cases. If you're lucky, you'll find an existing dataset that serves your needs and it might even already have annotations!

Annotating data

MediaPipe Model Maker accepts data where each input has a corresponding XML file listing its annotations. For example:

There are several software programs that can help with annotation. This is especially useful when you need to highlight specific areas in images. Some software programs are designed to enable collaboration–an intuitive UI and instructions for annotators mean you can enlist the help of others. A common open source option is Label Studio, which is what I used to annotate my images.

So expect this step to take a long time, but keep in mind that it will take longer than you expect.


2. Simplify your custom model

If you're anything like me, you have a wonderfully grand idea planned for your first custom model. My dog Ben was the inspiration for my first model. He came from a local golden retriever rescue, but when I did a DNA test, it turned out that he's 0% golden retriever! My first idea was to create a golden retriever detector – a solution that could tell you if a dog was a "golden retriever" or "not golden retriever". I thought it could be fun to see what the model thought of Ben, but I quickly realized that I would have to source a lot more images of dogs than I had so I could run the model on other dogs as well. And, I'd have to make sure that it could accurately identify golden retrievers of all shades. After hours into this endeavor I realized I needed to simplify. That's when I decided to try building a solution for just my three dogs. I had plenty of photos to choose from, so I picked the ones that best showed the dogs in detail. This was a much more successful solution, and a great proof of concept for my golden retriever model because I refuse to abandon that idea.

Here are a few ways to simplify your first custom model:

  1. Start with fewer labels. Choose 2-5 classes to assign to your data.
  2. Leave off the edge cases. If you're coming from a background in software engineering, then you're used to paying attention to and addressing any edge cases. In machine learning, you might be introducing some errors or strange behavior when you try to train for edge cases. For example, I didn't choose any dog photos where their heads aren't visible. Sure, I may want a model that can detect my dogs even from just the back half. But I left partial dog photos out of my training and it turns out that the model is still able to detect them.
    Image showing partial photo of author's dog being recognized by model with 50% confidence
    The web app still identifies ACi in an image even when her head isn't visible
    Include some edge cases in your testing and prototyping to see how the model handles them. Otherwise, don't sweat the edge cases.
  3. A little data goes a long way. Since MediaPipe Model Maker uses transfer learning, you need much less data to train than you would if you were training a model from scratch. Aim for 100 examples for each class. You might be able to train with fewer than 100 examples if there aren't many possible iterations of the data. For example, my colleague trained a model to detect two different Android figurines. He didn't need too many photos because there are only so many angles at which to view the figurines. You might need more than 100 examples to start if you need more to show the possible iterations of the data. For example, a golden retriever comes in many colors. You might need several dozen examples for each color to ensure the model can accurately identify them, resulting in over 100 examples.

So when it comes to your first ML training experience, remember to simplify, simplify, simplify.

Simplify.

Simplify.


3. Expect several training iterations

As much as I'd like to confidently say you'll get the right results from your model the first time you train, it probably won't happen. Taking your time with choosing data samples and annotation will definitely improve your success rate, but there are so many factors that can change how the model behaves. You might find that you need to start with a different model architecture to reach your desired accuracy. Or, you might try a different split of training and validation data. You might need to add more samples to your dataset. Fortunately, transfer learning with MediaPipe Model Maker generally takes several minutes, so you can turn around new iterations fairly quickly.


4. Prototype outside of your app

When you finish training a model, you're probably going to be very excited and eager to add it to your app. However, I encourage you to first try out your model in MediaPipe Studio for a couple of reasons:

  1. Any time you make a change to your app, you probably have to wait for some compile and/or build step to complete. Even with a hot reload, there can be a wait time. So if you decide you want to tweak a configuration option like score threshold, you'll be waiting through every tweak you make and that time can add up. It's not worth the extra time to wait for a whole app to build out when you're just trying to test one component. With MediaPipe Studio, you can try out options and see results with very low latency.
  2. If you don't get the expected results, you can't confidently determine if the issue is with your model, task configuration, or app.

With MediaPipe Studio, I was able to quickly try out different score thresholds on various images to determine what threshold I should use in my app. I also eliminated my own web app as a factor in this performance.

Image showing screen grab of author testing the score threshold of the model with a photo of the author's pet sitting in a box. the model has identified the photo with 43% confidence

5. Make incremental changes

After sourcing quality data, simplifying your use case, training, and prototyping, you might find that you need to repeat the cycle to get the right result. When that happens, choose just one part of the process to change, and make a small change. In my case, many photos of my dogs were taken on the same blue couch. If the model started picking up on this couch since it's often inside the bounding box, that could be affecting how it categorized images where the dogs aren't on the couch. Rather than throwing out all the couch photos, I removed just a couple and added about 10 more of each dog where they aren't on the couch. This greatly improved my results. If you try to make a big change right away, you might end up introducing new issues rather than resolving them.


Go forth and customize!

With these tips in mind, it's time for you to customize your own ML solution! You can customize your image classification, gesture recognition, text classification, or object detection model to use in MediaPipe Tasks.

If you’d like to share some learnings from training your first model, post the details on LinkedIn along with a link to this blog post, and then tag me. I can't wait to see what you learn and what you build!
Full spectrum of on-device machine learning tools on Android

Posted by Hoi Lam, Android Machine Learning


This blog post is part of a weekly series for #11WeeksOfAndroid. Each week we’re diving into a key area of Android so you don’t miss anything. Throughout this week, we covered various aspects of Android on-device machine learning (ML). Whichever stage of development be it starting out or an established app; whatever role you play in design, product and engineering; whatever your skill level from beginner to experts, we have a wide range of ML tools for you.

Design - ML as a differentiator

“Focus on the user and all else will follow” is a Google mantra that becomes even more relevant in our machine learning age. Our Design Advocate, Di Dang, highlighted the importance of finding the unique intersection of user problems and ML strengths. Too often, teams are so keen on the idea of machine learning that they lose sight of their user needs.


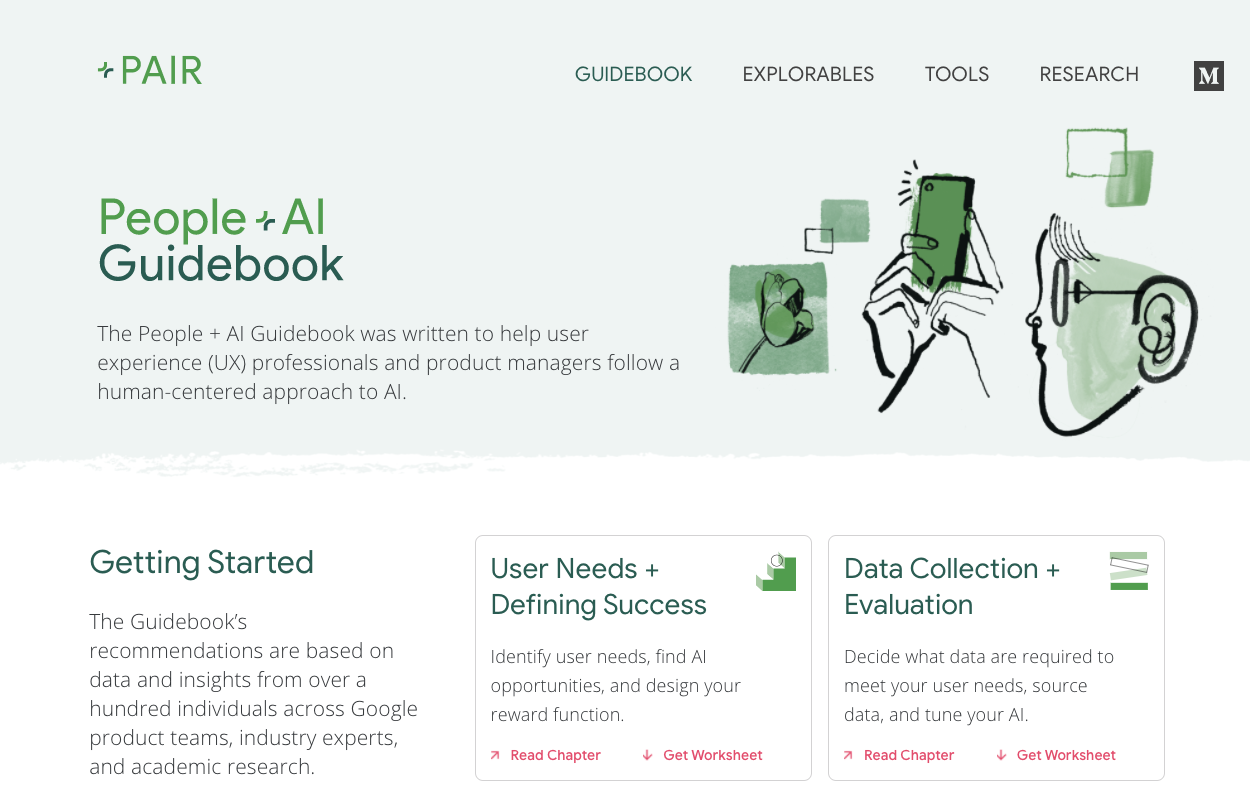
Di outlined how the People + AI Guidebook can help you make ML product decisions and used the example of the Read Along app to illustrate topics like precision and recall, which are unique to ML design and development. Check out her interview with the Read Along team together with your team for more inspiration.

New ML Kit fully focused on on-device

When you decide that on-device machine learning is the solution, the easiest way to implement it will be through turnkey SDKs like ML Kit. Sophisticated Google-trained models and processing pipelines are offered through an easy to use interface in Kotlin / Java. ML Kit is designed and built for on-device ML: it works offline, offers enhanced privacy, unlocks high performance for real-time use cases and it is free. We recently made ML Kit a standalone SDK and it no longer requires a Firebase account. Just one line in your build.gradle file and you can start bringing ML functionality into your app.


The team has also added new functionalities such as Jetpack lifecycle support and the option to use the face contour models via Google Play Services saving as much as 20MB in app size. Another much anticipated addition is the support for swapping Google models with your own for both Image Labeling as well as Object Detection and Tracking. This provides one of the easiest ways to add TensorFlow Lite models to your applications without interacting with ByteArray!

Customise with TensorFlow Lite and Android tools

If the base model provided by ML Kit doesn’t quite fit the bill, what should developers do? The first port of call should be TensorFlow Hub where ready-to-use TensorFlow Lite models from both Google and the wider community can be downloaded. From 100,000 US Supermarket products to tomato plant diseases classifiers, the choice is yours.


In addition to Firebase AutoML Vision Edge, you can also build your own model using TensorFlow Model Maker (image classification / text classification) with just a few lines of Python. Once you have a TensorFlow Lite model from either TensorFlow Hub, or the Model Maker, you can easily integrate it with your Android app using ML Kit Image Labelling or Object Detection and Tracking. If you prefer an open source solution, Android Studio 4.1 beta introduces ML model binding that helps wrap around the TensorFlow Lite model with an easy to use Kotlin / Java wrapper. Adding a custom model to your Android app has never been easier. Check out this blog for more details.

Time for on-device ML is now

From the examples of the Android Developer Challenge winners, it is obvious that on-device machine learning has come of age and ML functionalities once reserved for the cloud or supercomputers are now available on your Android phone. Take a step forward with us by trying out our codelabs of the day:

Also checkout the ML Week learning pathway and take the quiz to get your very own ML badge.

Android on-device machine learning is a rapidly evolving platform, if you have any enhancement requests or feedback on how it could be improved, please let us know together with your use-case (TensorFlow Lite / ML Kit). Time for on-device ML is now.

Resources

You can find the entire playlist of #11WeeksOfAndroid video content here, and learn more about each week here. We’ll continue to spotlight new areas each week, so keep an eye out and follow us on Twitter and YouTube. Thanks so much for letting us be a part of this experience with you!

New tools for finding, training, and using custom machine learning models on Android

Posted by Hoi Lam, Android Machine Learning

Yesterday, we talked about turnkey machine learning (ML) solutions with ML Kit. But what if that doesn’t completely address your needs and you need to tweak it a little? Today, we will discuss how to find alternative models, and how to train and use custom ML models in your Android app.

Find alternative ML models

Crop disease models from the wider research community available on tfhub.dev

If the turnkey ML solutions don't suit your needs, TensorFlow Hub should be your first port of call. It is a repository of ML models from Google and the wider research community. The models on the site are ready for use in the cloud, in a web-browser or in an app on-device. For Android developers, the most exciting models are the TensorFlow Lite (TFLite) models that are optimized for mobile.

In addition to key vision models such as MobileNet and EfficientNet, the repository also boast models powered by the latest research such as:

Many of these solutions were previously only available in the cloud, as the models are too large and too power intensive to run on-device. Today, you can run them on Android on-device, offline and live.

Train your own custom model

Besides the large repository of base models, developers can also train their own models. Developer-friendly tools are available for many common use cases. In addition to Firebase’s AutoML Vision Edge, the TensorFlow team launched TensorFlow Lite Model Maker earlier this year to give developers more choices over the base model that support more use cases. TensorFlow Lite Model Maker currently supports two common ML tasks:

The TensorFlow Lite Model Maker can run on your own developer machine or in Google Colab online machine learning notebooks. Going forward, the team plans to improve the existing offerings and to add new use cases.

Using custom model in your Android app

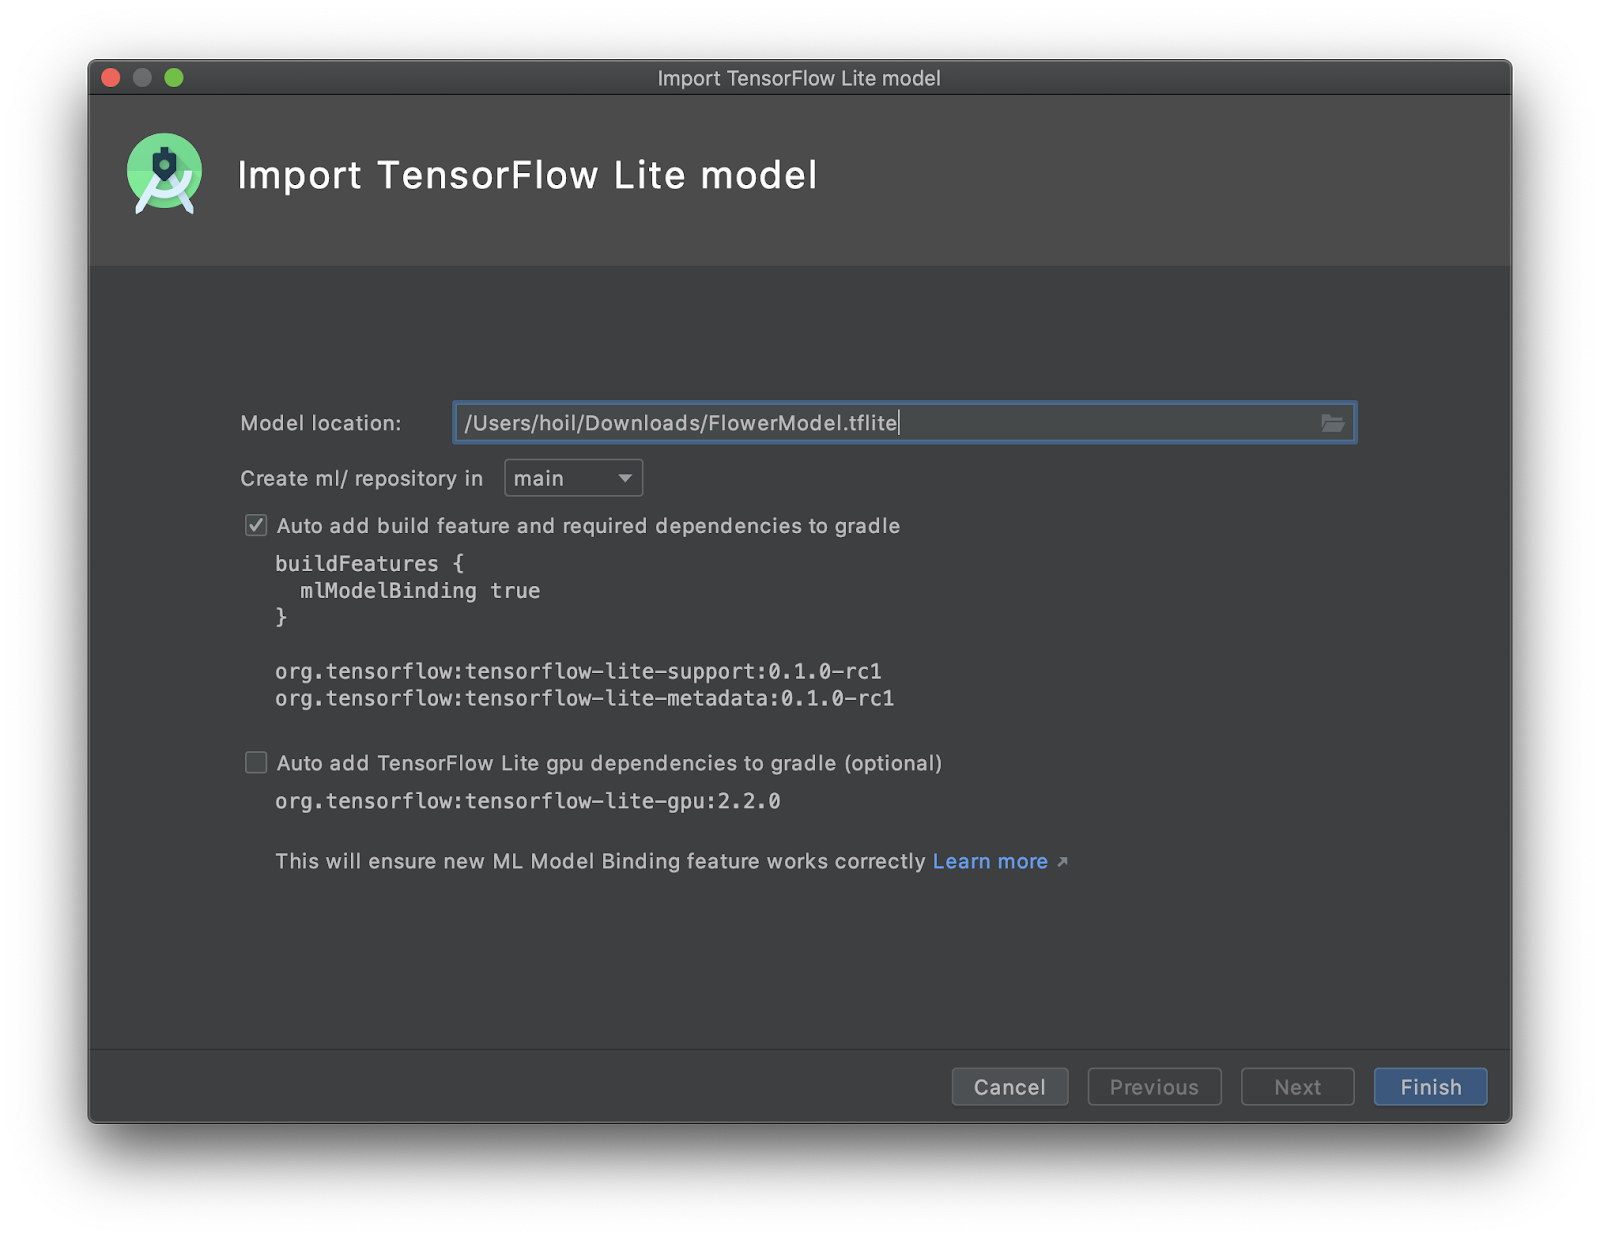
New TFLite Model import screen in Android Studio 4.1 beta

Once you have selected a model or trained your model there are new easy-to-use tools to help you integrate them into your Android app without having to convert everything into ByteArrays. The first new tool is ML Model binding with Android Studio 4.1. This lets developers import any TFLite model, read the input / output signature of the model, and use it with just a few lines of code that calls the open source TensorFlow Lite Android Support Library.

Another way to implement a TensorFlow Lite model is via ML Kit. Starting in June, ML Kit no longer requires a Firebase project for on-device functionality. In addition, the image classification and object detection and tracking (ODT) APIs support custom models. The latter ODT offering is especially useful in use-cases where you need to separate out objects from a busy scene.

So how should you choose between these three solutions? If you are trying to detect a product on a busy supermarket shelf, ML Kit object detection and tracking can help your user select a specific product for processing. The API then performs image classification on just the part of the image that contains the product, which results in better detection performance. On the other hand, if the scene or the object you are trying to detect takes up most of the input image, for example, a landmark such as Big Ben, using ML Model binding or the ML Kit image classification API might be more appropriate.

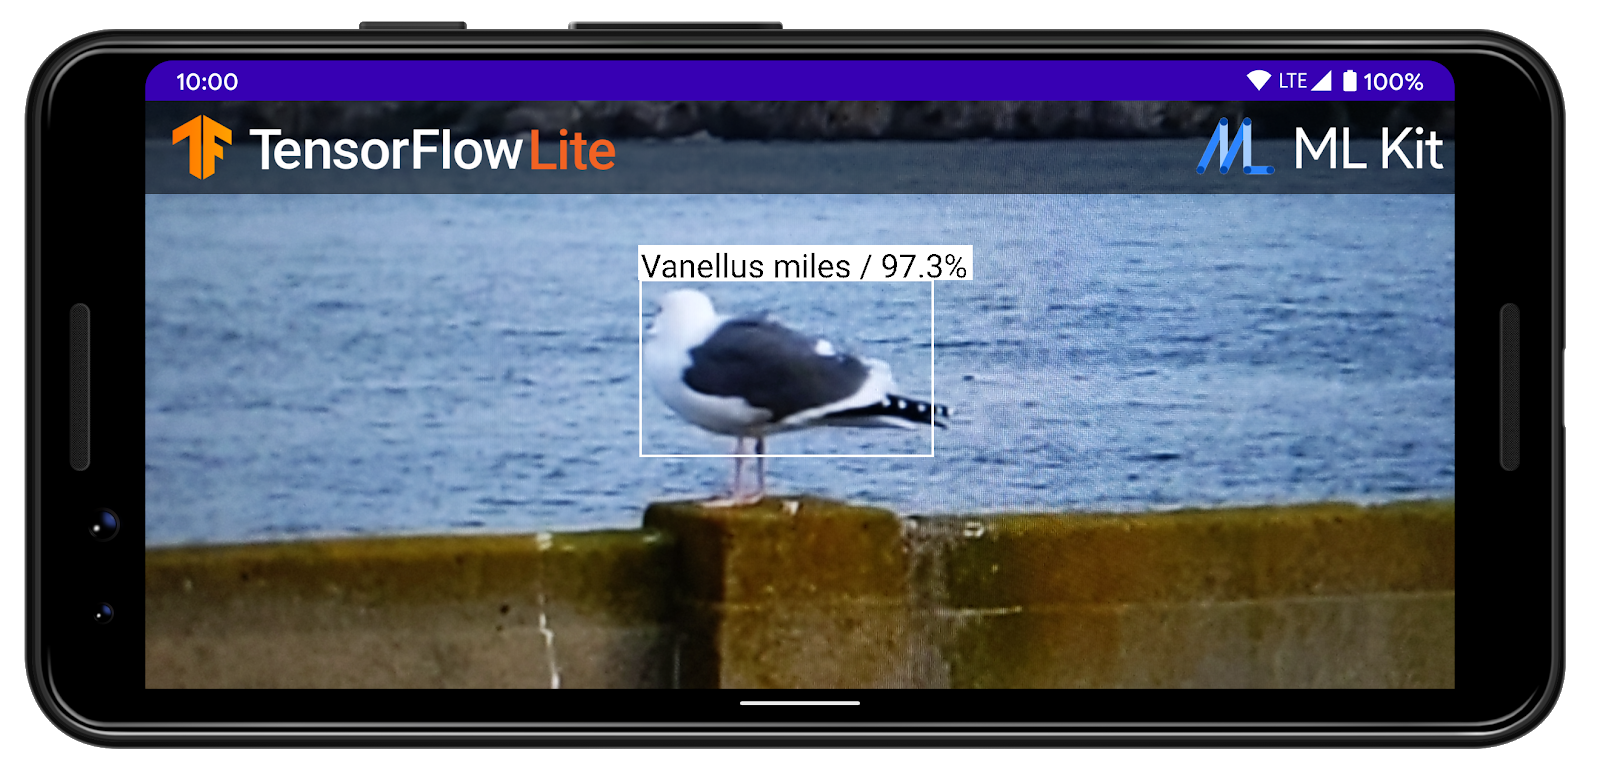
TensorFlow Hub bird detection model with ML Kit Object Detection & Tracking AP

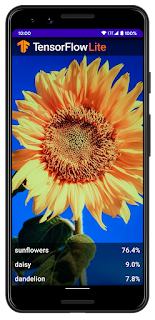
Two examples of how these tools can fit together

Here are some resources to help you get started:

Customizing your model is easier than ever

Finding, building and using custom models on Android has never been easier. As both Android and TensorFlow teams increase the coverage of machine learning use cases, please let us know how we can improve these tools for your use cases by filing an enhancement request with TensorFlow Lite or ML Kit.

Tomorrow, we will take a step back and focus on how to appropriately use and design for a machine learning first Android app. The content will be appropriate for the entire development team, so bring your product manager and designers along. See you next time.