Posted by Trevor Johns, Developer Programs Engineer
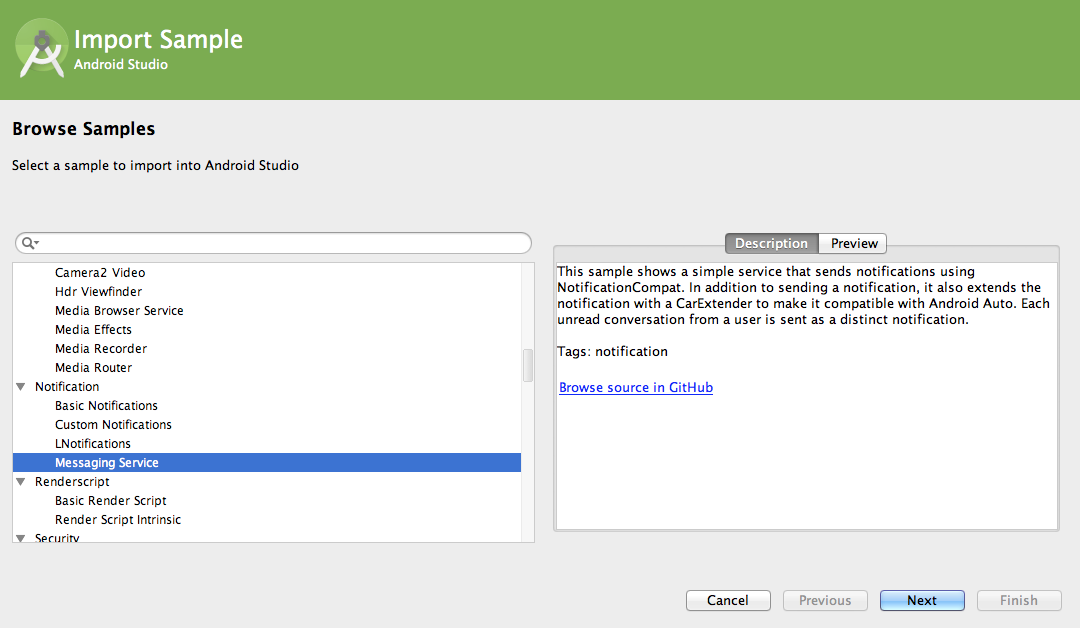
With the launch of Android 5.0 Lollipop, we’ve added more than 20 new code samples demonstrating how to implement some of the great new features of this release. To access the code samples, you can easily import them in Android Studio 1.0 using the new Samples Wizard.
Go to File > Import Sample in order to browse the available samples, which include a description and preview for each. Once you’ve made your selection, select “Next” and a new project will be automatically created for you. Run the project on an emulator or device, and feel free to experiment with the code.
Alternatively, you can browse through them via the Samples browser on the developer site. Each sample has an Overview description, Project page to browse app file structure, and Download link for obtaining a ZIP file of the sample. As a third option, code samples can also be accessed in the SDK Manager by downloading the SDK samples for Android 5.0 (API 21) and importing them as existing projects into your IDE.
Sample demonstrating transition animations
Material Design
When adopting material design, you can refer to our collection of sample code highlighting material elements:
- Floating action button
- Reveal effect
- CardView
- Drawable tinting
- Elevation
- Drag-and-drop with elevation
- View clipping
- Animation interpolators
For additional help, please refer to our design checklist, list of key APIs and widgets, and documentation guide.
To view some of these material design elements in action, check out the Google I/O app source code.
Platform
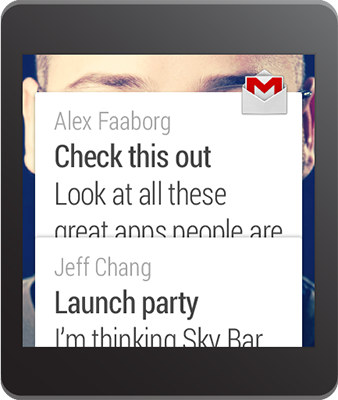
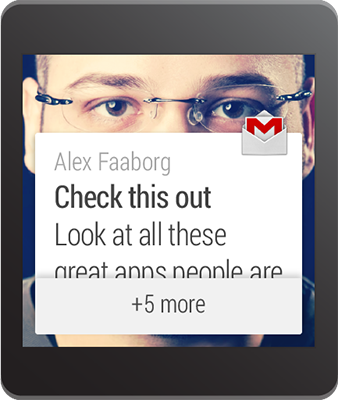
Lollipop brings the most extensive update to the Android platform yet. The Overview screen allows an app to surface multiple tasks as concurrent documents. You can include enhanced notifications with this sample code, which shows you how to use the lockscreen and heads-up notification APIs.
We also introduced a new Camera API to provide developers more advanced image capture and processing capabilities. These samples detail how to use the camera preview and take photos, how to record video, and implement a real-time high-dynamic range camera viewfinder.
Elsewhere, Project Volta encourages developers to make their apps more battery-efficient with new APIs and tools. The JobScheduler sample demonstrates how you can schedule background tasks to be completed later or under specific conditions.
For those interested in the enterprise device administration use case, there are sample apps on setting app restrictions and creating a managed profile.
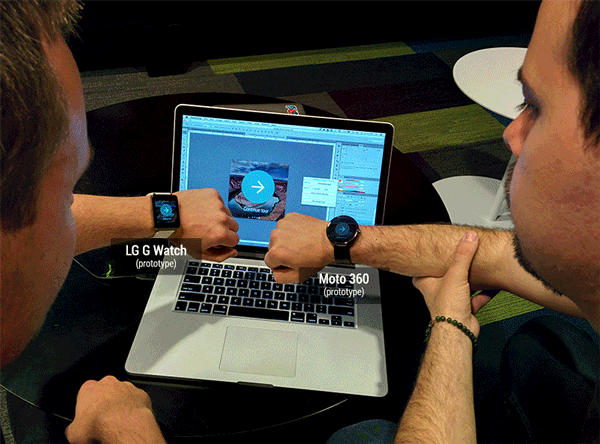
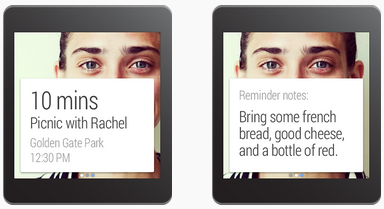
Android Wear
For Android Wear, we have a speed tracker sample to show how to take advantage of GPS support on wearables. You can browse the rest of the Android Wear samples too, and here are some highlights that demonstrate the unique capabilities of wearables, such as data synchronization, notifications, and supporting round displays:
- DataLayer
- FindMyPhone
- GridViewPager
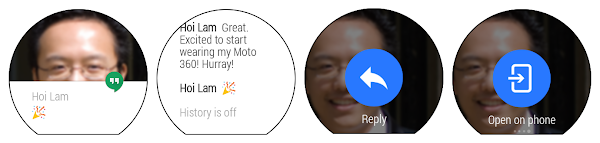
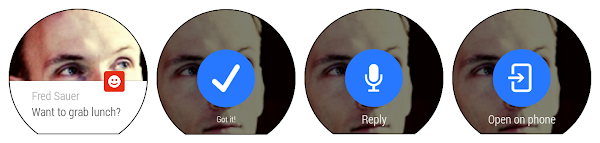
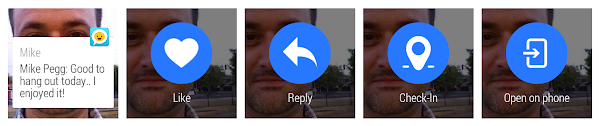
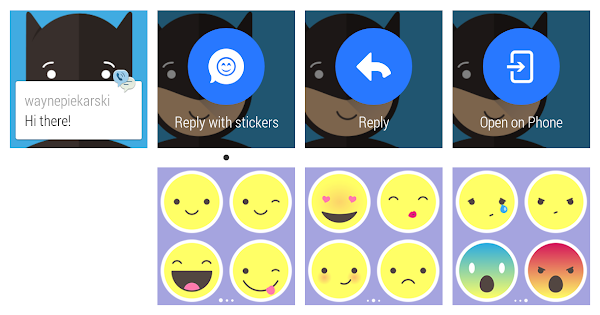
- Notifications
- RecipeAssistant
- SynchronizedNotifications
- WatchViewStub
Android TV
Extend your app for Android TV using the Leanback library described in this training guide and sample.
To try out a game that is specifically optimized for Android TV, download Pie Noon from Google Play. It’s an open-source game developed in-house at Google that supports multiple players using Bluetooth controllers or touch controls on mobile devices.
Android Auto
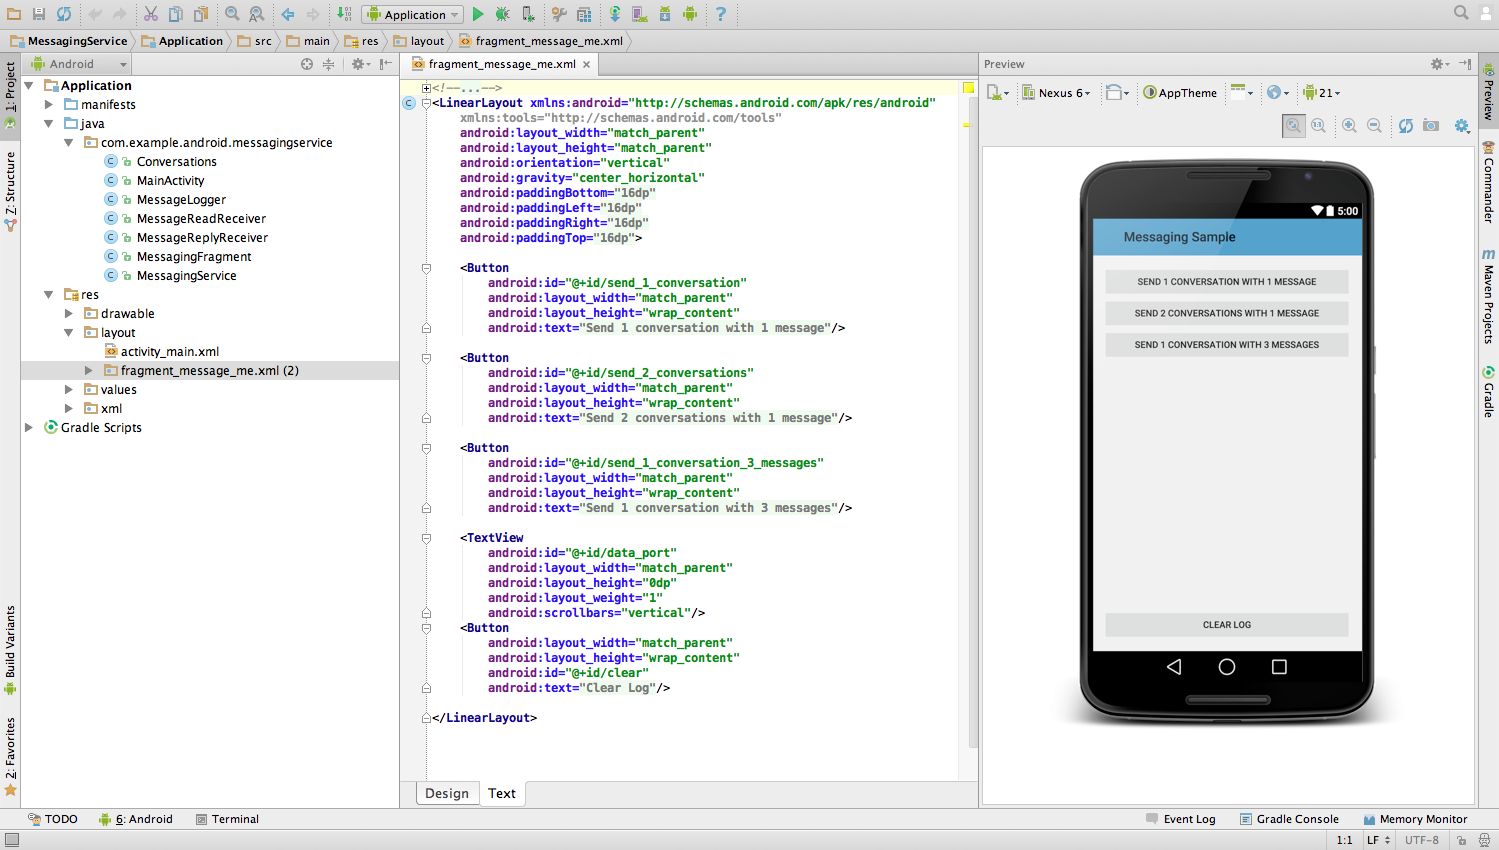
For the use cases highlighted in the Introduction to Android Auto DevByte, we have two code samples. The Media Browser sample (DevByte) demonstrates how easy it is to make an audio app compatible with Android Auto by using the new Lollipop media APIs, while the Messaging sample (DevByte) demonstrates how to implement notifications that support replies using speech recognition.
Google Play services
Since we’ve discussed sample resources for the Android platform and form factors, we also want to mention that there are existing samples for Google Play services. With Google Play services, your app can take advantage of the latest Google-powered APIs such as Maps, Google Fit, Google Cast, and more. Access samples in the Google Play services SDK or visit the individual pages for each API on the developer site. For game developers, you can reference the Google Play Games services samples for how to add achievements, leaderboards, and multiplayer support to your game.
Check out a sample today to help you with your development!


 (from the