Posted by Mo Yu, Android Security & Privacy Team
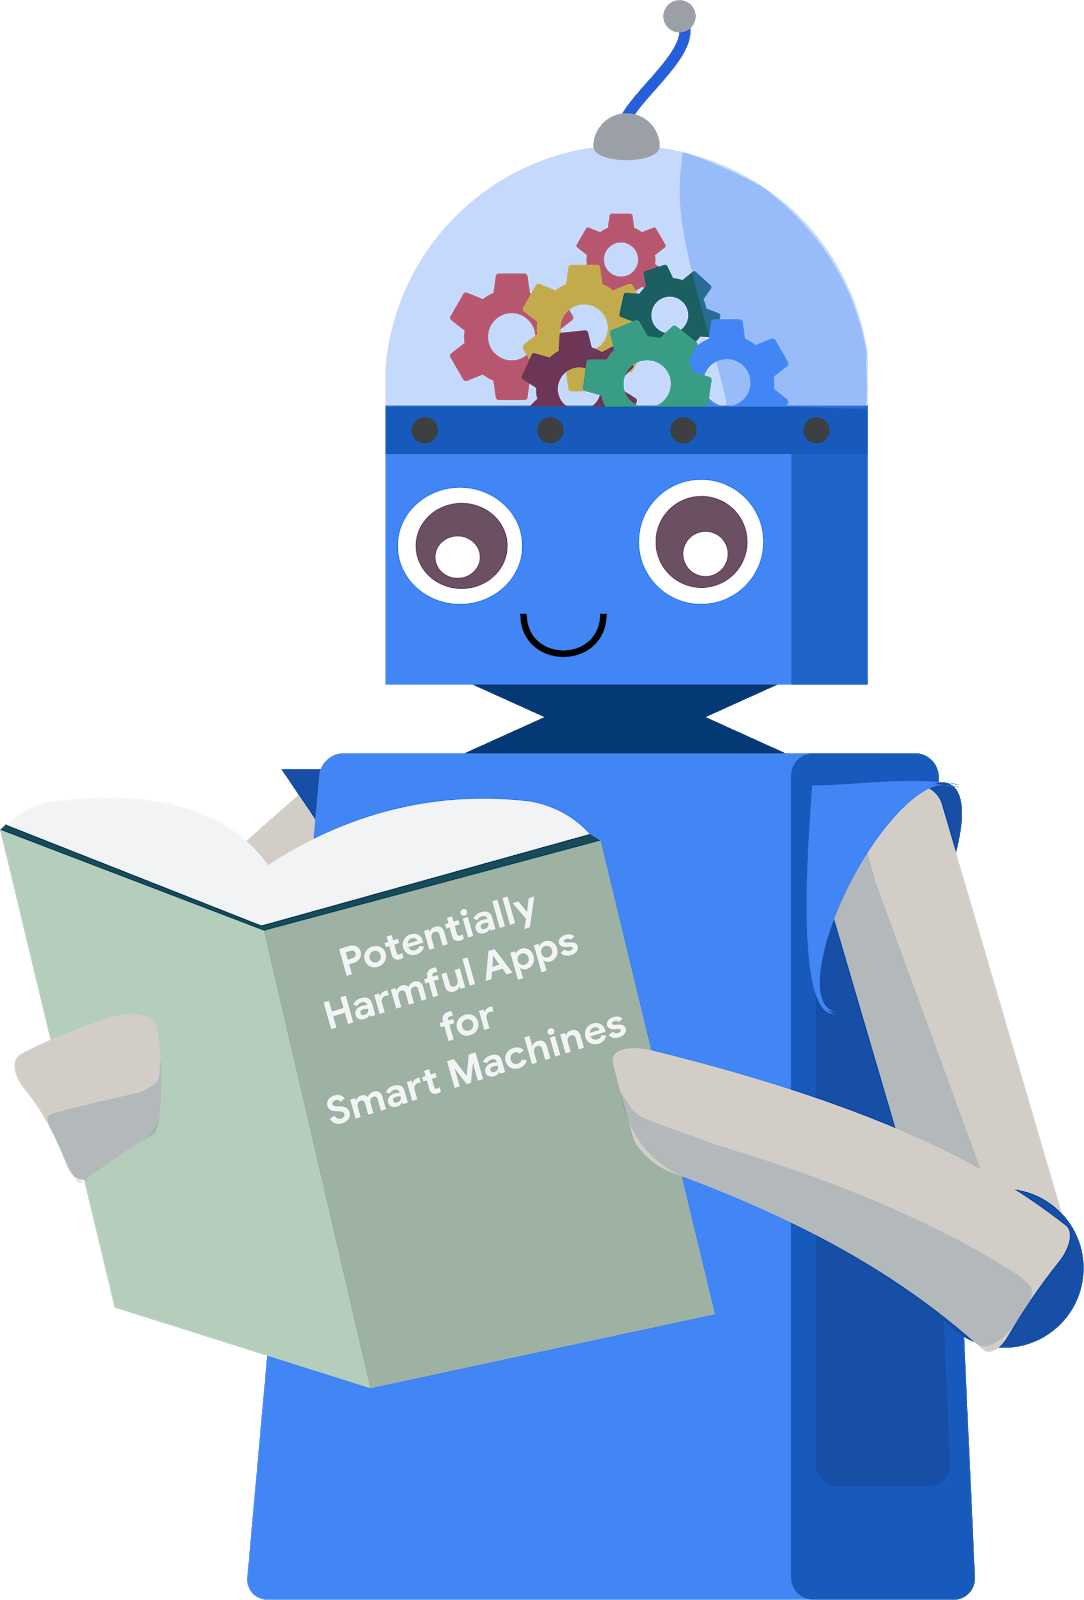
In a previous blog post, we talked about using machine learning to combat Potentially Harmful Applications (PHAs). This blog post covers how Google uses machine learning techniques to detect and classify PHAs. We'll discuss the challenges in the PHA detection space, including the scale of data, the correct identification of PHA behaviors, and the evolution of PHA families. Next, we will introduce two of the datasets that make the training and implementation of machine learning models possible, such as app analysis data and Google Play data. Finally, we will present some of the approaches we use, including logistic regression and deep neural networks.
Using machine learning to scale
Detecting PHAs is challenging and requires a lot of resources. Our security experts need to understand how apps interact with the system and the user, analyze complex signals to find PHA behavior, and evolve their tactics to stay ahead of PHA authors. Every day, Google Play Protect (GPP) analyzes over half a million apps, which makes a lot of new data for our security experts to process.
Leveraging machine learning helps us detect PHAs faster and at a larger scale. We can detect more PHAs just by adding additional computing resources. In many cases, machine learning can find PHA signals in the training data without human intervention. Sometimes, those signals are different than signals found by security experts. Machine learning can take better advantage of this data, and discover hidden relationships between signals more effectively.
There are two major parts of Google Play Protect's machine learning protections: the data and the machine learning models.
Data sources
The quality and quantity of the data used to create a model are crucial to the success of the system. For the purpose of PHA detection and classification, our system mainly uses two anonymous data sources: data from analyzing apps and data from how users experience apps.
App data
Google Play Protect analyzes every app that it can find on the internet. We created a dataset by decomposing each app's APK and extracting PHA signals with deep analysis. We execute various processes on each app to find particular features and behaviors that are relevant to the PHA categories in scope (for example, SMS fraud, phishing, privilege escalation). Static analysis examines the different resources inside an APK file while dynamic analysis checks the behavior of the app when it's actually running. These two approaches complement each other. For example, dynamic analysis requires the execution of the app regardless of how obfuscated its code is (obfuscation hinders static analysis), and static analysis can help detect cloaking attempts in the code that may in practice bypass dynamic analysis-based detection. In the end, this analysis produces information about the app's characteristics, which serve as a fundamental data source for machine learning algorithms.
Google Play data
In addition to analyzing each app, we also try to understand how users perceive that app. User feedback (such as the number of installs, uninstalls, user ratings, and comments) collected from Google Play can help us identify problematic apps. Similarly, information about the developer (such as the certificates they use and their history of published apps) contribute valuable knowledge that can be used to identify PHAs. All these metrics are generated when developers submit a new app (or new version of an app) and by millions of Google Play users every day. This information helps us to understand the quality, behavior, and purpose of an app so that we can identify new PHA behaviors or identify similar apps.
In general, our data sources yield raw signals, which then need to be transformed into machine learning features for use by our algorithms. Some signals, such as the permissions that an app requests, have a clear semantic meaning and can be directly used. In other cases, we need to engineer our data to make new, more powerful features. For example, we can aggregate the ratings of all apps that a particular developer owns, so we can calculate a rating per developer and use it to validate future apps. We also employ several techniques to focus in on interesting data.To create compact representations for sparse data, we use embedding. To help streamline the data to make it more useful to models, we use feature selection. Depending on the target, feature selection helps us keep the most relevant signals and remove irrelevant ones.
By combining our different datasets and investing in feature engineering and feature selection, we improve the quality of the data that can be fed to various types of machine learning models.
Models
Building a good machine learning model is like building a skyscraper: quality materials are important, but a great design is also essential. Like the materials in a skyscraper, good datasets and features are important to machine learning, but a great algorithm is essential to identify PHA behaviors effectively and efficiently.
We train models to identify PHAs that belong to a specific category, such as SMS-fraud or phishing. Such categories are quite broad and contain a large number of samples given the number of PHA families that fit the definition. Alternatively, we also have models focusing on a much smaller scale, such as a family, which is composed of a group of apps that are part of the same PHA campaign and that share similar source code and behaviors. On the one hand, having a single model to tackle an entire PHA category may be attractive in terms of simplicity but precision may be an issue as the model will have to generalize the behaviors of a large number of PHAs believed to have something in common. On the other hand, developing multiple PHA models may require additional engineering efforts, but may result in better precision at the cost of reduced scope.
We use a variety of modeling techniques to modify our machine learning approach, including supervised and unsupervised ones.
One supervised technique we use is logistic regression, which has been widely adopted in the industry. These models have a simple structure and can be trained quickly. Logistic regression models can be analyzed to understand the importance of the different PHA and app features they are built with, allowing us to improve our feature engineering process. After a few cycles of training, evaluation, and improvement, we can launch the best models in production and monitor their performance.
For more complex cases, we employ deep learning. Compared to logistic regression, deep learning is good at capturing complicated interactions between different features and extracting hidden patterns. The millions of apps in Google Play provide a rich dataset, which is advantageous to deep learning.
In addition to our targeted feature engineering efforts, we experiment with many aspects of deep neural networks. For example, a deep neural network can have multiple layers and each layer has several neurons to process signals. We can experiment with the number of layers and neurons per layer to change model behaviors.
We also adopt unsupervised machine learning methods. Many PHAs use similar abuse techniques and tricks, so they look almost identical to each other. An unsupervised approach helps define clusters of apps that look or behave similarly, which allows us to mitigate and identify PHAs more effectively. We can automate the process of categorizing that type of app if we are confident in the model or can request help from a human expert to validate what the model found.
PHAs are constantly evolving, so our models need constant updating and monitoring. In production, models are fed with data from recent apps, which help them stay relevant. However, new abuse techniques and behaviors need to be continuously detected and fed into our machine learning models to be able to catch new PHAs and stay on top of recent trends. This is a continuous cycle of model creation and updating that also requires tuning to ensure that the precision and coverage of the system as a whole matches our detection goals.
Looking forward
As part of Google's AI-first strategy, our work leverages many machine learning resources across the company, such as tools and infrastructures developed by Google Brain and Google Research. In 2017, our machine learning models successfully detected 60.3% of PHAs identified by Google Play Protect, covering over 2 billion Android devices. We continue to research and invest in machine learning to scale and simplify the detection of PHAs in the Android ecosystem.

Acknowledgements
This work was developed in joint collaboration with Google Play Protect, Safe Browsing and Play Abuse teams with contributions from Andrew Ahn, Hrishikesh Aradhye, Daniel Bali, Hongji Bao, Yajie Hu, Arthur Kaiser, Elena Kovakina, Salvador Mandujano, Melinda Miller, Rahul Mishra, Damien Octeau, Sebastian Porst, Chuangang Ren, Monirul Sharif, Sri Somanchi, Sai Deep Tetali, Zhikun Wang, and Mo Yu.


 Posted by Stephanie Cuthbertson, Director of Product Management