 Today at Google Cloud Next we announced updates and new tools for Gemini in Workspace.To start, we're bringing audio capabilities directly into Google Docs so you’ll be …
Google Workspace adds new AI tools to Docs, Sheets, Chat and more.
Today at Google Cloud Next we announced updates and new tools for Gemini in Workspace.To start, we're bringing audio capabilities directly into Google Docs so you’ll be …
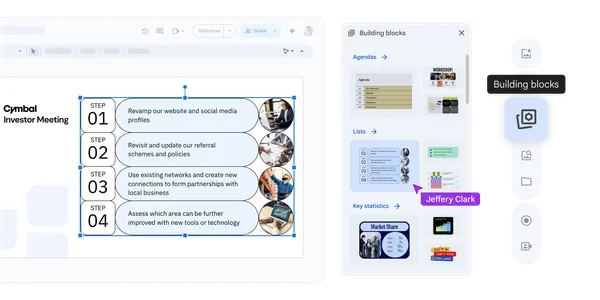 Today we announced new features for Google Slides, making it easier to create visually stunning presentations. Here’s what’s new:Workspace recently announced that they’r…
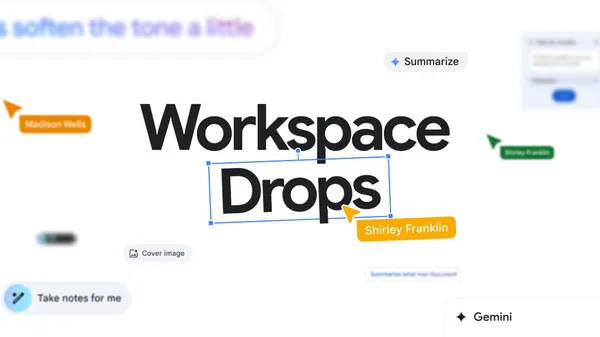
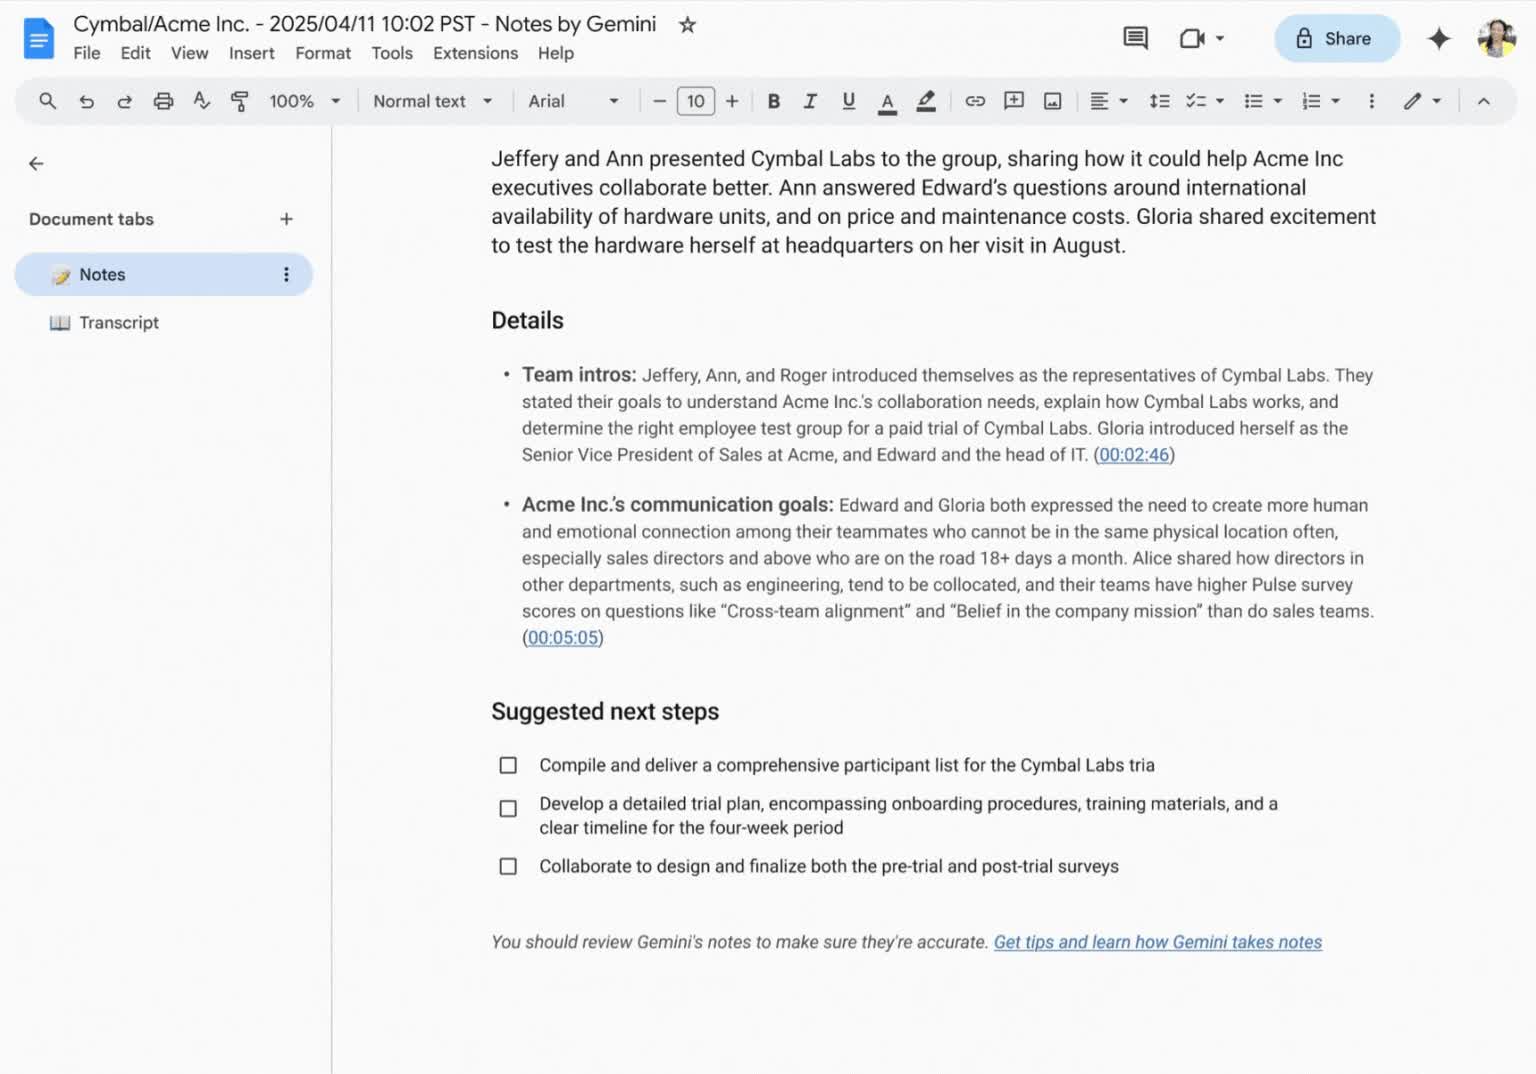 Our latest Workspace drop is here and includes some helpful Gemini updates for Google Meet business users. Here are few new things to try:The “Take notes for me” feature…
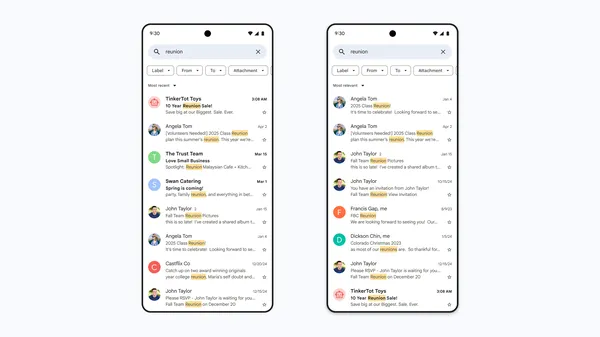 If you’ve ever struggled with finding information in your overflowing inbox, you’re not alone. That’s why Gmail is rolling out a smarter search feature powered by AI to …
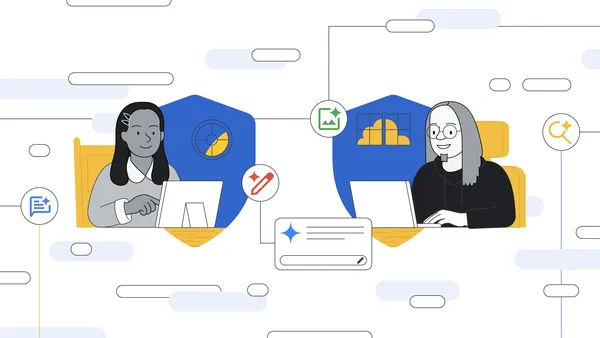
 All Workspace business users now have access to new Gemini capabilities in Sheets, so you can generate insights from your data like correlations, outliers and more. This…
 Laura Mae Martin, Google’s productivity adviser and the bestselling author of “Uptime,” answers people’s questions in her advice column about how they can get more done …
 We’ve received some questions about the holidays and moments that are displayed in Google Calendar. We want to clarify that we made this change last year, globally.Some …
 Learn more about how Google for Education is focusing on digital safety for Safer Internet Day 2025.
 The best of Google AI is now included in Workspace with significant nonprofit discounts.