Posted by Iein Valdez, Head of Chrome OS Developer Relations
 This article originally appeared on ChromeOS.dev.
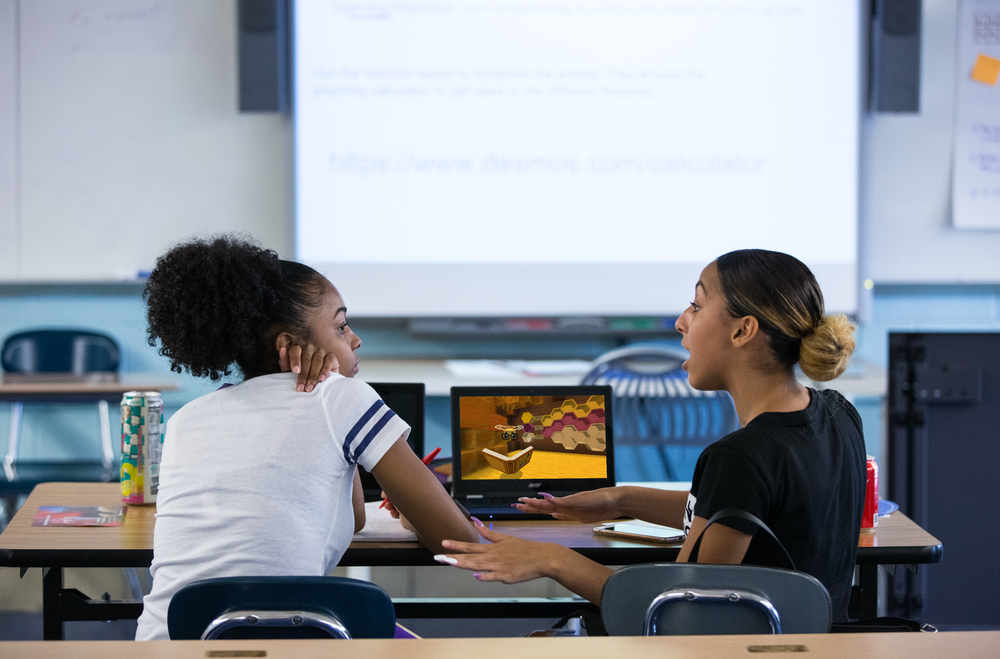
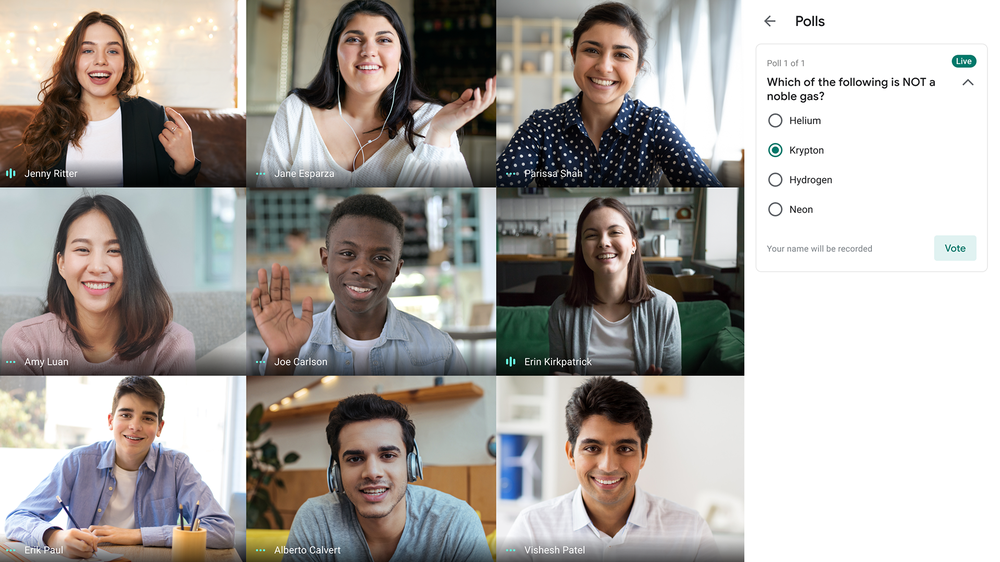
While people are spending more time at home than on the go, they’re relying increasingly on personal desktops and laptops to make everyday life easier. Whether they’re video-chatting with friends and family, discovering entertaining apps and games, multitasking at work, or pursuing a passion project, bigger screens and better performance have made all the difference.
This trend was clear from March through June 2020: Chromebook unit sales grew 127% year over year (YOY) while the rest of the U.S. notebook category increased by 40% YOY.1 Laptops have become crucial to people at home who want to use their favorite apps and games, like Star Trek™ Fleet Command and Reigns: Game of Thrones to enjoy action-packed adventure, Calm to manage stress, or Disney+ to keep the whole family entertained.
To deliver app experiences that truly improve people’s lives, developers must be equipped with the right tools, resources, and best practices. That’s why we’re excited to introduce ChromeOS.dev — a dedicated resource for technical developers, designers, product managers, and business leaders.
ChromeOS.dev, available in English and Spanish (with other languages coming soon), features the latest news, product announcements, technical documentation, and code samples from popular apps. Whether you’re a web, Android, or Linux developer who’s just getting started or a certified expert, you’ll find all the information you need on ChromeOS.dev.
Hear from our experts at Google and Chrome OS, as well as a variety of developers, as they share practical tips, benefits, and the challenges of creating app experiences for today’s users. Plus, you can review the updated Chrome OS Layout and UX App Quality guidelines with helpful information on UI components, navigation, fonts, layouts, and everything that goes into creating world-class apps and games for Chrome OS.
Even better, as a fully open-source online destination, ChromeOS.dev is designed considering all the principles and methods for creating highly capable and reliable Progressive Web Apps (PWAs), ensuring developers always have quick, easy access to the information they need — even when they’re offline.
Check out a few of the newest updates and improvements below, and be sure to install the ChromeOS.dev PWA on your device to stay on top of the latest information.
New features for Chrome OS developers
Whether it’s developing Android, Linux, or web apps, every update on ChromeOS.dev is about making sure all developers can build better app experiences in a streamlined, easy-to-navigate environment.
Customizable Linux Terminal
The Linux (Beta) on Chrome OS Terminal now comes equipped with personalized features right out of the box, including:
- Integrated tabs and shortcuts
Multitask with ease by using windows and tabs to manage different tasks and switch between multiple projects. You can also use familiar shortcuts such as Ctrl + T, Ctrl + W, and Ctrl + Tab to manage your tabs, or use the settings page to control if these keys should be used in your Terminal for apps like vim or emacs. - Themes
Customize your Terminal by selecting a theme to switch up the background, frame, font, and cursor color.
- Redesigned Terminal settings
The settings tab has been reorganized to make it easier to customize all your Terminal options.
Developers can now start using these and other customizable features in the Terminal app.
Android Emulator support
Supported Chromebooks can now run a full version of the Android Emulator, which allows developers to test apps on any Android version and device without needing the actual hardware. Android app developers can simulate map locations and other sensor data to test how an app performs with various motions, orientations, and environmental conditions. With the Android Emulator support in Chrome OS, developers can optimize for different Android versions and devices — including tablets and foldable smartphones — right from their Chromebook.
Deploy apps directly to Chrome OS
Building and testing Android apps on a single machine is simpler than ever. Now, developers who are running Chrome OS M81 and higher can deploy and test apps directly on their Chromebooks — no need to use developer mode or to connect different devices physically via USB. Combined with Android Emulator support, Chrome OS is equipped to support full Android development.
Improved Project Wizard in Android Studio
An updated Primary/Detail Activity Template in Android Studio offers complete support to build experiences for larger screens, including Chromebooks, tablets, and foldables. This updated option provides multiple layouts for both phones and larger-screen devices as well as better keyboard/mouse scaffolding. This feature will be available in Android Studio 4.2 Canary 8.
Updated support from Android lint checks
We’ve improved the default checks in Android’s lint tool to help developers identify and correct common coding issues to improve their apps on larger screens, such as non-resizable and portrait-locked activities. This feature is currently available for testing in Canary channel.
Unlock your app’s full potential with Chrome OS
From day one, our goal has been to help developers at every skill level create simple, powerful, and secure app experiences for all platforms. As our new reality creates a greater need for helpful and engaging apps on large-screen devices, we’re working hard to streamline the process by making Chrome OS more versatile, customizable, and intuitive.
Visit ChromeOS.dev and install it on your Chromebook to stay on top of the latest resources, product updates, thought-provoking insights, and inspiring success stories from Chrome OS developers worldwide.
Sources:
1 The NPD Group, Inc., U.S. Retail Tracking Service, Notebook Computers, based on unit sales, April–June 2020 and March–June 2020.