This is another post in our Code Health series. A version of this post originally appeared in Google bathrooms worldwide as a Google Testing on the Toilet episode. You can download a printer-friendly version to display in your office.
By Sam Lee and Stan Chan
If your function exits early in an if statement, using or not using an else clause is equivalent in terms of behavior. However, the proper use of else clauses and guard clauses (lack of else) can help emphasize the intent of the code to the reader.
Consider the following guidelines to help you structure your functions:
Use a guard clause to handle special cases upfront, so that the rest of the code can focus
on the core logic. A guard clause checks a criterion and fails fast or returns early if it is not
met, which reduces nesting (see the Reduce Nesting article).
def parse_path(path: str) -> Path: if not path: raise ValueError(“path is empty.”) else: # Nested logic here. ... | def parse_path(path: str) -> Path: if not path: raise ValueError(“path is empty.”) # No nesting needed for the valid case. ... |
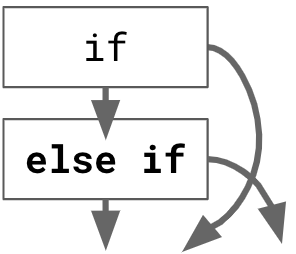
Use else if it is part of the core responsibility. Prefer to keep related conditional logic
syntactically grouped together in the same if...else structure if each branch is relevant to the
core responsibility of the function. Grouping logic in this way emphasizes the complementary
nature of each condition. The complementary nature is emphasized explicitly by the else
statement, instead of being inferred and relying on the resulting behavior of the prior return
statement.
def get_favicon(self) -> Icon: if self.user.id is None: return Icon.SIGNED_OUT if self.browser.incognito:
return Icon.INCOGNITO if not self.new_inbox_items: return Icon.EMPTY; return Icon.HAS_ITEMS | def get_favicon(self) -> Icon: if self.user.id is None: return Icon.SIGNED_OUT elif self.browser.incognito: return Icon.INCOGNITO elif not self.new_inbox_items: return Icon.EMPTY else: return Icon.HAS_ITEMS # No trailing return is needed or allowed. |
When it’s idiomatic, use a switch (or similar) statement instead of if...else statements. (switch/when in Go/Kotlin can accept boolean conditions like if...else.)
Not all scenarios will be clear-cut for which pattern to use; use your best judgment to choose between these two styles. A good rule of thumb is use a guard if it's a special case, use else if its core logic. Following these guidelines can improve code understandability by emphasizing the connections between different logical branches.