Tag Archives: OpenGL

A Google Santa Tracker update from Santa’s Elves

Sam Thorogood, Developer Programs Engineer

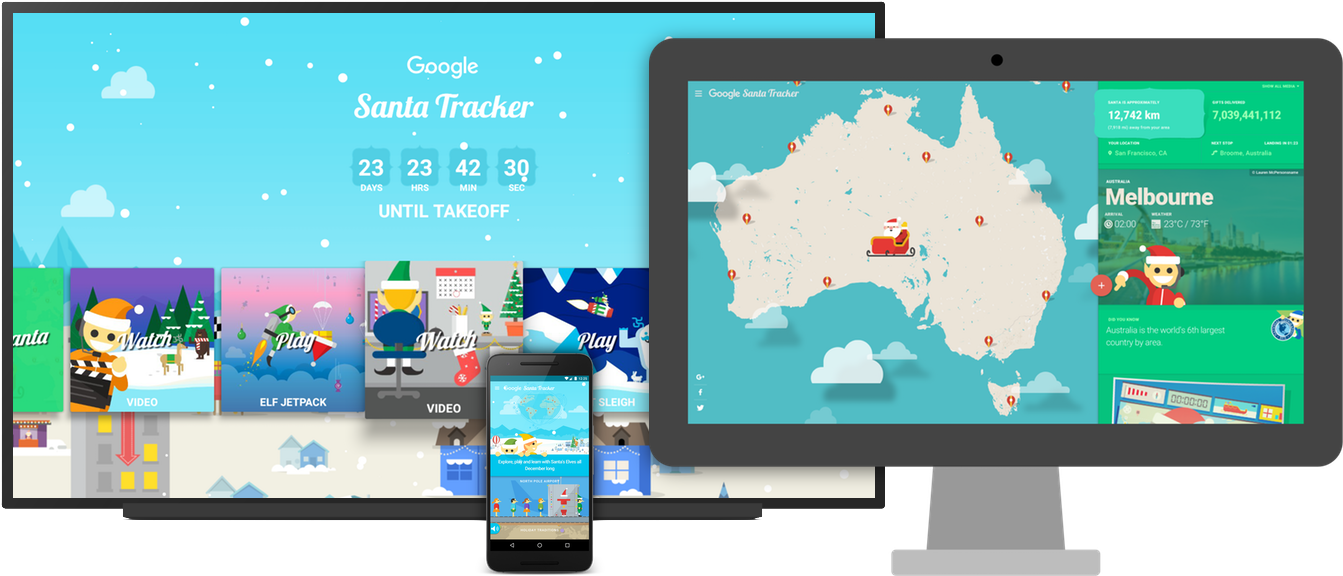
Today, we're announcing that the open source version of Google's Santa Tracker has been updated with the Android and web experiences that ran in December 2015. We extended, enhanced and upgraded our code, and you can see how we used our developer products - including Firebase and Polymer - to build a fun, educational and engaging experience.

To get started, you can check out the code on GitHub at google/santa-tracker-weband google/santa-tracker-android. Both repositories include instructions so you can build your own version.

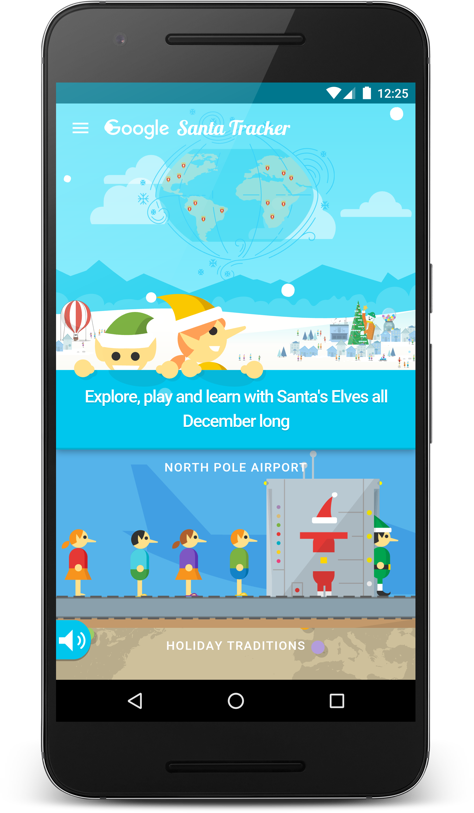
Santa Tracker isn’t just about watching Santa’s progress as he delivers presents on December 24. Visitors can also have fun with the winter-inspired experiences, games and educational content by exploring Santa's Village while Santa prepares for his big journey throughout the holidays.

Below is a summary of what we’ve released as open source.

Android app

  • The Santa Tracker Android app is a single APK, supporting all devices, such as phones, tablets and TVs, running Ice Cream Sandwich (4.0) and up. The source code for the app can be found here.
  • Santa Tracker leverages Firebase features, including Remote Config API, App Invites to invite your friends to play along, and Firebase Analytics to help our elves better understand users of the app.
  • Santa’s Village is a launcher for videos, games and the tracker that responds well to multiple devices such as phones and tablets. There's even an alternative launcher based on the Leanback user interface for Android TVs.

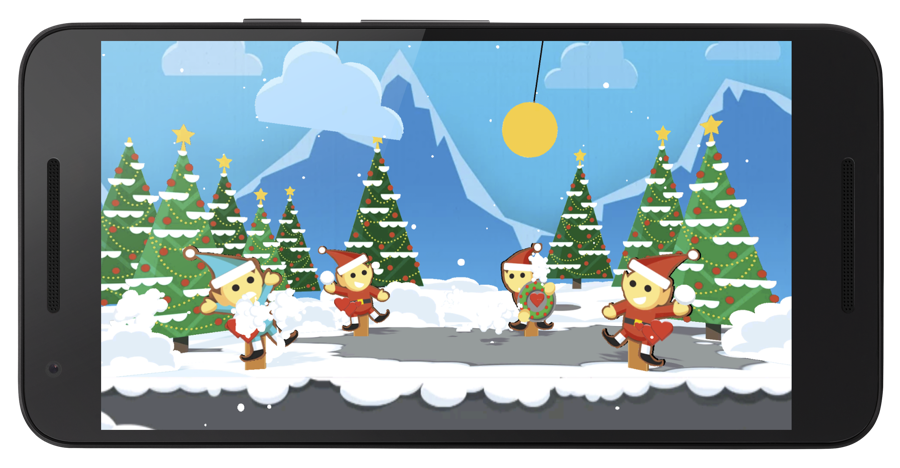
  • Games on Santa Tracker Android are built using many technologies such as JBox2D (gumball game), Android view hierarchy (memory match game) and OpenGL with special rendering engine (jetpack game). We've also included a holiday-themed variation of Pie Noon, a fun game that works on Android TV, your phone, and inside Google Cardboard's VR.

Android Wear

  • The custom watch faces on Android Wear provide a personalized touch. Having Santa or one of his friendly elves tell the time brings a smile to all. Building custom watch faces is a lot of fun but providing a performant, battery friendly watch face requires certain considerations. The watch face source code can be found here.
  • Santa Tracker uses notifications to let users know when Santa has started his journey. The notifications are further enhanced to provide a great experience on wearables using custom backgrounds and actions that deep link into the app.

On the web

  • Santa Tracker is mobile-first: this year's experience was built for the mobile web, including an amazing brand new, interactive - yet fully responsive, village: with three breakpoints, touch gesture support and support for the Web App Manifest.
  • To help us develop Santa at scale, we've upgraded to Polymer 1.0+. Santa Tracker's use of Polymer demonstrates how easy it is to package code into reusable components. Every housein Santa's Village is a custom element, only loaded when needed, minimizing the startup cost of Santa Tracker.

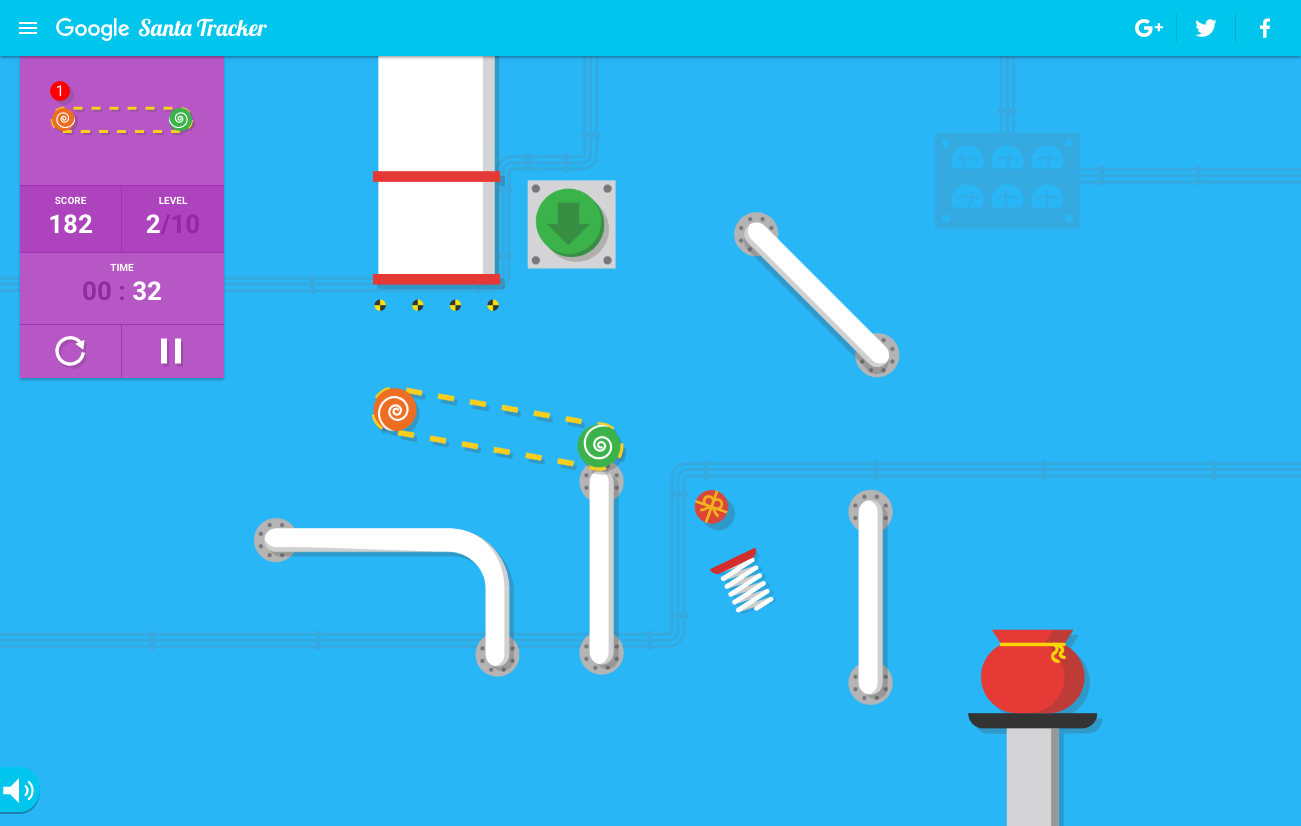
  • Many of the amazing new games (like Present Bounce) were built with the latest JavaScript standards (ES6) and are compiled to support older browsers via the Google Closure Compiler.
  • Santa Tracker's interactive and fun experience is enhanced using the Web Animations API, a standardized JavaScript APIfor unifying animated content.
  • We simplified the Chromecast support this year, focusing on a great screensaver that would countdown to the big event on December 24th - and occasionally autoplay some of the great video content from around Santa's Village.

We hope that this update inspires you to make your own magical experiences based on all the interesting and exciting components that came together to make Santa Tracker!

Game Performance: Geometry Instancing

Posted by Shanee Nishry, Games Developer Advocate

Imagine a beautiful virtual forest with countless trees, plants and vegetation, or a stadium with countless people in the crowd cheering. If you are heroic you might like the idea of an epic battle between armies.

Rendering a lot of meshes is desired to create a beautiful scene like a forest, a cheering crowd or an army, but doing so is quite costly and reduces the frame rate. Fortunately this is possible using a simple technique called Geometry Instancing.

Geometry instancing can be used in 2D games for rendering a large number of sprites, or in 3D for things like particles, characters and environment.

The NDK code sample More Teapots demoing the content of this article can be found with the ndk inside the samples folder and in the git repository.

Support and Extensions

Geometry instancing is available from OpenGL ES 3.0 and to OpenGL 2.0 devices which support the GL_NV_draw_instanced or GL_EXT_draw_instanced extensions. More information on how to using the extensions is shown in the More Teapots demo.

Overview

Submitting draw calls causes OpenGL to queue commands to be sent to the GPU, this has an expensive overhead which may affect performance. This overhead grows when changing states such as alpha blending function, active shader, textures and buffers.

Geometry Instancing is a technique that combines multiple draws of the same mesh into a single draw call, resulting in reduced overhead and potentially increased performance. This works even when different transformations are required.

The algorithm

To explain how Geometry Instancing works let’s quickly overview traditional drawing.

Traditional Drawing

To a draw a mesh you’d usually prepare a vertex buffer and an index buffer, bind your shader and buffers, set your uniforms such as a World View Projection matrix and make a draw call.

To draw multiple instances using the same mesh you set new uniform values for the transformations and other data and call draw again. This is repeated for every instance.

Drawing with Geometry Instancing

Geometry Instancing reduces CPU overhead by reducing the sequence described above into a single buffer and draw call.

It works by using an additional buffer which contains custom per-instance data needed by your shader, such as transformations, color, light data.

The first change to your workflow is to create the additional buffer on initialization stage.

To put it into code let’s define an example per-instance data that includes a world view projection matrix and a color:

C++

struct PerInstanceData
{
 Mat4x4 WorldViewProj;
 Vector4 Color;
};

You also need to the structure to your shader. The easiest way is by creating a Uniform Block with an array:

GLSL

#define MAX_INSTANCES 512

layout(std140) uniform PerInstanceData {
    struct
    {
        mat4      uMVP;
        vec4      uColor;
    } Data[ MAX_INSTANCES ];
};

Note that uniform blocks have limited sizes. You can find the maximum number of bytes you can use by querying for GL_MAX_UNIFORM_BLOCK_SIZE using glGetIntegerv.

Example:

GLint max_block_size = 0;
glGetIntegerv( GL_MAX_UNIFORM_BLOCK_SIZE, &max_block_size );

Bind the uniform block on the CPU in your program’s initialization stage:

C++

#define MAX_INSTANCES 512
#define BINDING_POINT 1
GLuint shaderProgram; // Compiled shader program

// Bind Uniform Block
GLuint blockIndex = glGetUniformBlockIndex( shaderProgram, "PerInstanceData" );
glUniformBlockBinding( shaderProgram, blockIndex, BINDING_POINT );

And create a corresponding uniform buffer object:

C++

// Create Instance Buffer
GLuint instanceBuffer;

glGenBuffers( 1, &instanceBuffer );
glBindBuffer( GL_UNIFORM_BUFFER, instanceBuffer );
glBindBufferBase( GL_UNIFORM_BUFFER, BINDING_POINT, instanceBuffer );

// Initialize buffer size
glBufferData( GL_UNIFORM_BUFFER, MAX_INSTANCES * sizeof( PerInstanceData ), NULL, GL_DYNAMIC_DRAW );

The next step is to update the instance data every frame to reflect changes to the visible objects you are going to draw. Once you have your new instance buffer you can draw everything with a single call to glDrawElementsInstanced.

You update the instance buffer using glMapBufferRange. This function locks the buffer and retrieves a pointer to the byte data allowing you to copy your per-instance data. Unlock your buffer using glUnmapBuffer when you are done.

Here is a simple example for updating the instance data:

const int NUM_SCENE_OBJECTS = …; // number of objects visible in your scene which share the same mesh

// Bind the buffer
glBindBuffer( GL_UNIFORM_BUFFER, instanceBuffer );

// Retrieve pointer to map the data
PerInstanceData* pBuffer = (PerInstanceData*) glMapBufferRange( GL_UNIFORM_BUFFER, 0,
                NUM_SCENE_OBJECTS * sizeof( PerInstanceData ),
                GL_MAP_WRITE_BIT | GL_MAP_INVALIDATE_RANGE_BIT );

// Iterate the scene objects
for ( int i = 0; i < NUM_SCENE_OBJECTS; ++i )
{
    pBuffer[ i ].WorldViewProj = ... // Copy World View Projection matrix
    pBuffer[ i ].Color = …               // Copy color
}

glUnmapBuffer( GL_UNIFORM_BUFFER ); // Unmap the buffer

And finally you can draw everything with a single call to glDrawElementsInstanced or glDrawArraysInstanced (depending if you are using an index buffer):

glDrawElementsInstanced( GL_TRIANGLES, NUM_INDICES, GL_UNSIGNED_SHORT, 0,
                NUM_SCENE_OBJECTS );

You are almost done! There is just one more step to do. In your shader you need to make use of the new uniform buffer object for your transformations and colors. In your shader main program:

void main()
{
    …
    gl_Position = PerInstanceData.Data[ gl_InstanceID ].uMVP * inPosition;
    outColor = PerInstanceData.Data[ gl_InstanceID ].uColor;
}

You might have noticed the use gl_InstanceID. This is a predefined OpenGL vertex shader variable that tells your program which instance it is currently drawing. Using this variable your shader can properly iterate the instance data and match the correct transformation and color for every vertex.

That’s it! You are now ready to use Geometry Instancing. If you are drawing the same mesh multiple times in a frame make sure to implement Geometry Instancing in your pipeline! This can greatly reduce overhead and improve performance.

Game Performance: Explicit Uniform Locations

Posted by Shanee Nishry, Games Developer Advocate

Uniforms variables in GLSL are crucial for passing data between the game code on the CPU and the shader program on the graphics card. Unfortunately, up until the availability of OpenGL ES 3.1, using uniforms required some preparation which made the workflow slightly more complicated and wasted time during loading.

Let us examine a simple vertex shader and see how OpenGL ES 3.1 allows us to improve it:

#version 300 es

layout(location = 0) in vec4 vertexPosition;
layout(location = 1) in vec2 vertexUV;

uniform mat4 matWorldViewProjection;

out vec2 outTexCoord;

void main()
{
    outTexCoord = vertexUV;
    gl_Position = matWorldViewProjection * vertexPosition;
}

Note: You might be familiar with this shader from a previous Game Performance article on Layout Qualifiers. Find it here.

We have a single uniform for our world view projection matrix:

uniform mat4 matWorldViewProjection;

The inefficiency appears when you want to assign the uniform value.

You need to use glUniformMatrix4fv or glUniform4f to set the uniform’s value but you also need the handle for the uniform’s location in the program. To get the handle you must call glGetUniformLocation.

GLuint program; // the shader program
float matWorldViewProject[16]; // 4x4 matrix as float array

GLint handle = glGetUniformLocation( program, “matWorldViewProjection” );
glUniformMatrix4fv( handle, 1, false, matWorldViewProject );

That pattern leads to having to call glGetUniformLocation for each uniform in every shader and keeping the handles or worse, calling glGetUniformLocation every frame.

Warning! Never call glGetUniformLocation every frame! Not only is it bad practice but it is slow and bad for your game’s performance. Always call it during initialization and save it somewhere in your code for use in the render loop.

This process is inefficient, it requires you to do more work and costs precious time and performance.

Also take into consideration that you might have multiple shaders with the same uniforms. It would be much better if your code was deterministic and the shader language allowed you to explicitly set the locations of your uniforms so you don’t need to query and manage access handles. This is now possible with Explicit Uniform Locations.

You can set the location for uniforms directly in the shader’s code. They are declared like this

layout(location = index) uniform type name;

For our example shader it would be:

layout(location = 0) uniform mat4 matWorldViewProjection;

This means you never need to use glGetUniformLocation again, resulting in simpler code, initialization process and saved CPU cycles.

This is how the example shader looks after the change. Changes are marked in bold:

#version 310 es

layout(location = 0) in vec4 vertexPosition;
layout(location = 1) in vec2 vertexUV;

layout(location = 0) uniform mat4 matWorldViewProjection;

out vec2 outTexCoord;

void main()
{
    outTexCoord = vertexUV;
    gl_Position = matWorldViewProjection * vertexPosition;
}

As Explicit Uniform Locations are only supported from OpenGL ES 3.1 we also changed the version declaration to 310.

Now all you need to do to set your matWorldViewProjection uniform value is call glUniformMatrix4fv for the handle 0:

const GLint UNIFORM_MAT_WVP = 0; // Uniform location for WorldViewProjection
float matWorldViewProject[16]; // 4x4 matrix as float array

glUniformMatrix4fv( UNIFORM_MAT_WVP, 1, false, matWorldViewProject );

This change is extremely simple and the improvements can be substantial, producing cleaner code, asset pipeline and improved performance. Be sure to make these changes If you are targeting OpenGL ES 3.1 or creating multiple APKs to support a wide range of devices.

To learn more about Explicit Uniform Locations check out the OpenGL wiki page for it which contains valuable information on different layouts and how arrays are represented.