Creators everywhere have embraced stories, the new tappable storytelling format made up of videos, GIFs, images, text and other visual elements. Audiences love engaging with stories content — and the best part is that they’re not just limited to social platforms. Web Stories are available on the open web, meaning they’re crawlable by search engines and you can share them — and link to them — just like any other webpage. Web Stories also don’t automatically disappear and can stay live as long as you like.
It’s easy to create your own Web Story — and takes just five steps. Here’s a deeper look at the process.
1. Choose a visual editor
A visual editor is a program that enables you to produce and customize your photos, videos and graphics. They often come with simple functionality and built-in templates, so you don’t need to be an expert at video editing or design to make beautiful and engaging content. Web Stories for WordPress, MakeStories and Newsroom AI are just a few examples that might work for you. See more suggestions here.
2. Draft the story
The best Web Stories tell a complete narrative from the moment they are published to keep the reader engaged. Since all pages of a story are published at once, it's important to think through the narrative of your Web Story in the same way you would for a blog post or video.
Although the creative process varies from person to person, we recommend outlining your Web Story in Google Docs. The Storytime team uses this script template to plan each page’s content and any text, videos, photos or animations we plan to use.
3. Find the visual assets
Choosing the right imagery or videos is essential to creating a compelling Web Story. This can be the most time-consuming task, but if you’ve been blogging, you probably already have videos or other images you can use. It’s important to remember all full-page videos should be formatted vertically. That way your Web Story will use less bandwidth and load more quickly.

How to convert a video into a Web Story helps you repurpose your existing videos.
4. Create the Web Story
Once you have your story drafted and all your assets in one place, it’s time to start building. When you’re first starting out, using your visual editor’s pre-made templates is the fastest and easiest method to build your Web Story. To begin, you’ll want to drag in an eye-catching video or image into the tool and add a call to action that will motivate your audience to click to learn more.
Stories are an inherently interactive form of media. Viewers can click forward and backward through the pages and follow links to engage. You can also try including quizzes and polls to increase engagement and interaction.
5. Publish the Web Story
Once you feel good about your Web Story’s media, layout and text it’s time to send it out into the world. When you’re using a visual editor, this is as simple as clicking the Publish button.
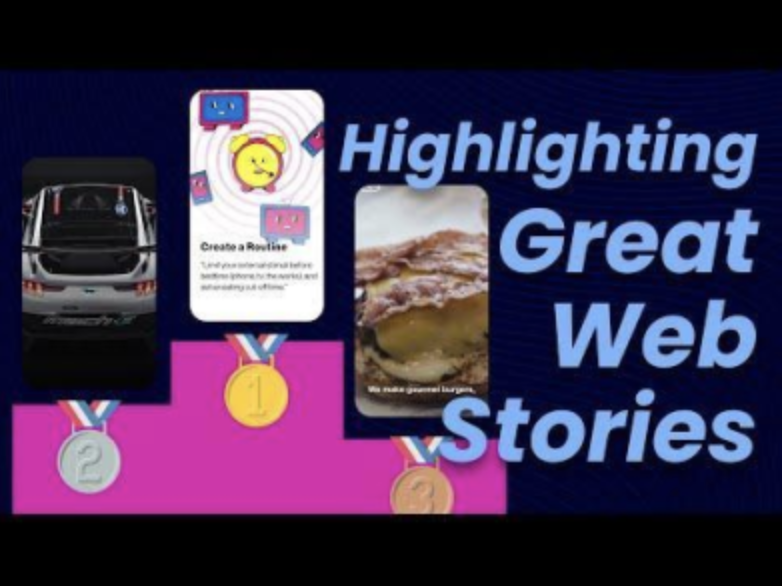
And that’s it! Once you work through these steps you will have created your first Web Story. To see this process done live, check out our video Creating your first Web Story in less than 5 mins, from start to finish. And if you want inspiration from other web creators, here are some examples of best-in-class Web Stories.

The Grand Web Story showcase features 10 great examples of Web Stories.