December 24 is the one of the few days my very large family all gets together. We have dinner and drinks, open gifts, play with the dogs, entertain the babies...it’s chaos, but the best kind. It’s also when we all get to hear what everyone’s been up to, and relive some of our favorite memories.
This year, of course, we’ll each be celebrating with our immediate households instead of gathering as a large group. But in advance of Christmas Eve, I’m collecting photos and videos to create a special slideshow—sort of like a digital holiday card—we can all watch together via Google Meet.
If you’re interested in doing something similar, here’s how I plan on using Google Workspace (in particular, Google Meet and Google Slides) to put everything together.
Step 1. Decide what you want to include. You could go the traditional holiday card route and share what you’ve been up to this year, but there are tons of other options. You could include photos of your holiday decorations you want friends and family to see, or maybe a list of favorite recipes you’ve been making. Personally, I’m going to include some favorite holiday memories as well as short videos and old photos.
Step 2. Next, open Google Slides and select New Presentation. You can use templates, or start with a blank slate. I started from scratch and chose a dark blue background. I also experimented with creating some visual elements by choosing the Shape icon on the horizontal toolbar.
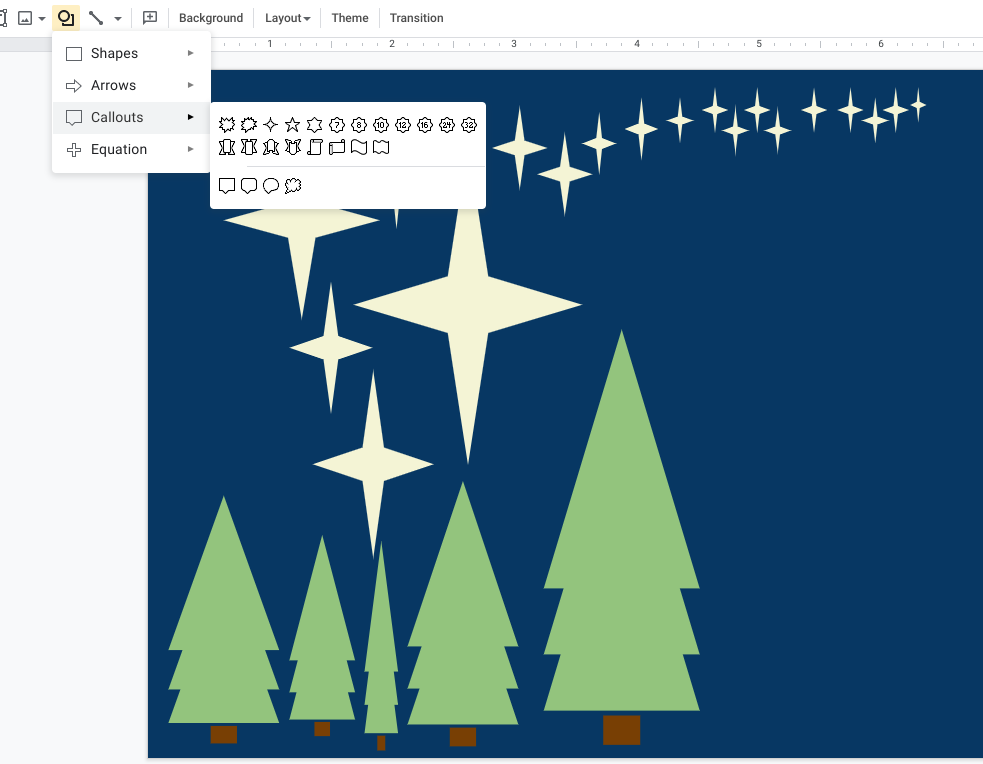
Step 3. For a little help with the design, I searched for holiday-themed graphics with transparent backgrounds and found some great icons and illustrations. Using Google Search, you can make this even easier by clicking Images and then Tools to select what type of image you want; under Type, you’ll see an option for “Clip Art.”
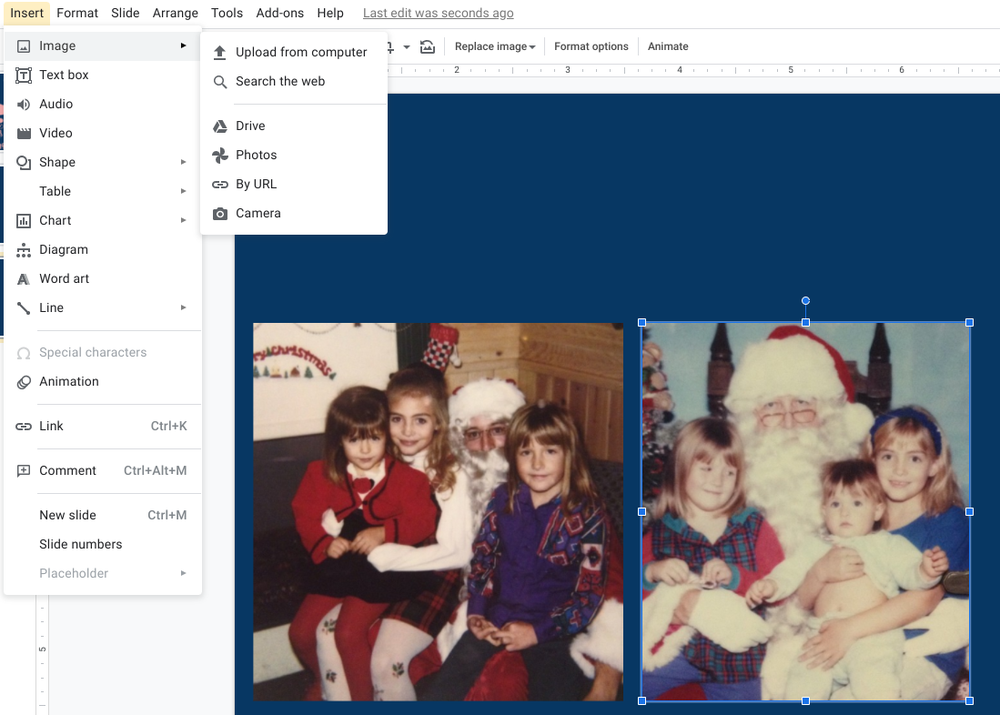
Step 4. After creating some slides, you can start pulling in photos and videos. I’m going to include some slides with photos of holiday memories, including these two photos of my sisters and myself visiting Santa. And for a more traditional holiday card approach, you can choose to add a text box and write a letter about your year. You can even add audio to a slideshow, and feel free to play around with animations.
Step 5. Once you’ve finished your “card,” you have a few options on how to share it. You can download it as a PDF or PowerPoint, or send a Drive link so anyone can view it or add to it if you want to make it a group project. You can even publish it to the web. I plan on hosting a virtual Christmas video get-together, and I’ll present my “card” in Google Meetand “open” it with friends and family.
However you choose to make your digital “card,” you can be sure it won’t get thrown away anytime soon. And who knows? Maybe you’ll even start a new holiday tradition.