When I hang out with my friends, we normally end up taking a group photo… or ten. Of course I use Google Photos to share these memories, which often leads to a bunch of questions about the app. As an engineer for Google Photos, I’m used to getting all kinds of questions, and I have a few go-to tips up my sleeve:
1. Don't forget to share
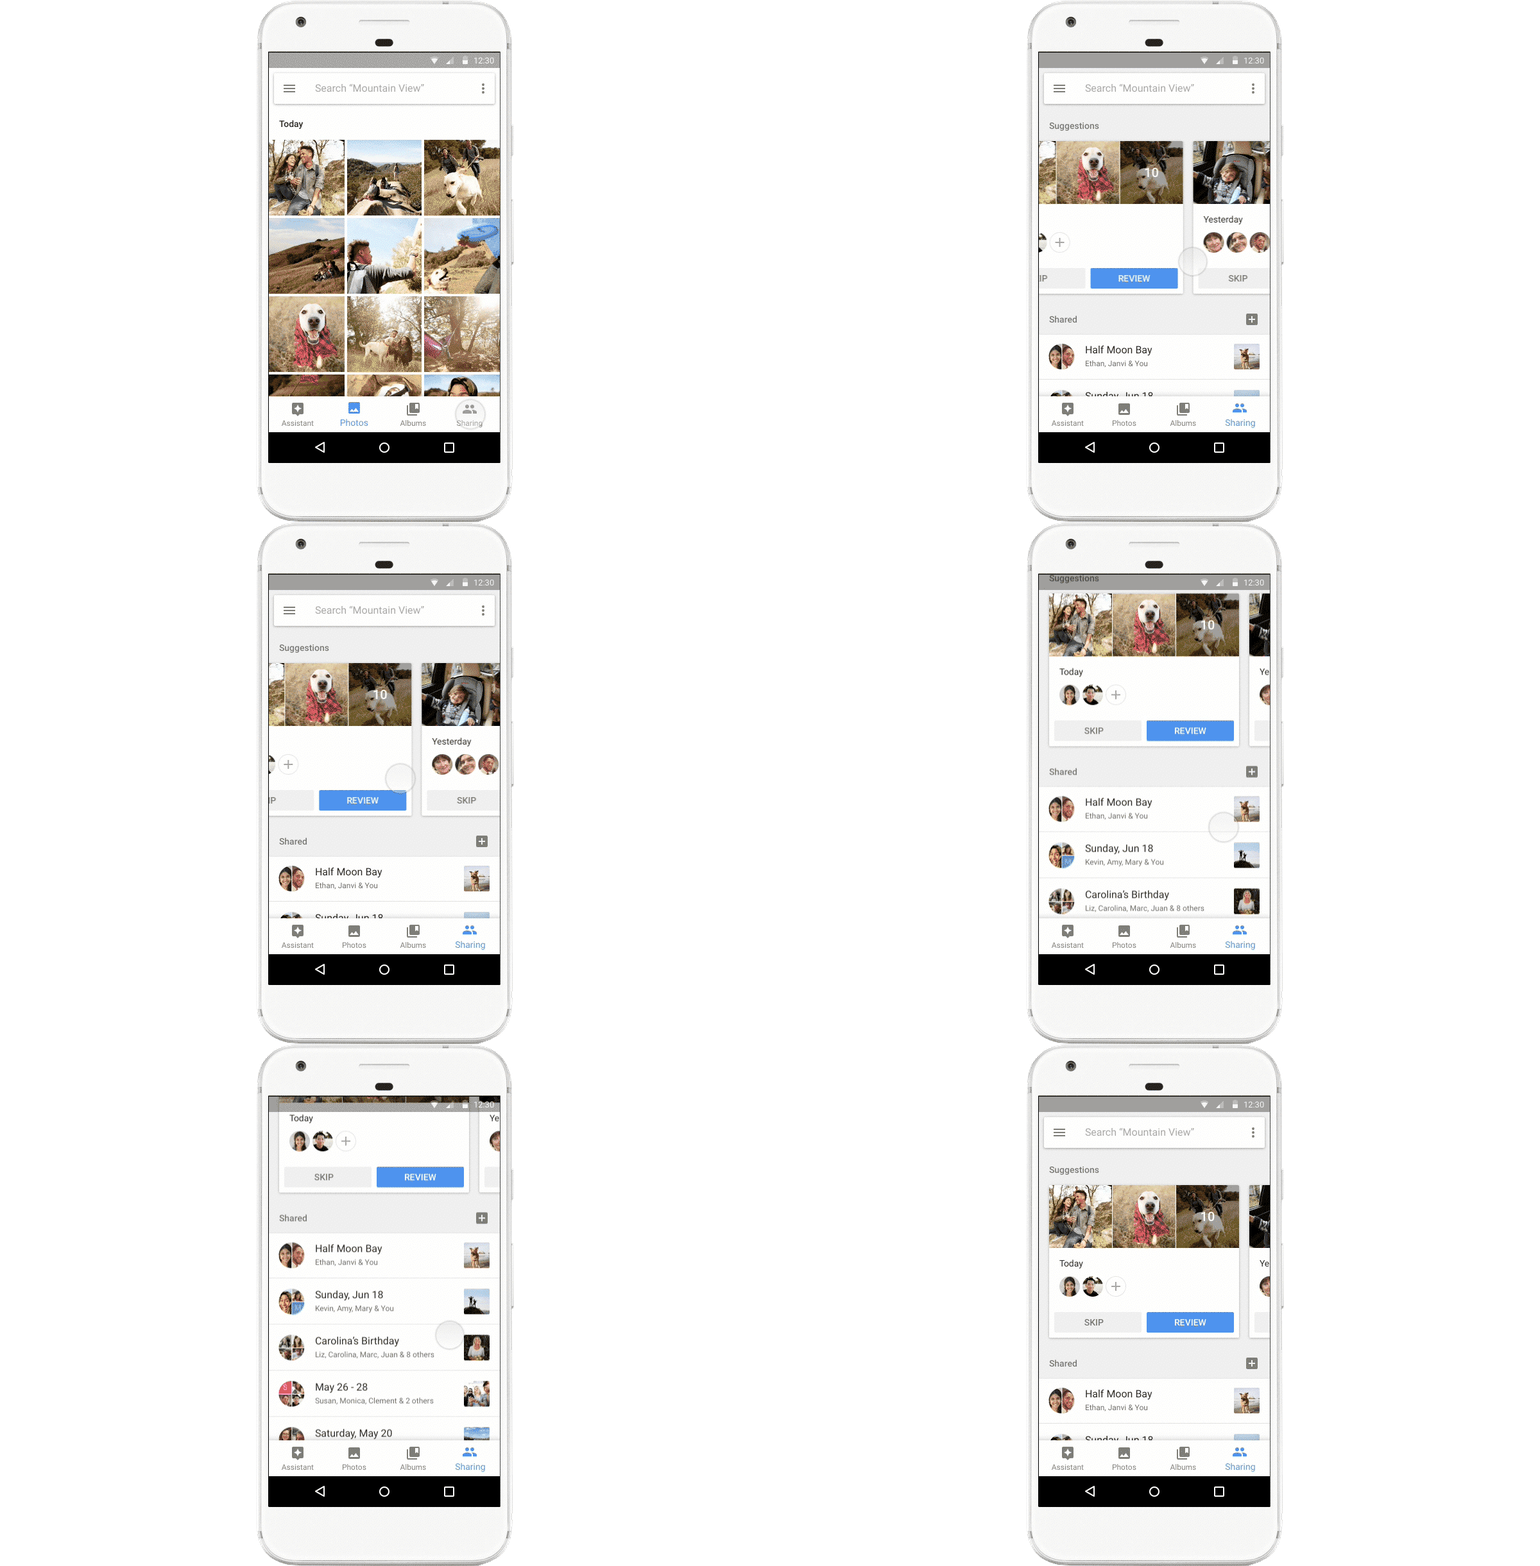
If you take an awesome photo of your friend and no one ever sees it, did you even take it at all? This is an existential question of our time, and suggested sharing in Google Photos can help. It makes sure the important people in your life actually get the photos you take of them. Go to the “Sharing” tab, and at the top, you’ll see personal suggestions, based on your sharing habits and the people in the photos. No more excuses for letting those awesome pictures sit on your phone. Hint hint, Dad ;)

2. Free up space on your phone
We all know how hard it is to decide which of your photos or apps or music to delete so you don’t run out of storage. Fortunately, Google Photos lets you free up space on your device once your photos and videos are safely backed up so you never run out of storage again. To get started, tap the side menu and choose “Free up space.” Google Photos will find the photos you’ve already backed up and help you remove them from your phone to create space for new memories.
3. Organize your most important memories
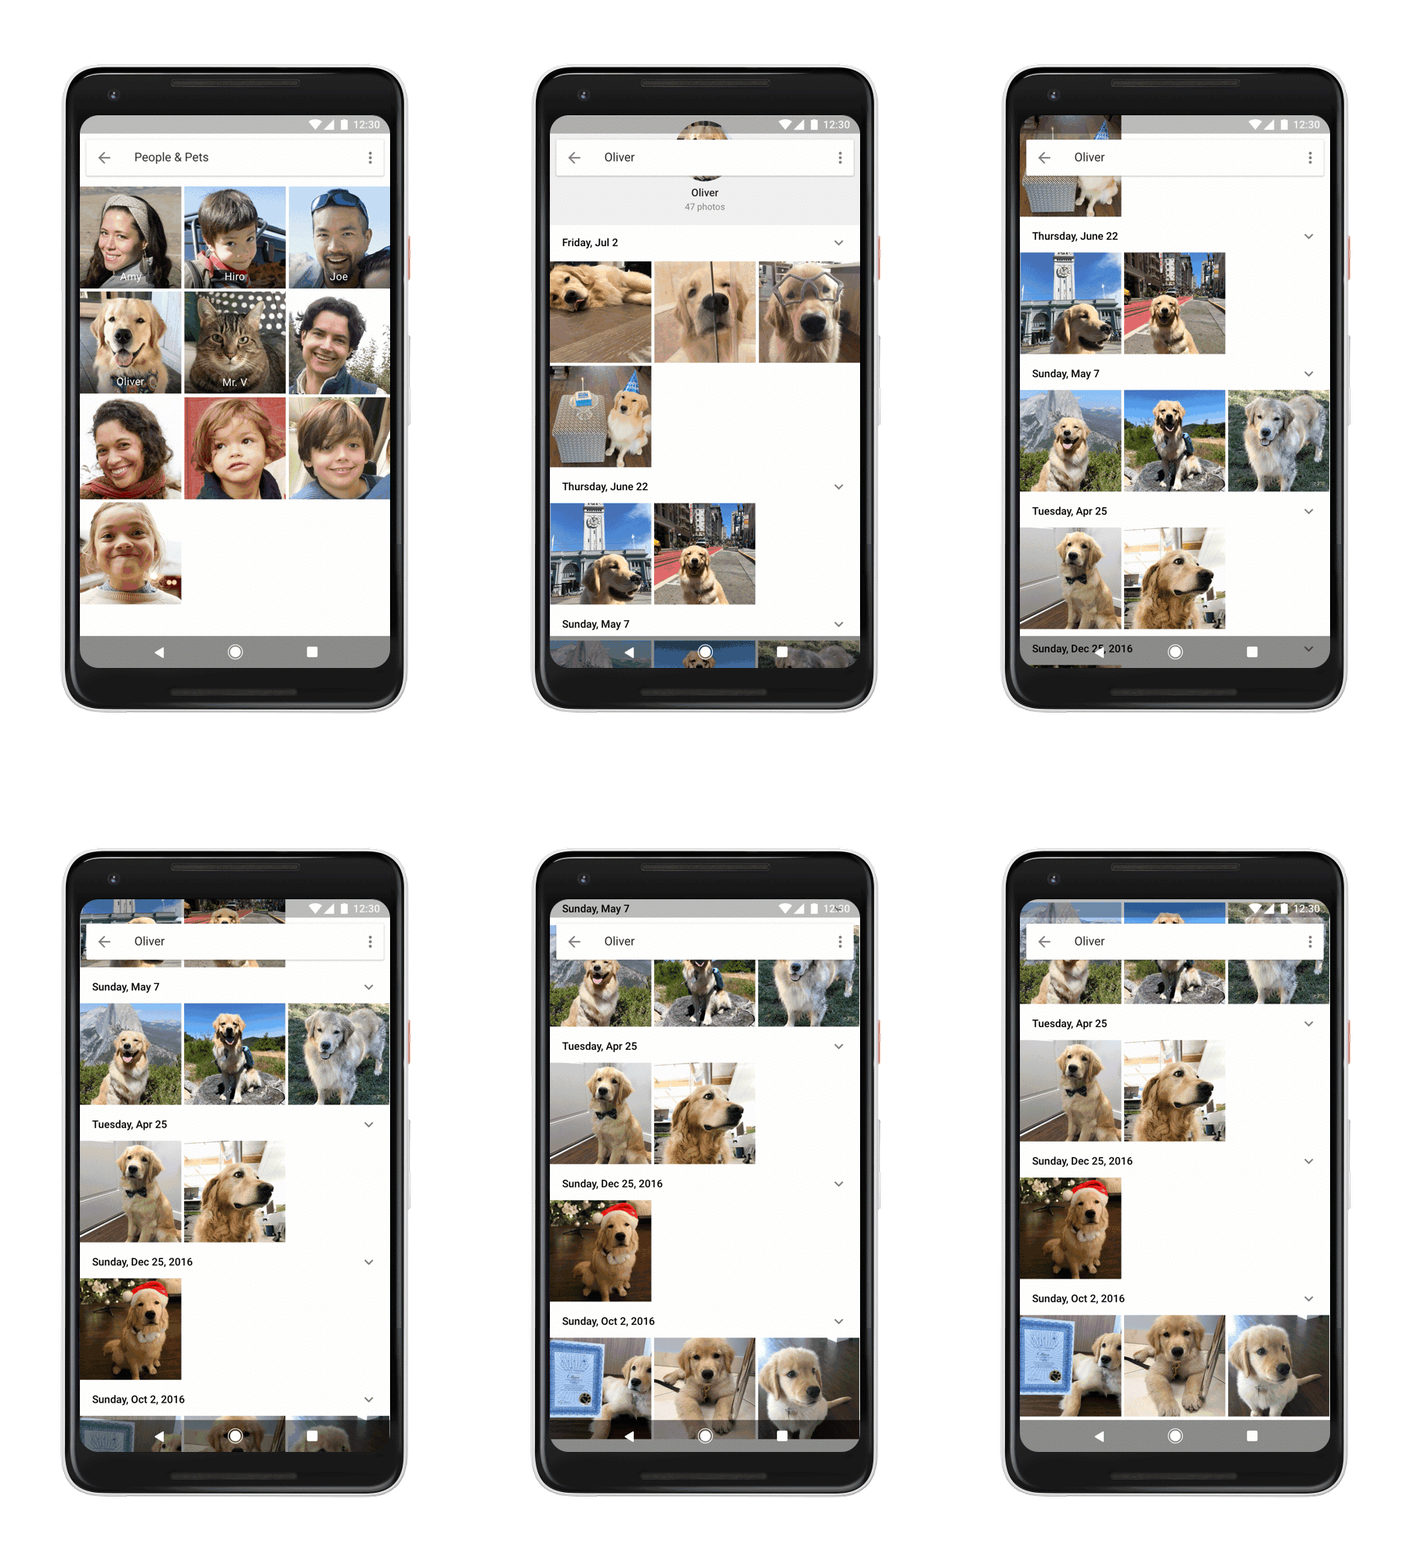
I have thousands (74,357 to be exact!) of photos featuring the important people and four-legged friends in my life—like my friend’s pup, Oliver. With Google Photos, I don't have to scroll for twenty minutes just to find the photo of him in the park. I can simply type in "Oliver park.” To set this up, head to albums and select "People and Pets." Next, name your favorites.

When I was looking at my dad’s photos over the holidays, nearly half of them were of receipts or documents. Nobody wants to see those when scrolling through vacation pictures! Google Photos can help you clear the clutter by archiving your photos. Choose the photos you want to archive, tap the three dots in the top right corner, and select “Archive” (or use the archive suggestions in the Assistant tab). If you need to see that receipt again, you can always access these photos in your “Archive” folder.
Whether you want to be more organized or better at sharing your photos in 2018, I hope these tips are helpful. If you haven’t given Google Photos a try yet, you can download it here.