We’ve talked about how corporate training can positively impact employee engagement. The same is true for efficient onboarding. The faster new employees are onboarded, the faster they feel they’re part of the team and can contribute to your company’s mission.
Here are a few tips to help you onboard new employees without a hitch.
1. Set up an onboarding checklist, save to Team Drives
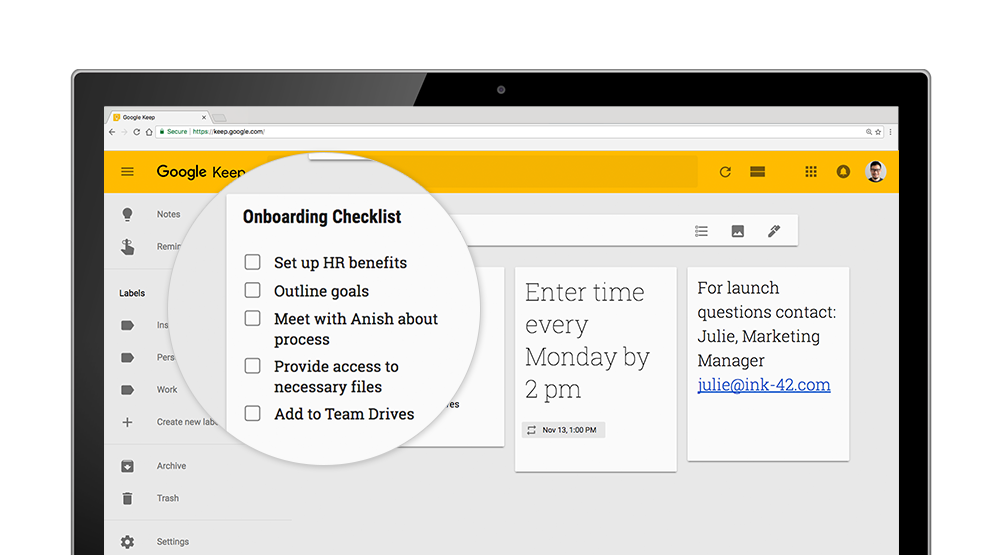
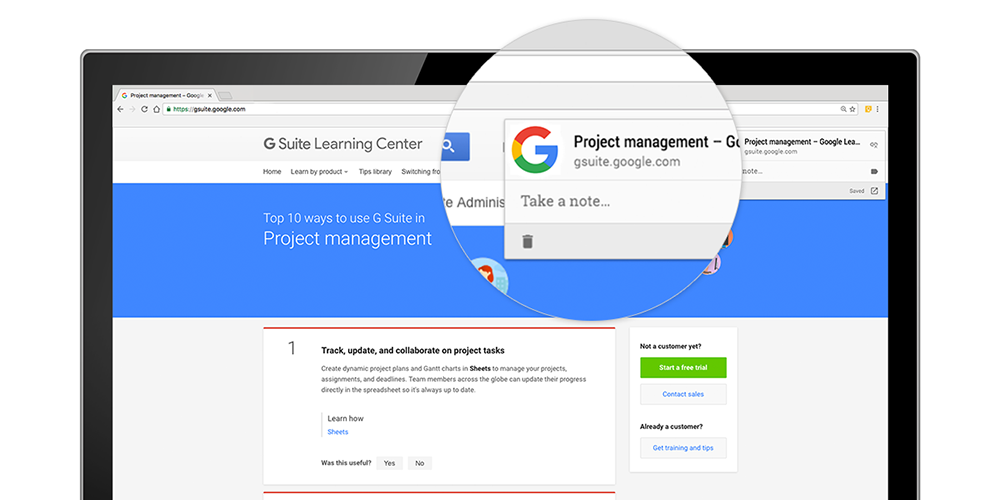
To help new employees get up-to-speed quickly, create centralized resources like an onboard checklist or company backgrounder in Google Keep or Docs.
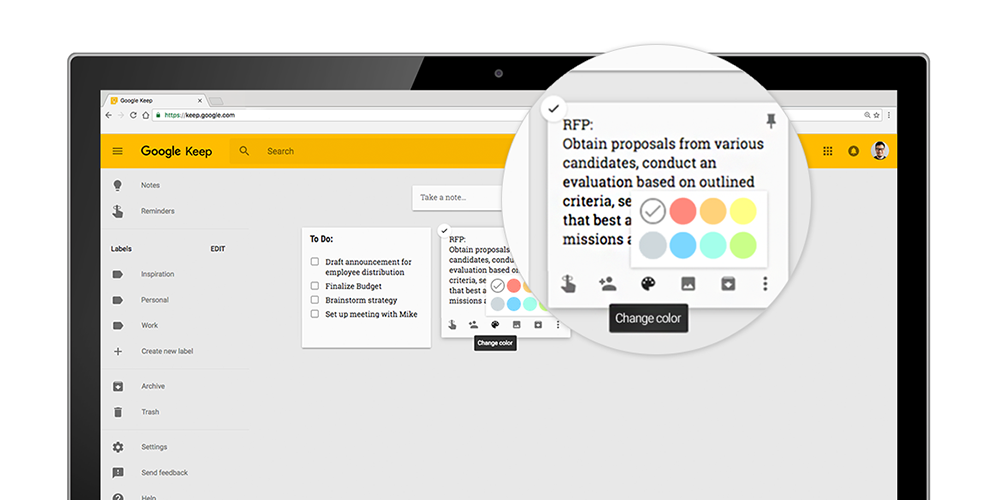
Your new team member can track to-dos by listing out key tasks in Keep. Create a note in Keep and select “Show checkboxes” in the three dots menu. Type in to-dos like “set up HR benefits,” “outline goals” or “meet with Anish about process.”
Pro-tip: Keep integrates directly into Docs. If you’re in Keep, pick a specific note, click the three dots menu and select “Copy to Google Doc.” Or if you’re in Docs, drag-and-drop your note over from Keep.
You can also prepare a more detailed company background for your teammate in Docs. List upcoming projects, assign action items or include other reference material like key contacts. Once you’ve created these resources, be sure to save them to your Team Drives so that the “newbie” knows where to find or upload files for team use.
2. Create an onboarding portal with Google Sites
Now that you’ve created individual resources for an employee, create a mini-onboarding portal in Sites to house them. What’s great about Sites is that you don’t have to be handy with code to build a website—you can spin one up quickly without design, programming or IT resources. Sites also syncs with your favorite G Suite apps, like Drive and Calendar.
3. Request access to IT systems and equipment using Forms
Sometimes it can take a while to get access to the tools we need to do our jobs, but G Suite apps can help you get around the lag. Help your IT department set up equipment and system access on day one using Forms and Sheets.
If you’re a manager or work in the human resources department, try using Forms to submit requests to IT before a new employee starts. Create a form for equipment and access needs, like computers (shameless plug: Chromebooks), keyboards, phones or IT system permissions. The IT team can then import requests from Forms into Sheets and keep track of needs in real-time.
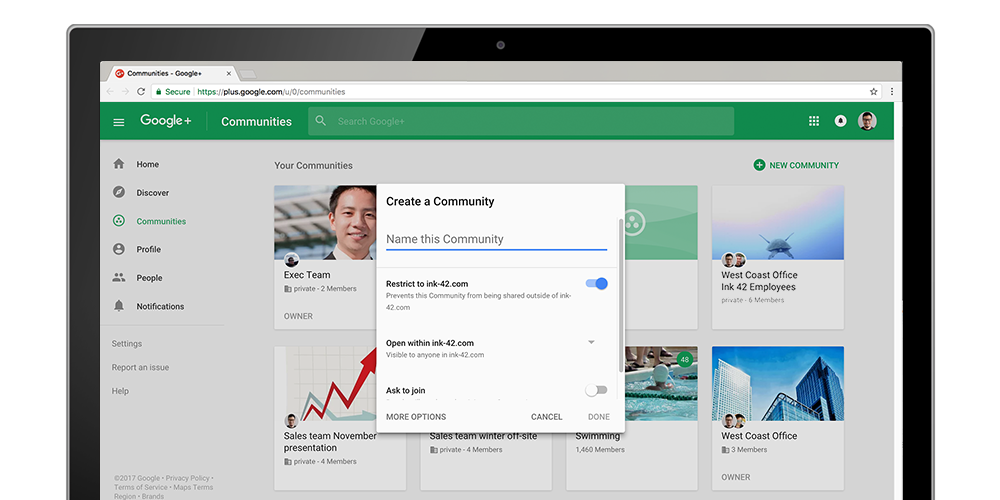
4. Introduce new employees to the team with Google+

During your first few days on the job, it’s hard to remember all of the new names and faces. Try setting up a welcome community on Google+ to help your newbie get to know the team.
To get started, go into G+ and click Communities > Yours > Create a Community. Enter the name of the community you want to create and manage who can see the community in your settings. Click “done,” invite people to join your community and started posting.
Employees are a company’s greatest asset. Try these tips to make new folks feel engaged and productive right from the start, or learn more at the G Suite Learning Center or the Google Cloud Transformation Gallery.