What’s changing
We’ve made it simpler to add images inside of cells in Google Sheets. Previously, it was only possible to insert publicly hosted images into a cell using the IMAGE function.Now, you can insert any image, like those saved on your desktop or mobile device, into a cell by using the IMAGE function or the new option found inside the Insert menu.

Who’s impacted
End usersWhy you’d use it
- You’ve told us this feature would be helpful for many tasks like:
- Adding receipts to expense-tracking spreadsheets
- Adding icons to icon libraries
- Adding logos to better brand your resources
- Adding product images to inventory lists, and more.
How to get started
- Admins: No action needed.
- End users: You can add images directly to cells in two ways on Desktop:
- Use the IMAGE() function
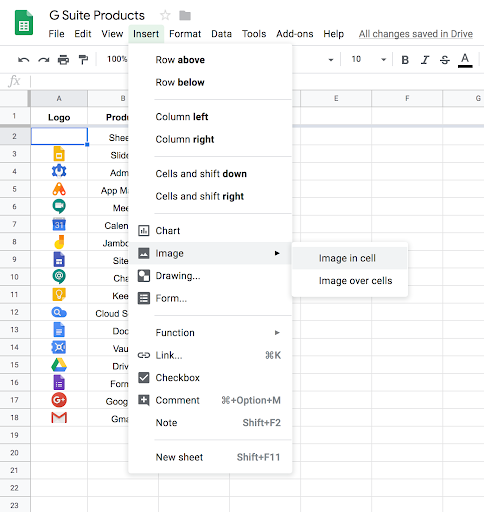
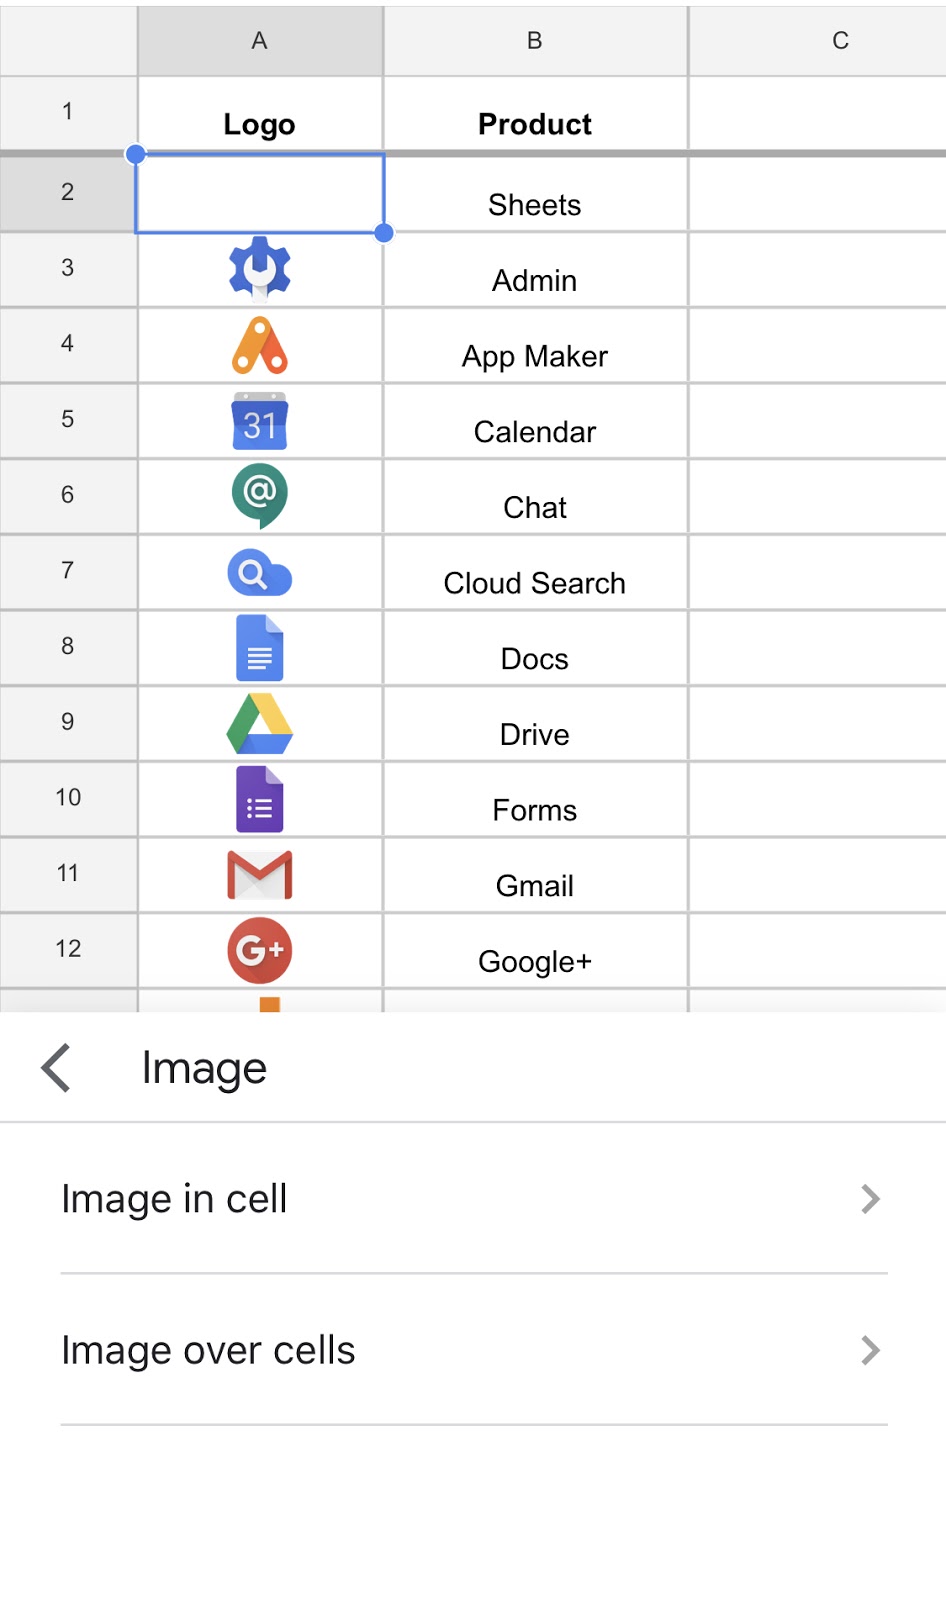
- Via the menu bar at the top of a Sheet: Insert > Image > Image in cell
- Select image from Drive or upload one.
- On Mobile:
- Tap once on a cell to select
- Tap again to bring up menu: Insert > Tap the “+” at the top of the screen > Image > Image in cell
- Select an image from the options presented to you.
Additional details
You can have multiple cells containing an image in a Sheet, but note that only one image per cell is possible at the moment.
Images inside cells will be associated with a row and move along with the data—so, if you move rows, filter or sort them, the images will move with the content in the row, unlike previously when images would sit on top of the grid.
Using the formatting and alignment tools, you can pin the image to a specific corner of the cell or set the alignment how you’d like. By default, images will align to the bottom left corner of the cell.
Helpful links
Availability
Rollout details
- Rapid Release domains: Gradual roll-out (up to 15 days for feature visibility) starting on March 19, 2019.
- Scheduled Release domains: Gradual roll-out (up to 15 days for feature visibility) starting on March 19, 2019.
G Suite editions
- Available to all G Suite Editions.
On/off by default?
- This feature will be ON by default
Stay up to date with G Suite launches