Container virtualization is a rapidly evolving technology that can simplify how you deploy and manage distributed applications. When people discuss containers, they usually mean Linux-based containers. This makes sense, because native Linux kernel features like cgroups introduced the idea of resource isolation, eventually leading to containers as we know them today.
For a long time, you could only containerize Linux processes, but Microsoft introduced support for Windows-based containers in Windows Server 2016 and Windows 10. With this, you can now take an existing Windows application, containerize it using Docker, and run it as an isolated container on Windows. Microsoft supports two flavors of Windows containers: Windows Server and Hyper-V. You can build Windows containers on either the microsoft/windowsservercore and microsoft/nanoserver base images. You can read more about Windows containers in the Microsoft Windows containers documentation.
Windows containers, meet Google Cloud
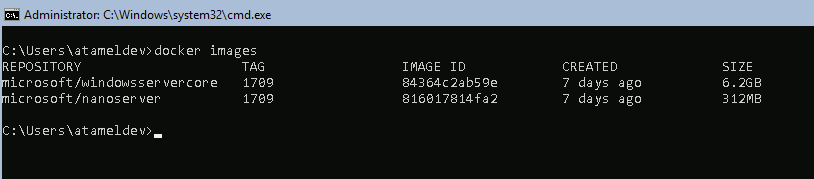
Google Cloud provides container-optimized VM images that you can use to run containers on Compute Engine. We also offer a Windows VM image for containers that comes with Docker, microsoft/windowsservercore, and microsoft/nanoserver base images installed.
To run Windows containers on Compute Engine, first you need a Windows VM. In Google Cloud Platform Console, go to the Compute Engine section and create an instance. Make sure you’ve selected Windows Server version 1709 Datacenter Core for Containers (Beta) for the boot disk.

The microsoft/nanoserver:1709 image is already installed, but that image does not include PowerShell. Instead, there's a microsoft/powershell image based on microsoft/nanoserver:1709 image that we can use.
First, let’s pull the PowerShell image and run it:
C:\..> docker pull microsoft/powershell:6.0.1-nanoserver-1709
...
C:\..> docker run -it microsoft/powershell:6.0.1-nanoserver-1709
This takes us inside the PowerShell container. Now, we can create a HelloWorld PowerShell script and exit the container:
PS C:\> Add-Content C:\Users\Public\helloworld.ps1 'Write-Host "Hello World"'
PS C:\> exit
We now need to create a new image that has the PowerShell script, using the modified container. Get the container ID and create a new container image with that ID using the docker commit command:
C:\..> docker ps -a
C:\..> docker commit helloworld C:\..> docker run --rm helloworld pwsh c:\Users\Public\helloworld.ps1
Hello World!If you want to try the steps on your own, we have a codelab you can try out:

Just don’t forget to to shut down or delete the VM when you’re done experimenting, to avoid incurring charges!
To learn more about Windows containers and Windows on GCP, check out our documentation. And if you have feedback or want to know more, drop us a note in the comments.
To learn more about Windows containers and Windows on GCP, check out our documentation. And if you have feedback or want to know more, drop us a note in the comments.
